Getting Started Without Code
You have successfully signed up for a SignalWire account, and now you may wonder where to start. The answer is: from your Dashboard.
The Dashboard UI is sometimes referred to as your SignalWire Space. It is the main connection point to SignalWire services, and with it you can get started using SignalWire products without writing a single line of code.
Depending on what you are building, you can skip directly to the section you are interested in:
Simple calling and messaging functions
Buying numbers
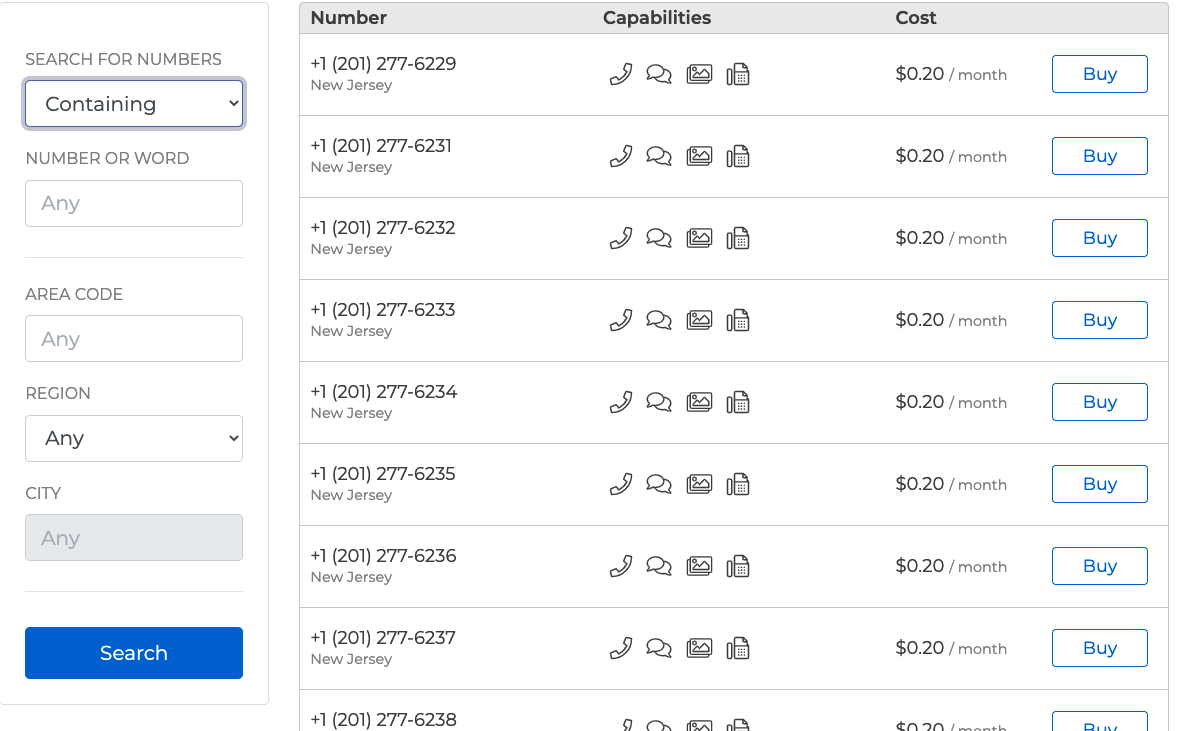
For all of these functions, you will need a SignalWire phone number. You can buy a new number in your Phone Numbers Space.
If you're okay with any number, you can simply select "Buy" on the first one that catches your eye. However in most cases, there are specific area codes or regions that you are looking for. You can narrow down your search by including area code, region, or region & city. You can also search for all numbers that contain, start with, or end with a certain sequence of numbers or even a word. Once you find the number you want, select "Buy" and go back to your Phone Numbers Space to see your newly purchased number.
Visit our guide to Buying a Phone Number for a comprehensive guide to this process. To learn about performing Dashboard actions like this programmatically, visit the guide to Purchasing a Phone Number via REST API, and our guide to the SWSH (SignalWire interactive Shell) scriptable CLI.
See the Phone Numbers Space help page for a full look at the available tools and options in this Phone Numbers Space.
Call Flow Builder
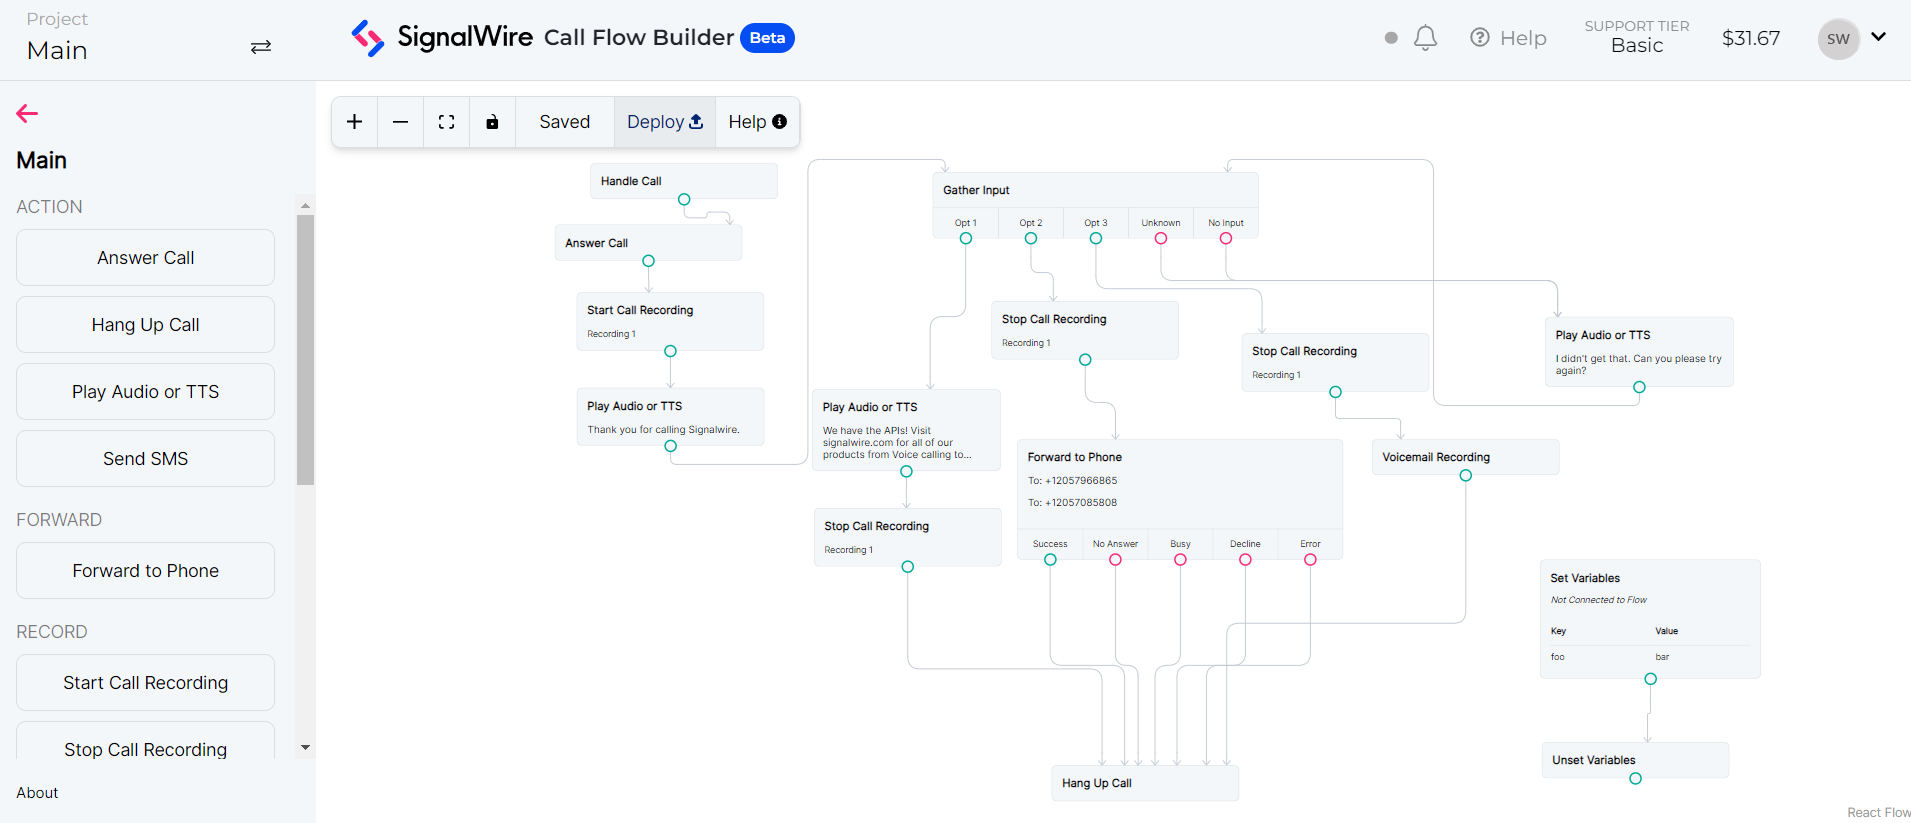
After you have at least one SignalWire phone number, you can use your Dashboard to create a phone system (IVR) with our easy-to-use graphical interface: Call Flow Builder. This tool allows you to easily build a call flow to handle incoming calls with no code required.
To get started, simply drag one of the Nodes (such as Answer Call) from the left sidebar onto the blank canvas.
Add more Nodes to define how you want the call to be managed depending on the caller's responses (using Gather Input), the number coming in (using Conditions), the time of day (using Request to retrieve the current time), or many other options.
You can build a fully functional IVR or just use Call Flow Builder to easily forward calls to any phone number or SIP endpoint.
The added functionality of the Request and Condition modules allow you to build even complicated IVRs that can interact with any servers or applications you currently use.
For a detailed description of each node, see the Call Flow technical reference.
As you build the flow, it is automatically saved. You can choose to make it the "deployed version" by clicking the Deploy button in the toolbar. This lets you adjust the call flow when it is already in production without disrupting usage with every change. When you you are finished with your build, click the back button to return to your list of Call Flows.
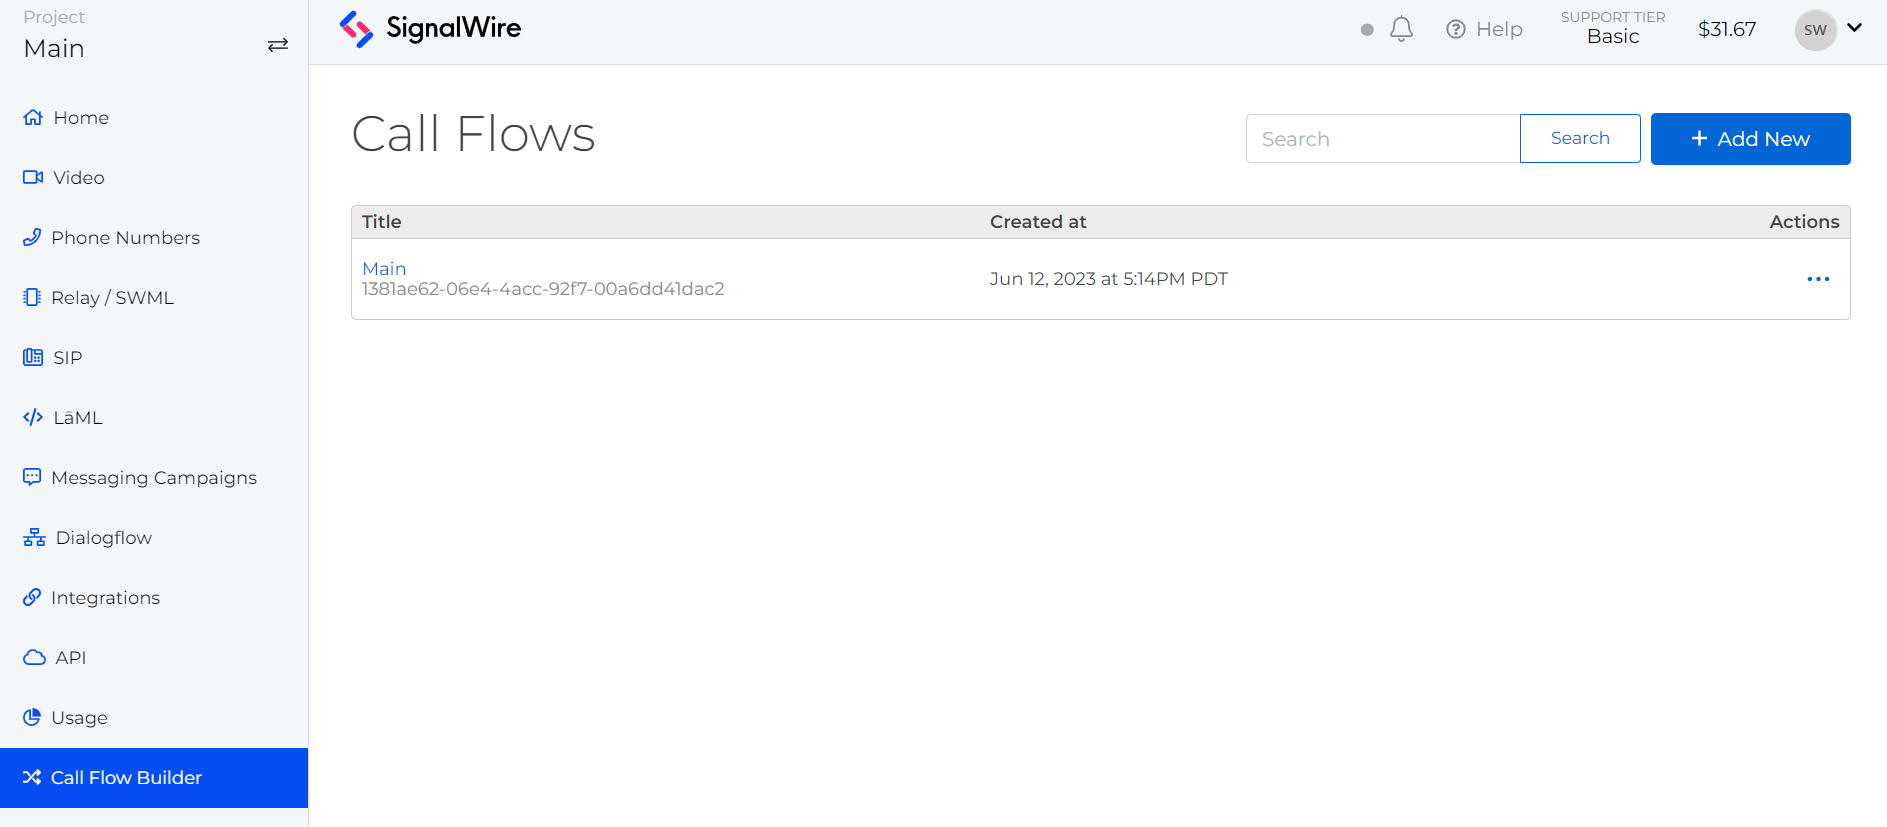
You can use the friendly name listed here to choose a Flow as a call handler for a SignalWire number. See assigning flows below on how to assign a Flow to a number.
SWML Scripts
Behind the scenes, Call Flow Builder generates and runs SWML (SignalWire Markup Language). You can write SWML scripts manually to handle calls, messages, and faxes in your SWML Dashboard.
SWML scripts are simple but powerful tools that can run even complex logic. Because they are written in JSON or YAML, they use familiar syntax that you may pick up easily. See the SWML reference for definitions and examples.
Each SWML script starts with the sections: and main: tags, then you can choose what you want to do from there.
Here are some examples of the simplest use cases to get you started.
Answer an incoming call with text-to-speech
sections:
  main:
    - play: "say:Hello, world!"
    - hangup
Forward incoming call to another number
sections:
  main:
    - connect:
        to: "+15551231234"
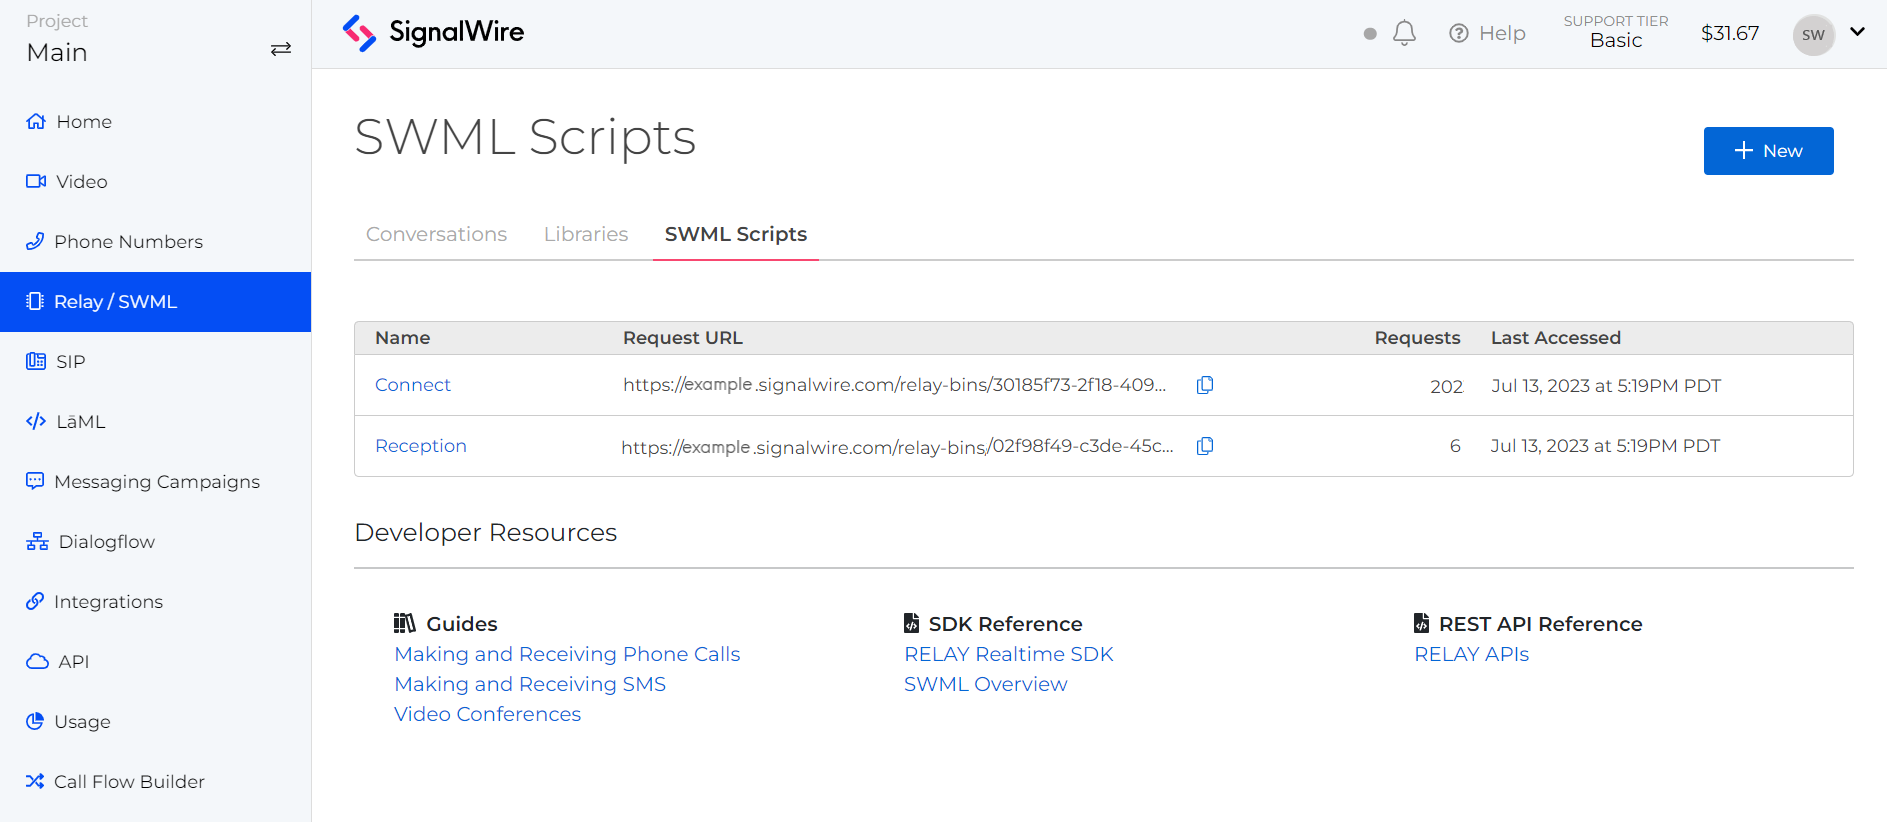
After creating a new script in your RELAY/SWML Space, you will see a list of existing scripts with their Request URLs.
Each URL can be copied by clicking on the copy icon next to it.
We can link individual phone numbers to a script with this URL to handle incoming calls.
Another resource that works in a similar fashion is an cXML application, sometimes called a cXML Webhook. They are written with cXML for a seamless switch from competitor systems. You can create and manage cXML applications from the Resource section of your Dashboard.
Assigning Call Flows or Scripts to Phone Numbers
We can match up each of our SignalWire phone numbers with the Call Flow or Script we would like to use. For a phone number that you would like to handle incoming Voice calls, go to that number's settings in your Phone Numbers tab on the Dashboard.
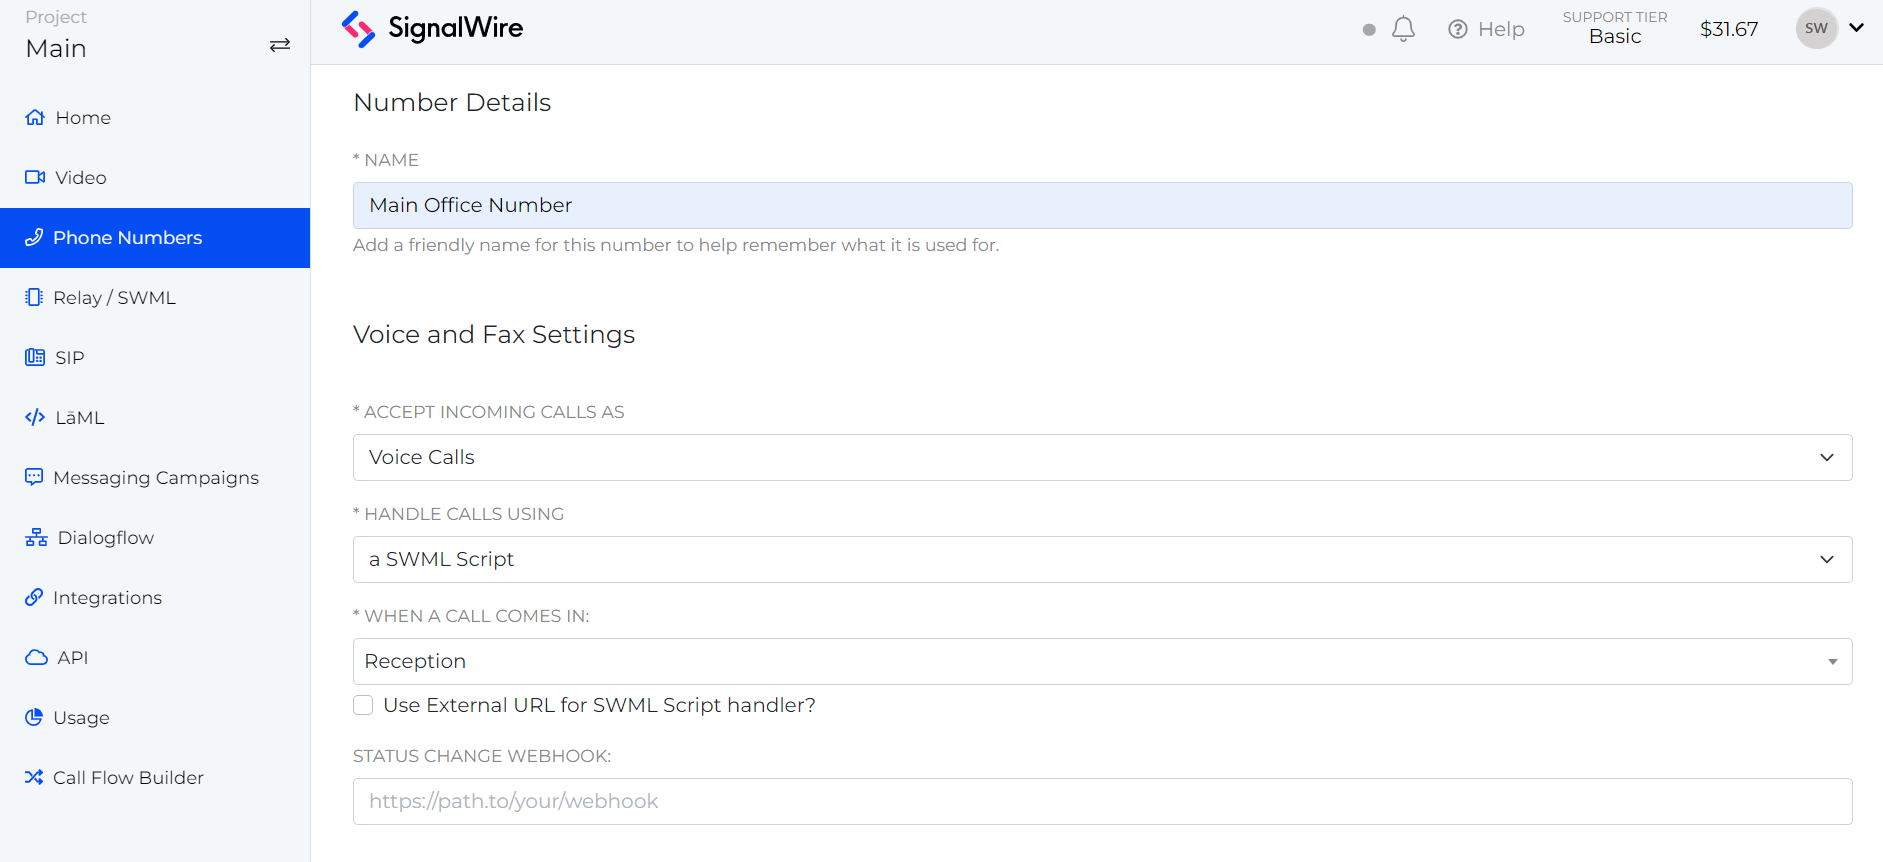
Under "Voice and Fax Settings," choose to accept incoming calls as Voice Calls and handle calls using a Call Flow or a SWML Script. Choose the name of the flow or script you just created from the dropdown menu. Then, save you settings.
Logs
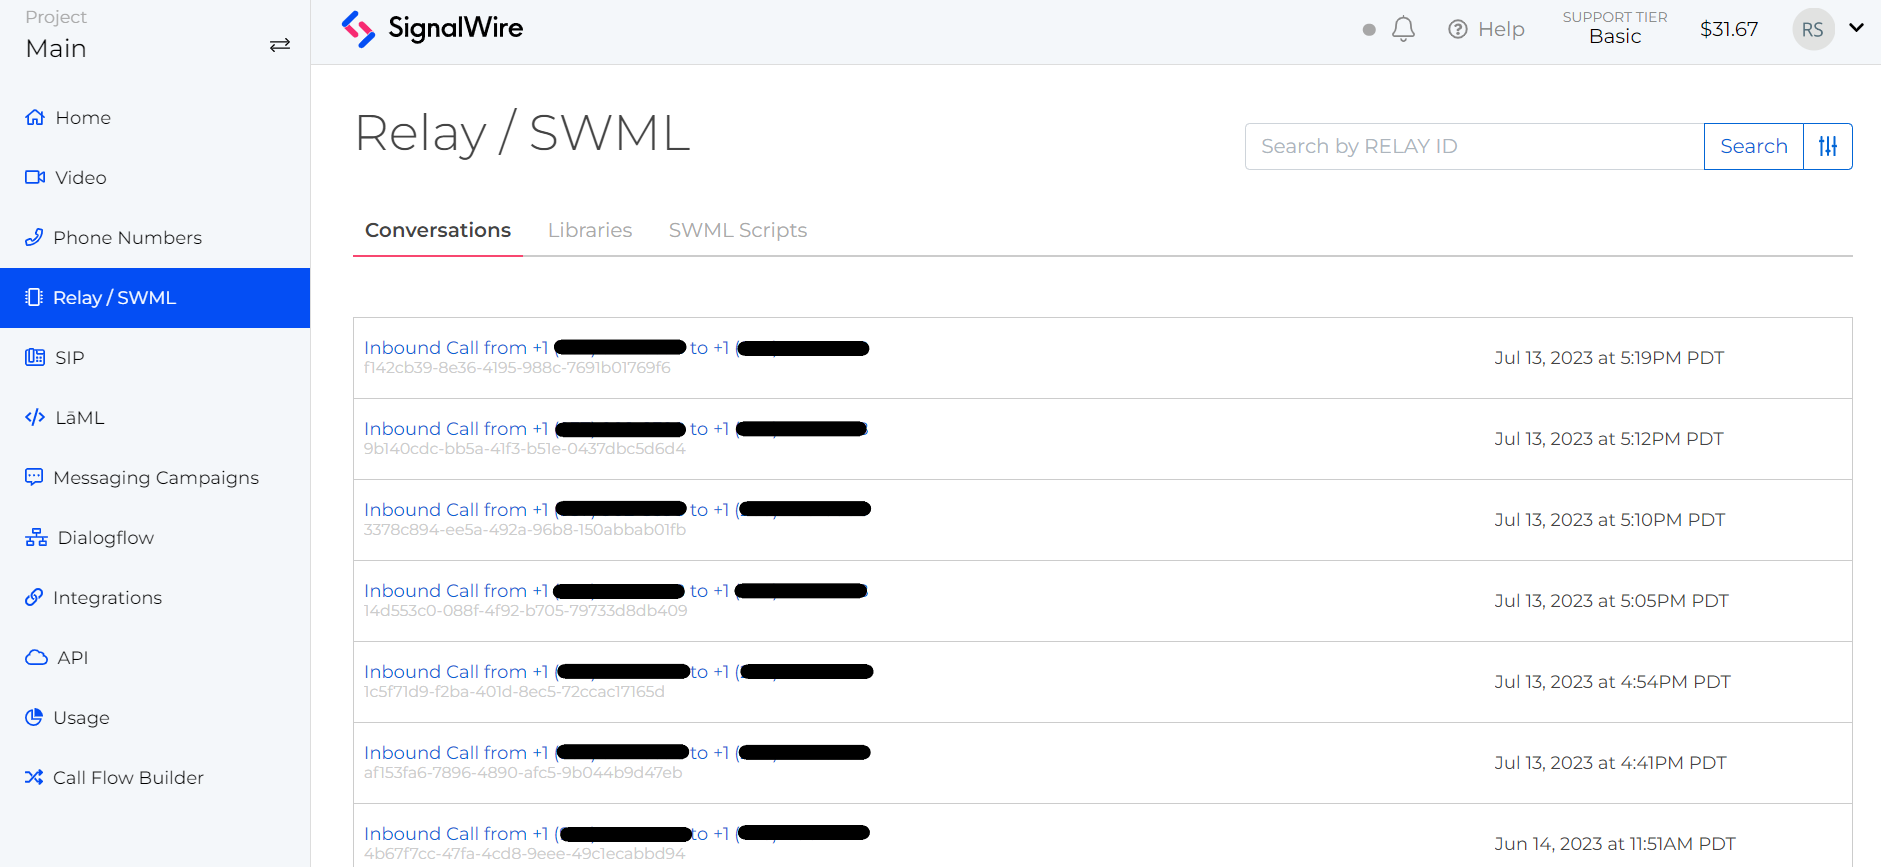
You can view all the traffic directed through your SWML scripts in the same RELAY space. Here you can browse all the RELAY product logs or search by an id.
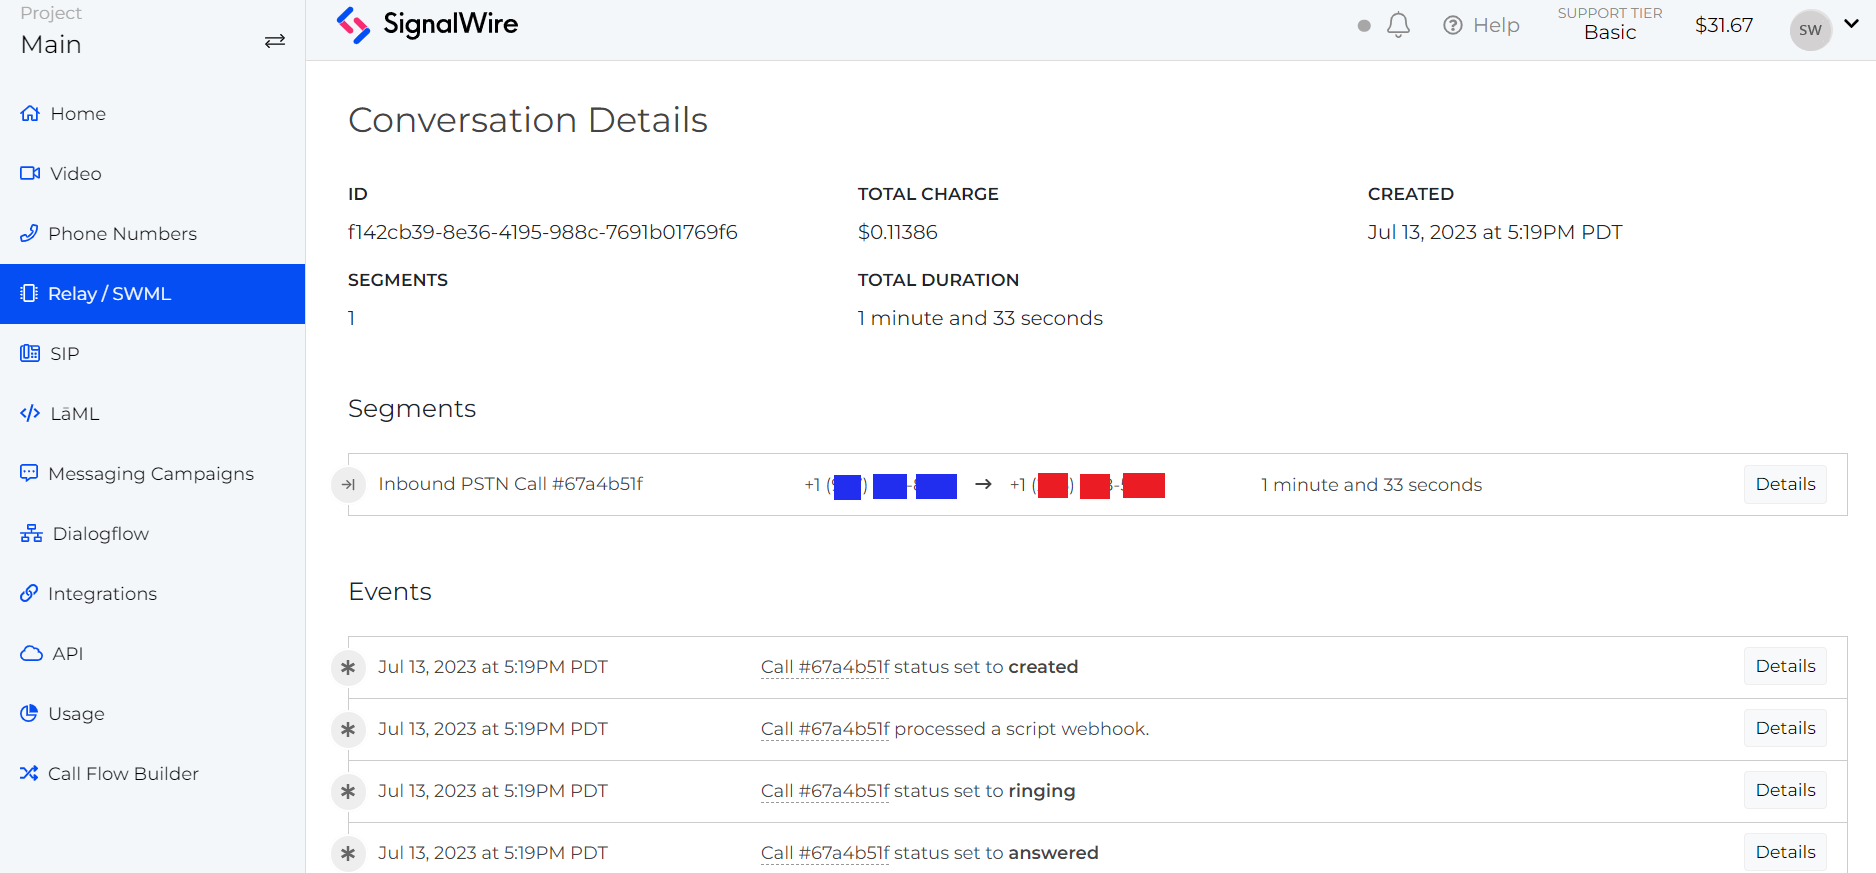
Clicking a log label opens up details about that instance. For example, clicking on a call log provides information on each state event of the call with additional details available under each event with IDs, numbers, and the script that was run.
Embedding video in web pages
If you prefer to use video communication, SignalWire offers a no-code embeddable video room option in the Video Space of your Dashboard. From the Overview tab, there is a handy shortcut at the bottom that explains the process: "Copy. Paste. Done. with Video Conferences." Whether you use the shortcut or choose to go to the Conferences tab and and click the blue "New" button, you can create a new video room. While there are two room type options, the option with UI included will create a video room that you can use with no coding required.
For information on configuring your video room, see our Video Conferences guide. You might also find a full walkthrough of integrating your video room into an existing website useful.
In short, after you create a new video room on your Dashboard, you will see the room settings page. You can click "Moderator Embed Code" or the arrow beside it for "Guest Embed Code" to open a modal where you can copy the code snippet. If you have access to the HTML of the page on which you would like to embed a video room, all you need to do is paste that Embed Code wherever you would like the video room to appear.
For example, if you paste it into your HTML body like this:
<body>
  <h1>Hello World!</h1>
  <p>Lorem ipsum...</p>
  <!-- Embed code here -->
  <footer>Made by me</footer>
</body>
Your video room will be embedded like this:
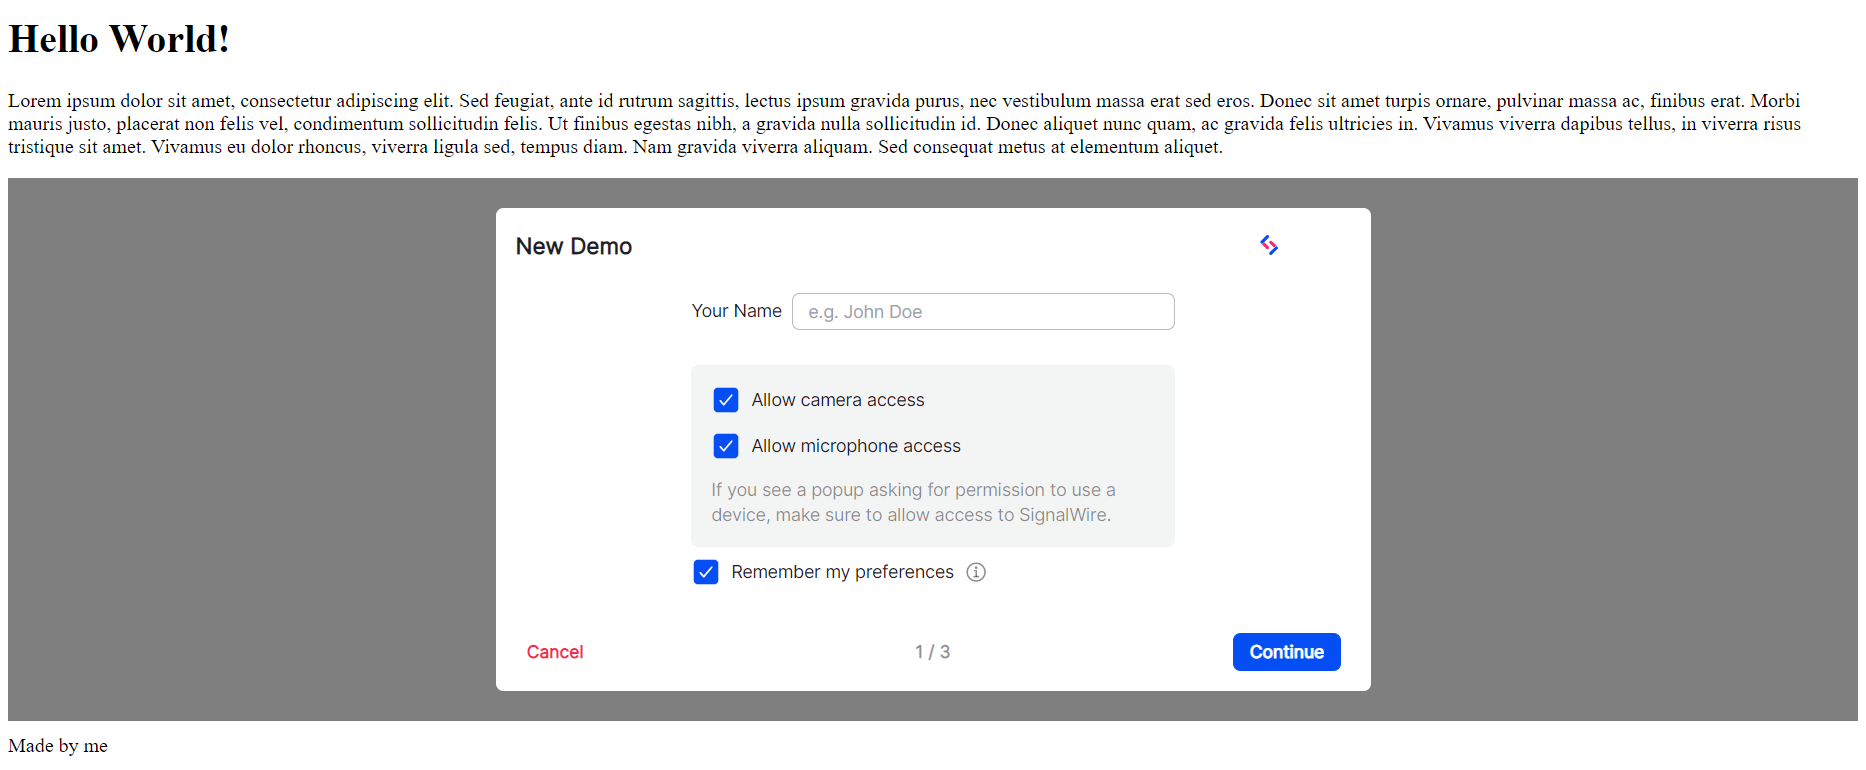
And just like that you have a full-featured, active video room on your website.
Conversational AI with SignalWire's AI Agent
Creating an AI Agent
Another powerful tool available in your Dashboard is our AI Agent.
This tool allows you to create conversational AI applications with no code required.
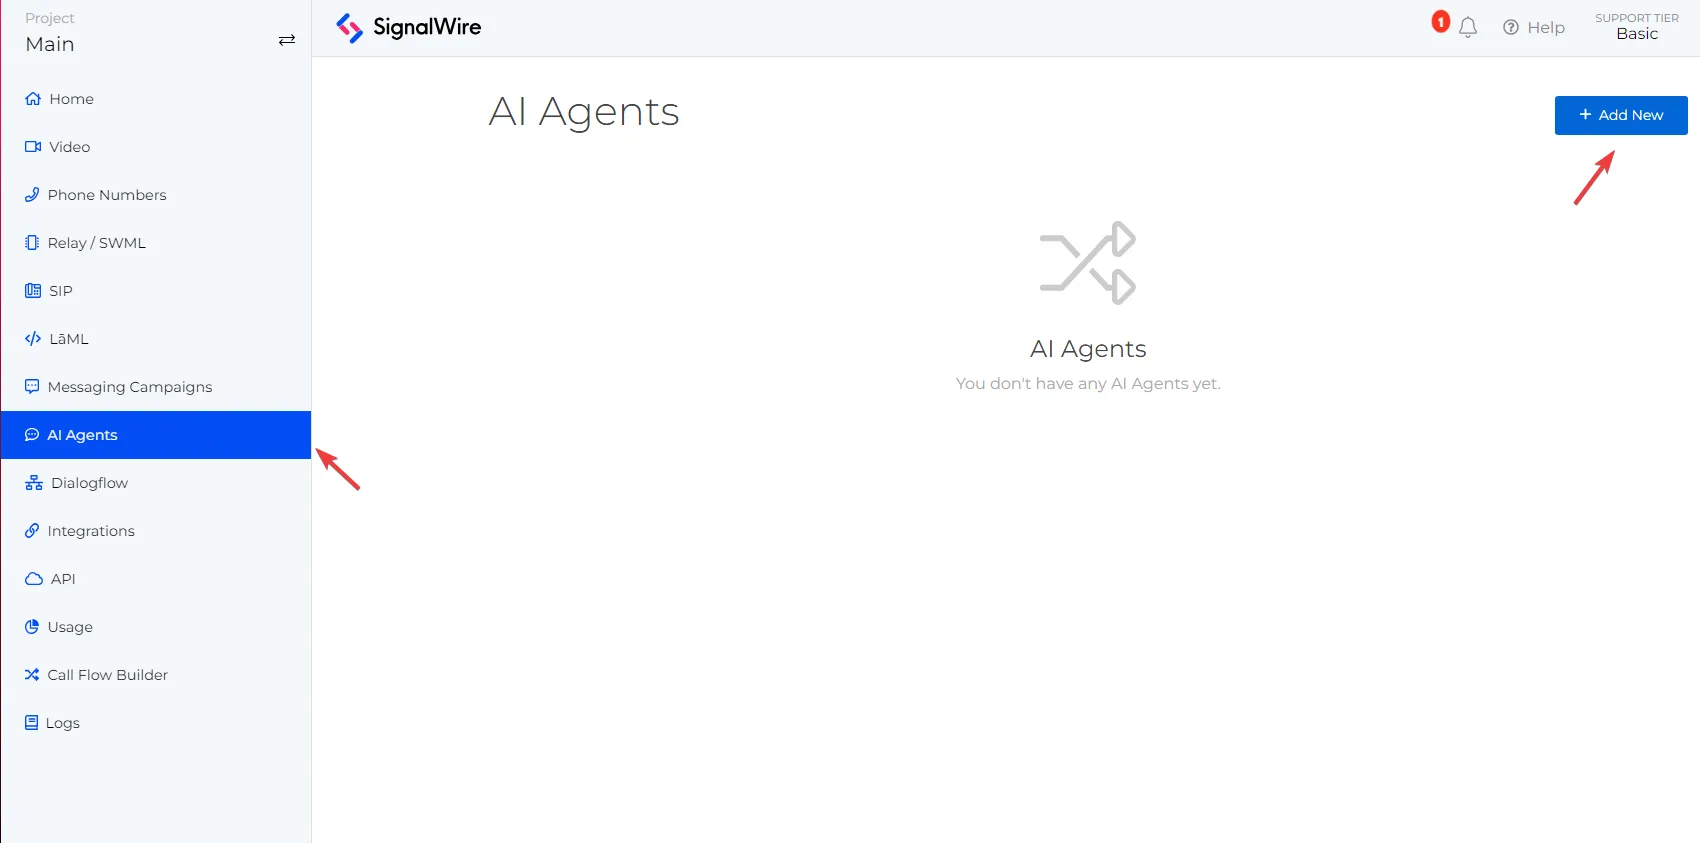
You can find the AI Agent Space in your Dashboard, on the left sidebar under AI Agent.
Once you are in the AI Agent page, you will see an overview of any existing agents you have created, as well as a button to create a new agent located in the top right corner.
To create a new agent, click the blue Add New button.
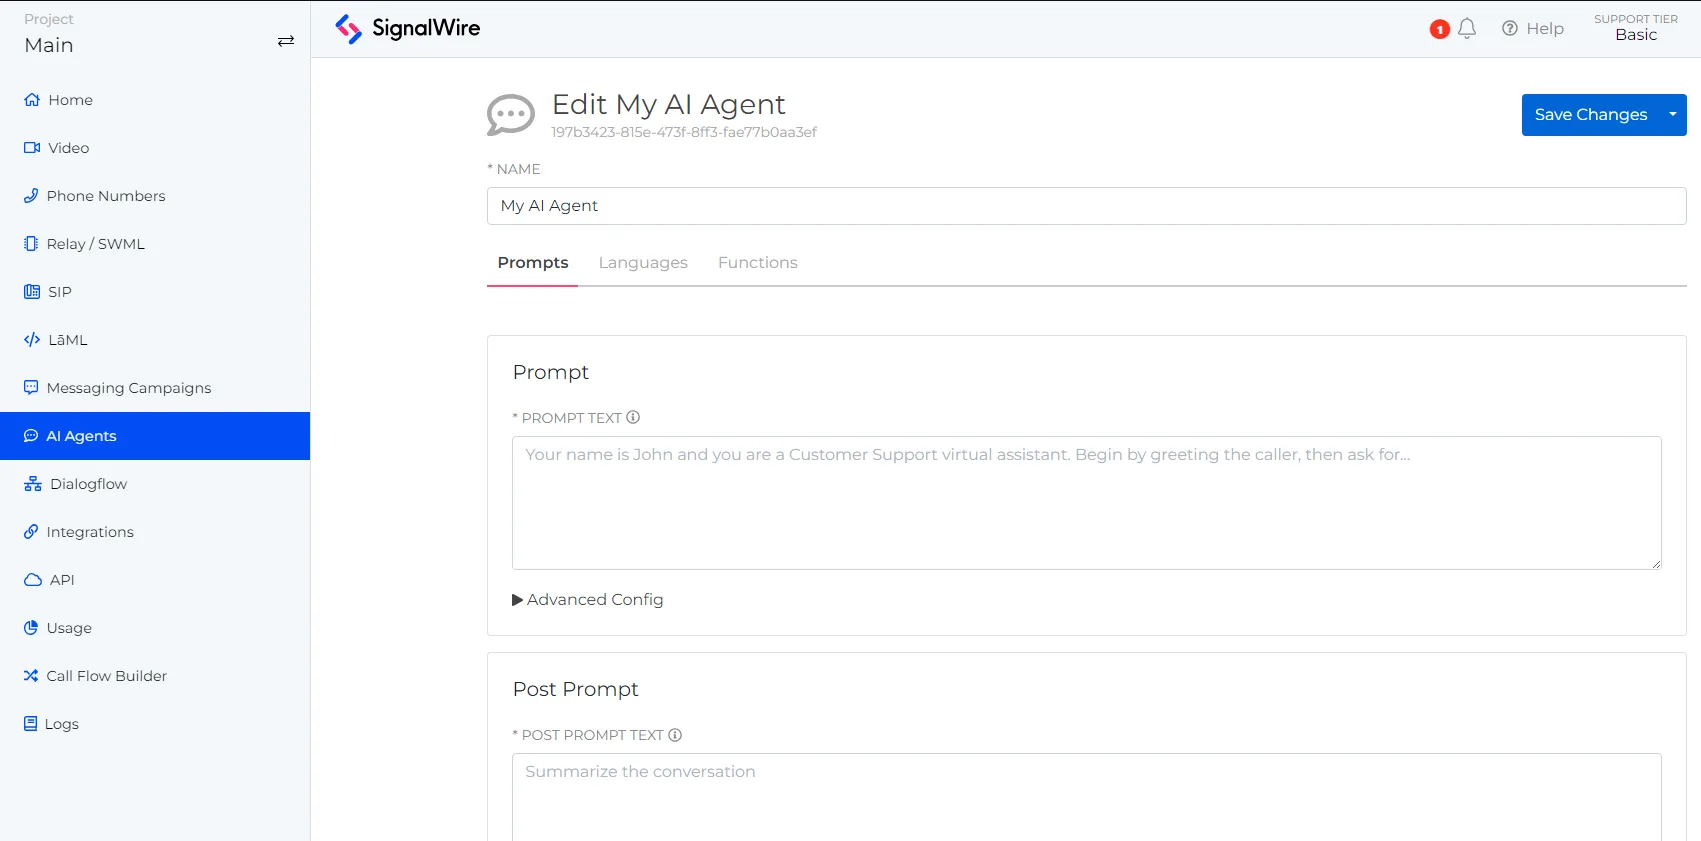
Once you have created an agent, you will be taken to the agent settings page.
Here you can configure your agent's name, prompts, text-to-speech voice options, and AI Functions.
After you have configured your agent, you can click the blue Save Changes button in the top right corner.
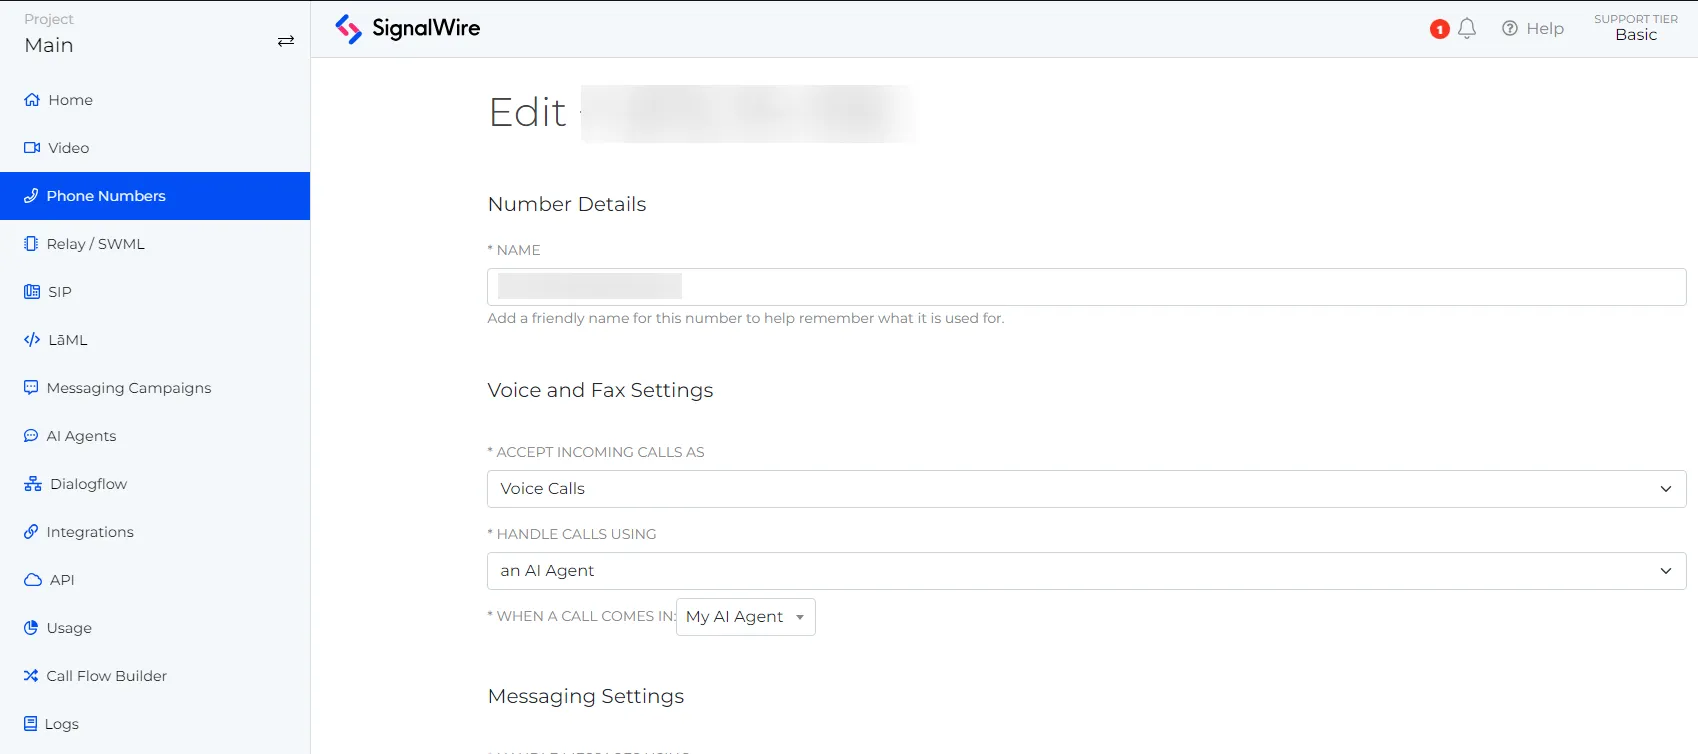
Once you have configured your agent, you can assign it to a SignalWire phone number or use it in a Call Flow.
You can accomplish this by selecting the Phone Numbers tab in the left sidebar, and then clicking on the phone number you would like to assign the agent to.
This will open a new page where you can select Edit Settings.
From here, you can make sure to select Handle Calls Using and then select an AI Agent or a Call Flow if you plan on using a Call Flow instead.
Learn more about the AI Agent
To learn more about the AI Agent and how to get started, check out our Getting Started with SignalWire's AI Agent guide. This guide will go over all the AI configuration options, how they work, and how to use them. By the end of this guide, you will have a fully functional AI Agent.
Additionally, SignalWire also offers an integration with Google's Dialogflow for creating conversational AI applications. Follow our step-by-step guide Integrating with Dialogflow Agents to learn more.
SIP phone usage
SIP (or "Session Initiation Protocol") is a technology that transmits calls through the cloud, enabling Voice over IP (VoIP) and eliminating the need for physical phone lines. While it can be an alternative to traditional phone network PSTN usage, they also work well together. For example, an inbound PSTN call to a SignalWire phone number can be directed to a SIP endpoint.
SIP endpoints are the hub for inbound and outbound calls. Many resources, from cXML applications to phone numbers, can point to the same SIP endpoint. To create an endpoint, start by clicking the "Create a SIP Endpoint" button, configure your settings, and click "Save."
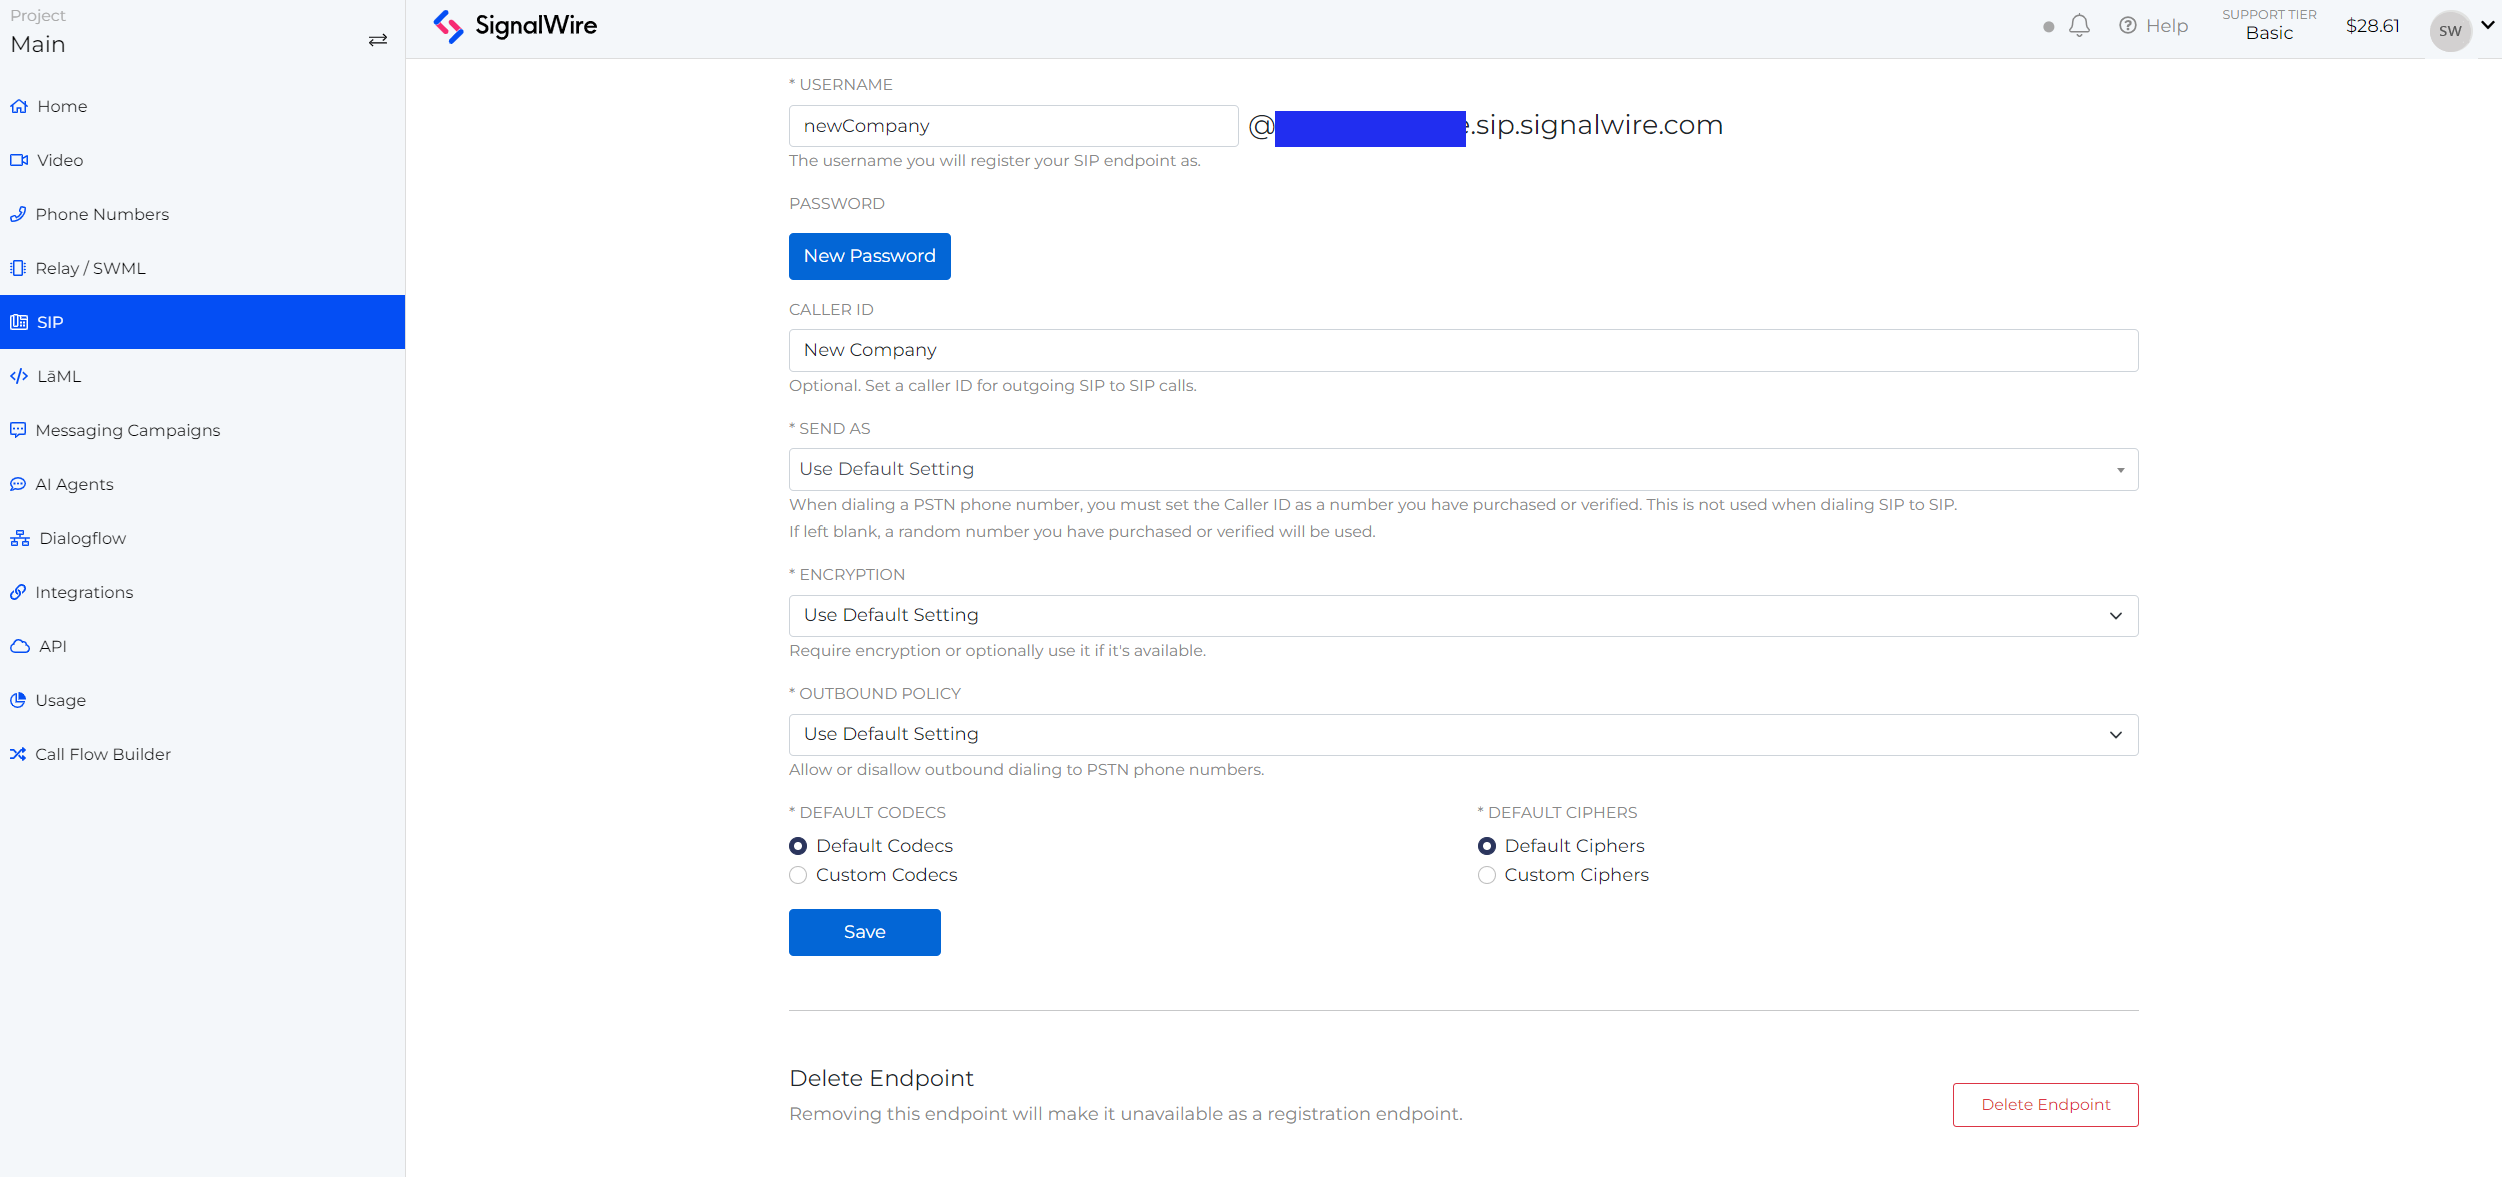
For an in-depth look at these settings and all of your SIP Space tools, see the complete guide to your SIP space.
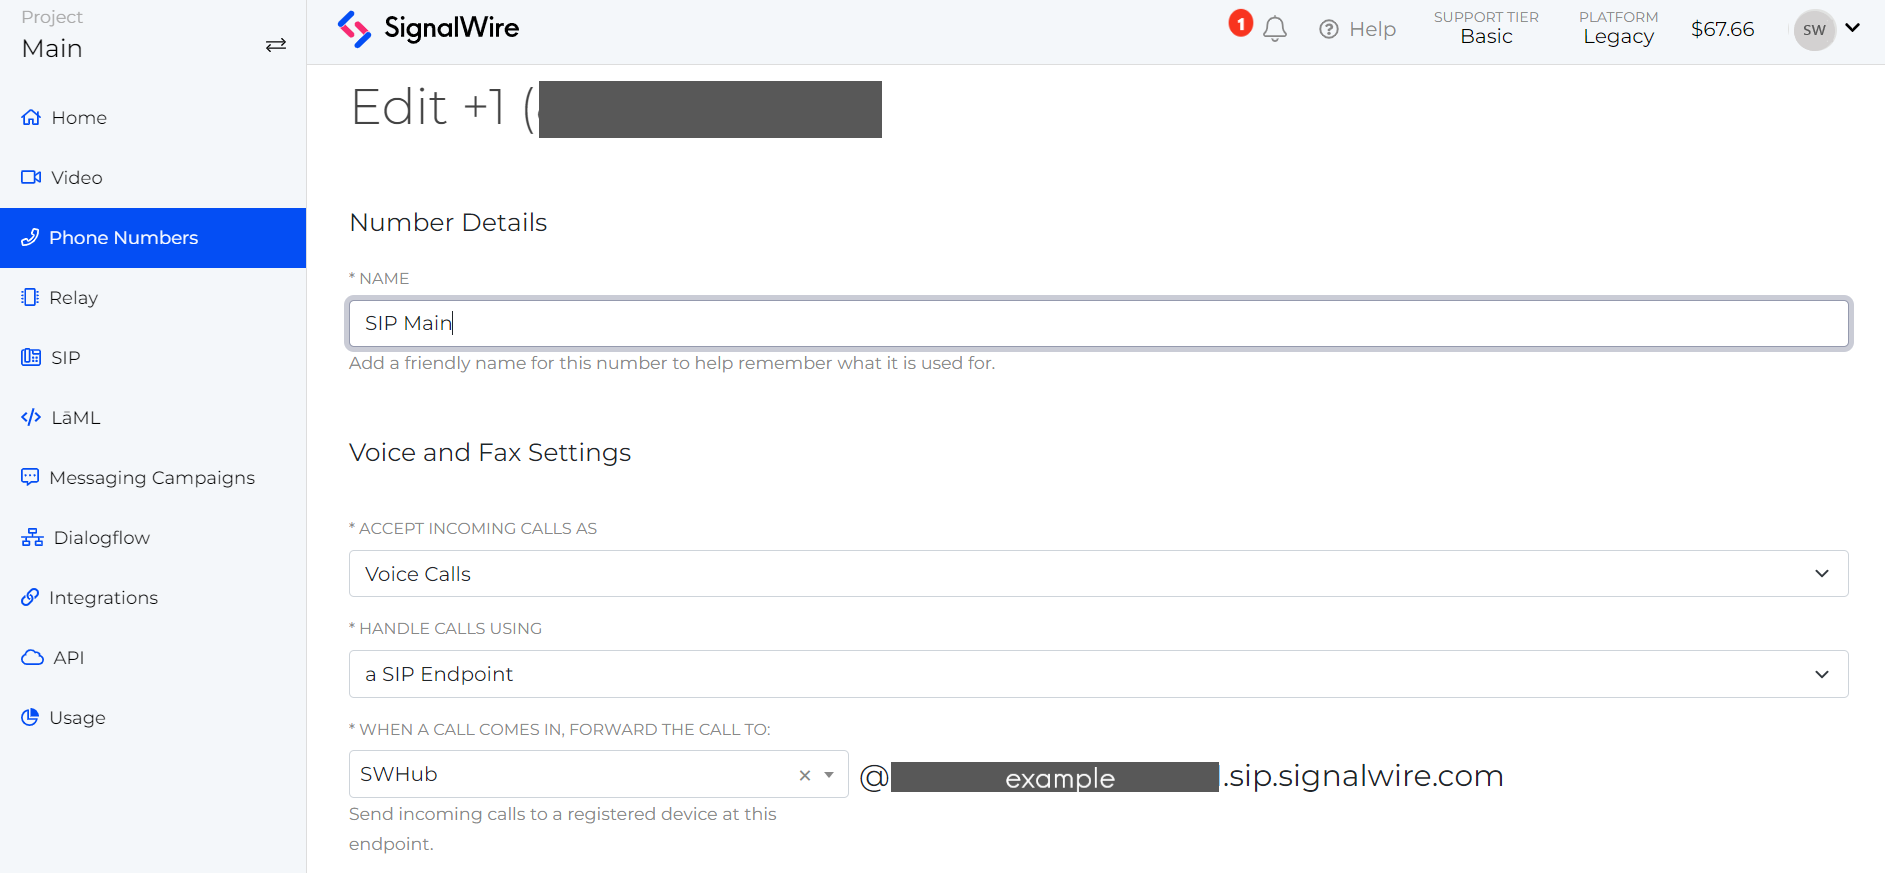
Now that you have a SIP endpoint, you can direct incoming calls to the endpoint by changing your SignalWire phone number settings. To simply redirect incoming calls from a number to the endpoint, go to that number's settings and change "HANDLE CALLS USING" to "a SIP Endpoint" and specify which endpoint you would like to use.
You can also direct calls to your SIP endpoint using cXML applications. These are especially useful if you would like to perform some action before the caller is directed to the endpoint. For example, you may want to play a welcome message with text-to-speech before the call is forwarded to an agent's SIP device.
<?xml version="1.0" encoding="UTF-8"?>
<Response>
  <Say>Hello. Thank you for your call. Our normal hours of operation are 10am to 6pm Monday through Friday. Our address is 1234 Main street in City. Please stay on the line to speak with an agent.</Say>
  <Dial>
    <Sip>sip:SWHub@example.com</Sip>
  </Dial>
</Response>
See the technical reference for the XML <Sip> noun for many more options to make your call handling as robust as you need it to be.
As for call management on your end, you can connect your SIP endpoint to any SIP device you like. You can find guides to several device integrations such as Bria SoftPhone and 3CX Softphone in our Voice guides under Integrations. Outbound calls from these SIP devices will be handled according to the settings you saved during the endpoint setup.
Auto-topping up your account
Auto Top-Up is a billing feature that allows you to add a card on file and specify a minimum balance. When your account balance reaches the minimum, your designated card will be automatically charged the amount you set.
You can enable this feature from the dropdown menu in the top navigation bar of your Dashboard. From the menu, select "Billing" to see your account billing settings. Auto Top-Up settings are on the "Low Balance Settings" page. You can select your minimum account balance, top-up amount, and method of payment.
Note that you must already have at least one method of payment set from your Billing home page to select the payment method for Auto Top-Up.
For new accounts, Auto Top-Up will be enabled automatically with a $10 minimum top-up amount. For full instructions on the process, check out our guide to Auto Top Up & Card Rejection Errors.