Create and deploy a no-code or low-code video conference room
The SignalWire platform offers powerful video conferencing tools
built on the MCU (Multipoint Control Unit) architecture to enable low-latency audio/video conferencing.
Each participant sends one video stream to SignalWire and receives one stream in return,
reducing the load on the end-user and ensuring all clients see the same video feed.
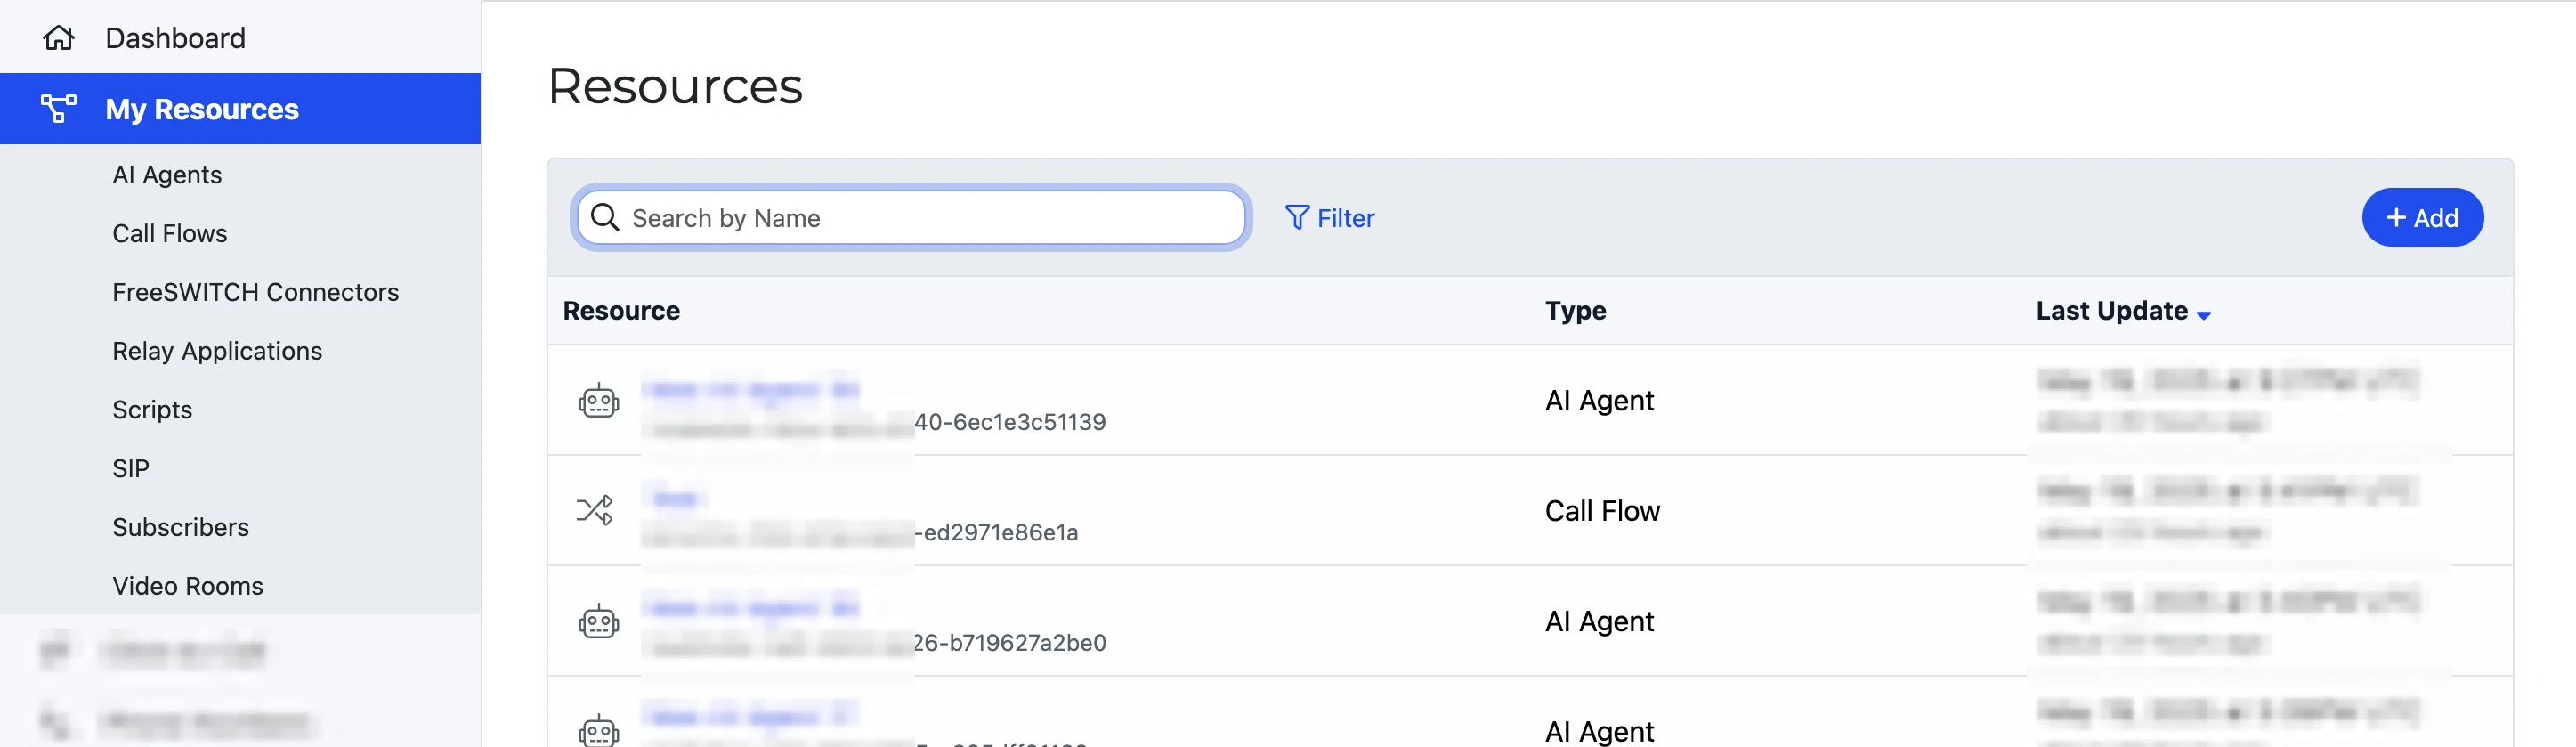
If you don't see the Resources tab, your SignalWire Space is on the Legacy Dashboard.
Refer to the Legacy section of this guide for instructions for your Dashboard and information about the migration.
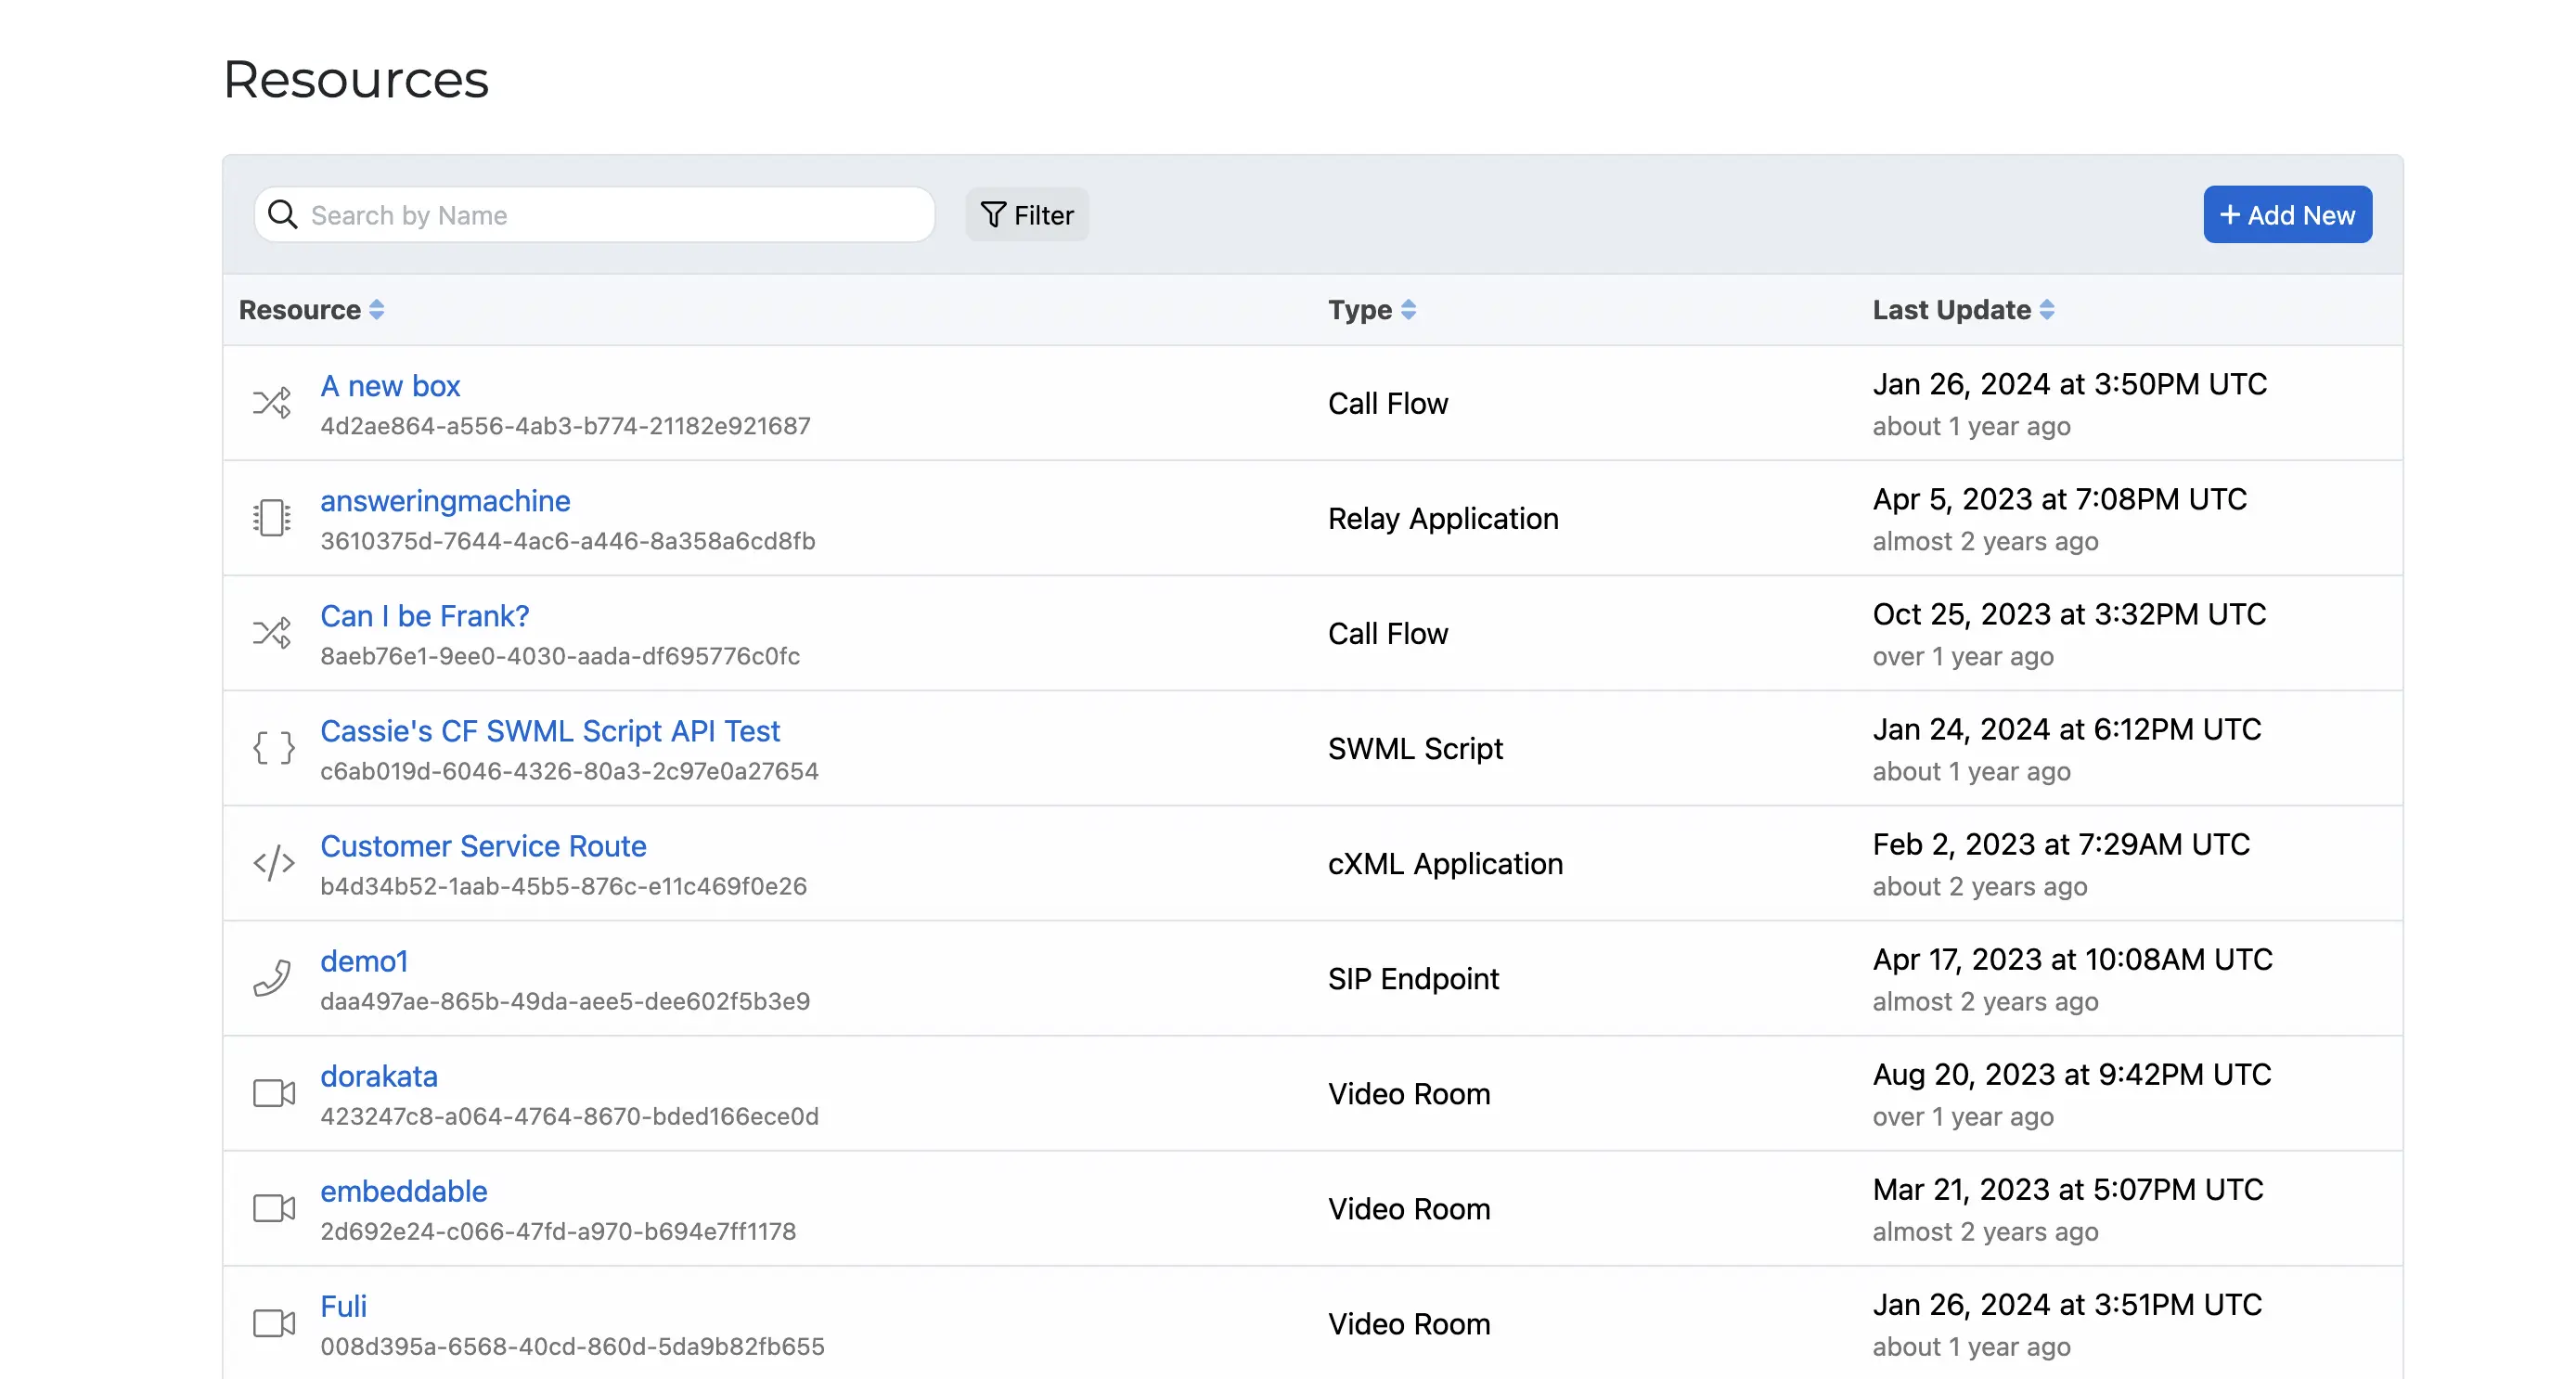
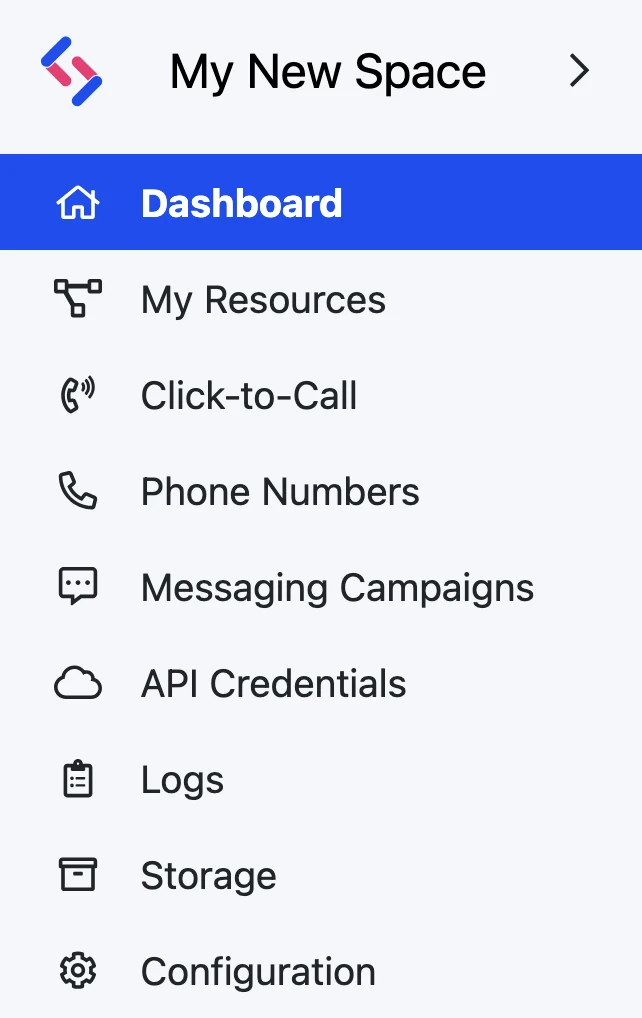
Create and manage all Resources from the SignalWire Dashboard.
Now you're ready to embed the video room code in your website.
Here are some examples on how to use the code that we have copied, depending on the technology behind your website.
Refer to your site's documentation for comprehensive instructions on embedding code.
Paste the snippet of code inside the <body> of your page, in the position where you want it to appear.
If you need to, you can control the size and position of the widget by wrapping it in a properly styled div element.
For example, to make sure that the size is exactly 400px x 250px and that the widget is horizontally centered:
<divstyle="margin:0 auto;width:400px;height:250px;"> [paste here your snippet of code] </div>
Integrating video meetings in WordPress to meet with your team or your customers has never been easier than with Video Conferences!
You can add your Video Conference guest code to any page or post, using the Custom HTML block.
Paste the code snippet in the HTML block, and you are ready to go.
Since we do not want everyone to have Moderator permissions, we can create an extra page, for internal use only, by making it Private and only visible to Administrators and Editors.
You can password-protect your guest page to only allow certain people to join in. This has the benefit of having a consistent meeting link, but with the added benefit of changing the page password as needed.
How to password-protect a page.
Conferencing with readers in Ghost is very simple.
To turn any post into a meeting/conference page all you need to do is add the guest code to an HTML card.
How to add the code snippet to a post using the HTML card.
Moderators and Guests have different permissions.
Make sure to select the right one when copying the embed code.
Guests
Moderators
Join/Leave Room
✅
✅
Mute/Unmute Audio
✅
✅
Start/Stop Webcam Video
✅
✅
Share Screen
❌
✅
Mute/Unmute Other Users' Audio
❌
✅
Start/Stop Other Users' Video
❌
✅
Start/Stop Recording The Room
❌
✅
Moderator Code Snippets and Publicly Available Pages
Since your room's Moderator code snippet gives website visitors permissions over other users, you should never copy it to publicly available pages. Essentially, you could decide to embed these into different pages of your website, one internal (for the Moderator code snippet) and one accessible by the public (for Guests).
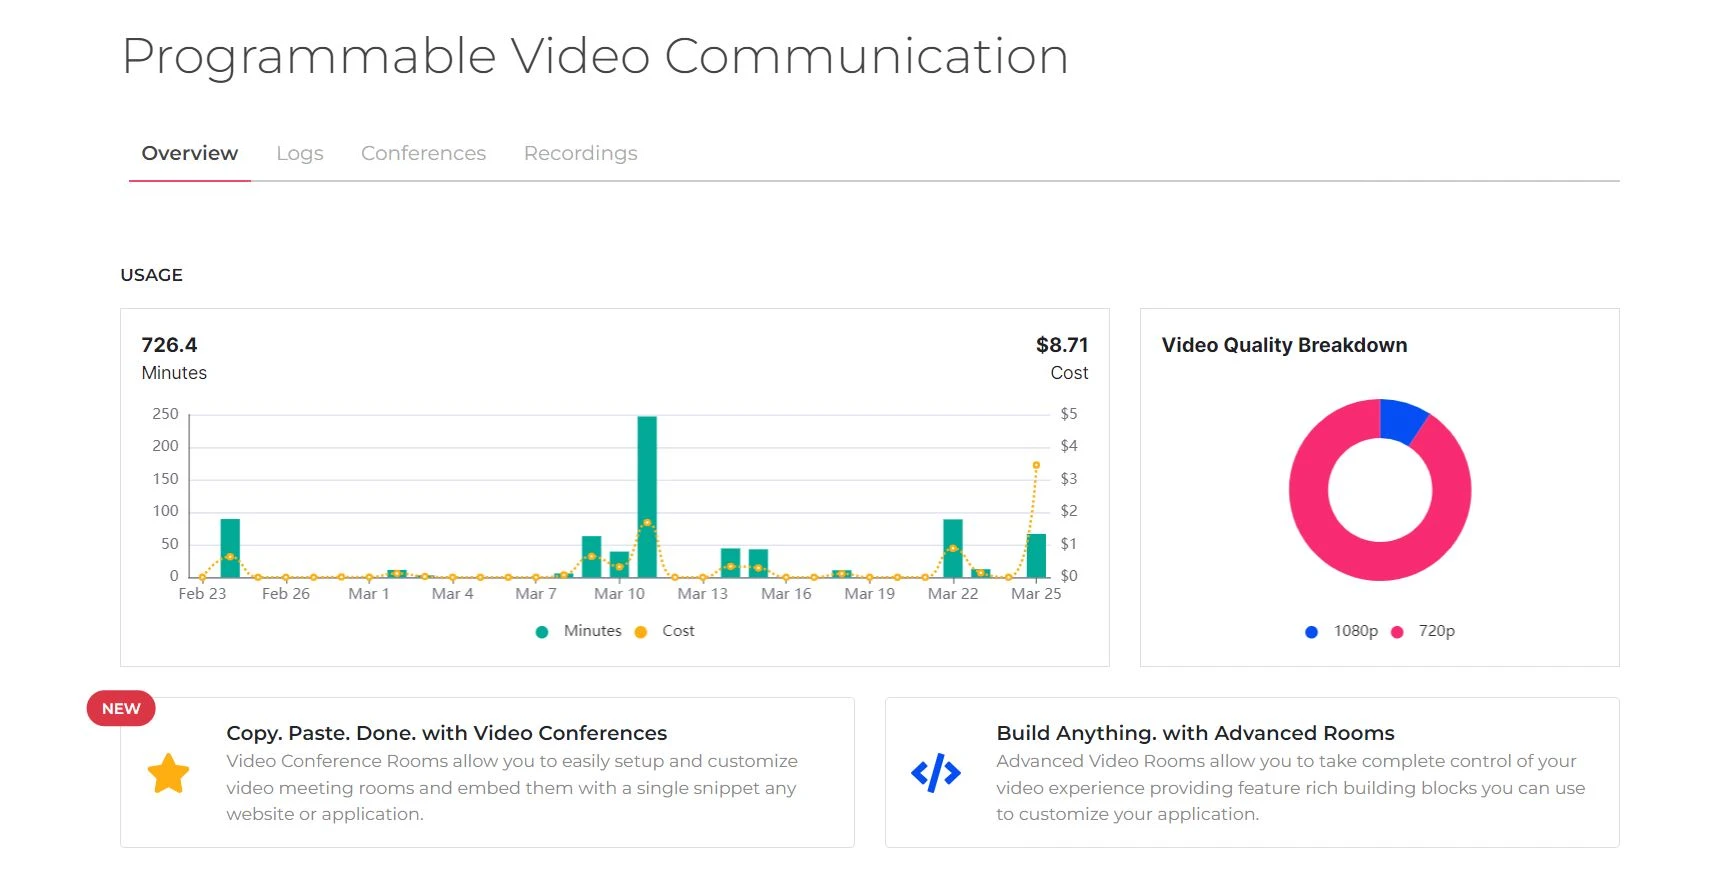
In this tab of your SignalWire Dashboard, you can visually track your Video API usage over the previous week
by total minutes, cost, and video quality with the usage graphs.
Under the charts, you will find two helpful links to create videoconference rooms via different methods.
Both links under the graph will take you to a form to create a New Video Conference Room.
You have the choice to create a new room with a pre-built UI or without.
The pre-built UI option is a pre-built videoconferencing room that you can use
with no coding required beyond copy-pasting a code snippet into your application.
The second option will create the same kind of video room created programmatically
with a POST request to <YOUR SPACE>.signalwire.com/api/video/rooms.
After selecting your room type, click on the dropdown menu next to
Moderator Embed Code and click on Guest Embed Code to copy the code.
A screen like the following will open:
Guest Embed Code Snippet
You can copy either the code for guests, or the code for accessing the room with moderator permissions.
See the Conferences menu reference for a detailed explanation of the different copyable fields.
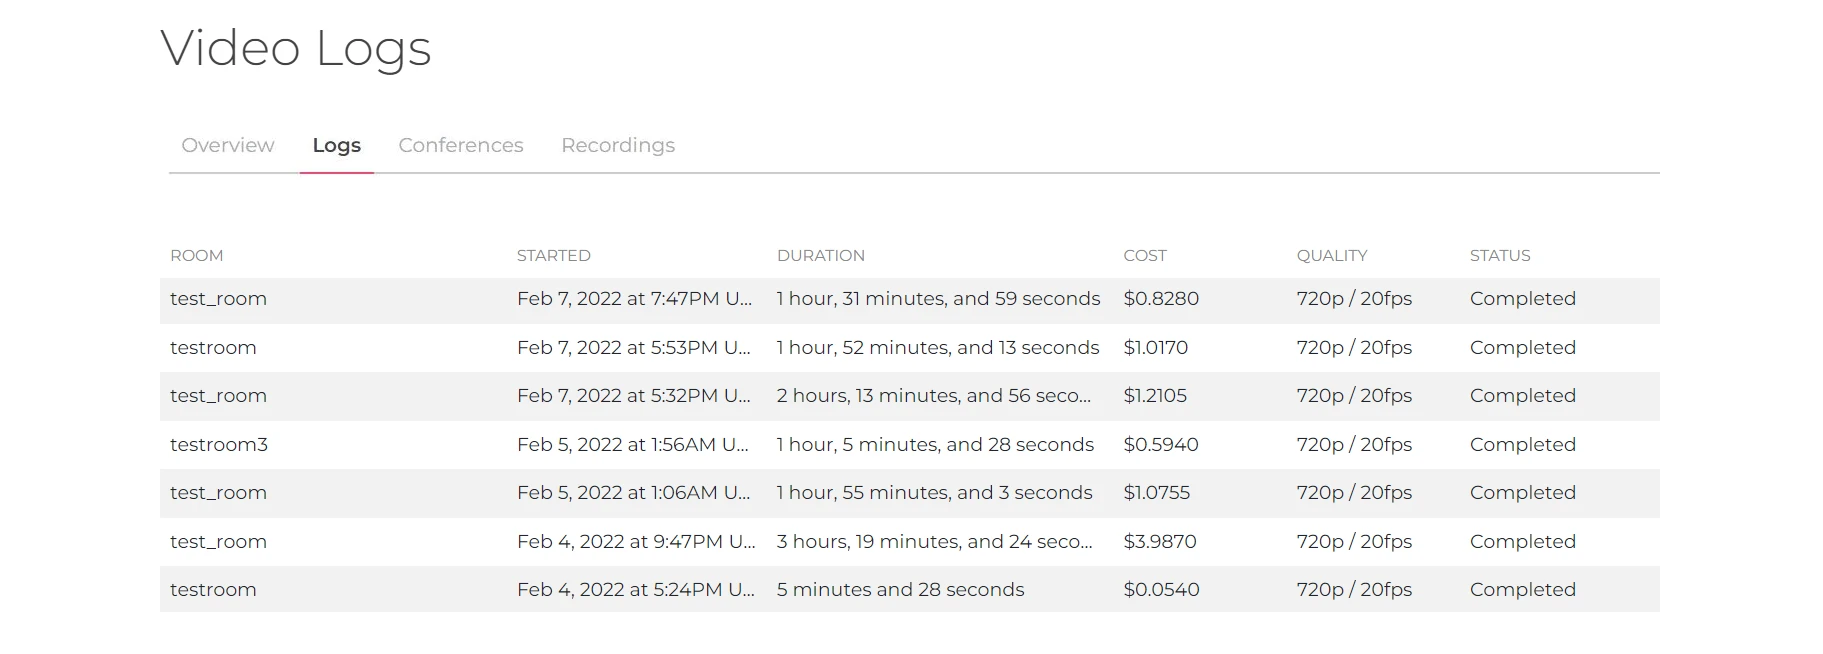
This tab is where you can find a detailed list of all video room sessions. This includes Video Conference rooms as well as API rooms.
If a video session is in progress, hovering over the "In Progress" status will display the room preview as long as previews are enabled.
Clicking on a session opens even more details on the room session including all of the room settings and members.
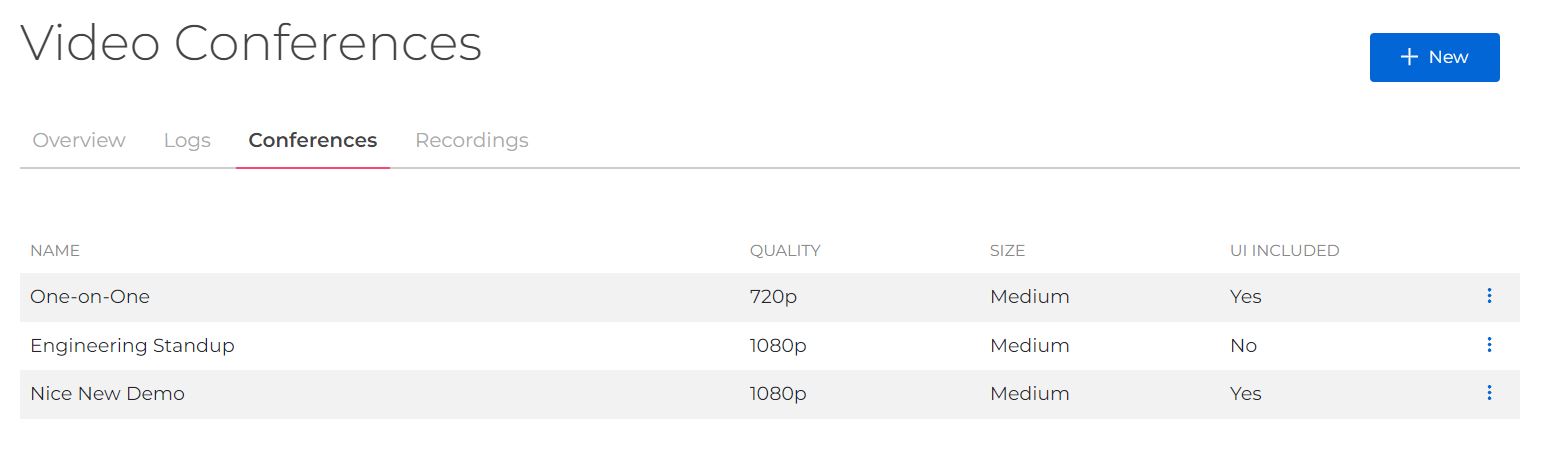
Here is where all of your existing Video Conference rooms are listed.
Selecting an existing room will open its detailed settings, which you can change as often as you like.
Be sure to click the save button at the bottom to save any changes.
You will also see a room preview here if there is a video session in progress.
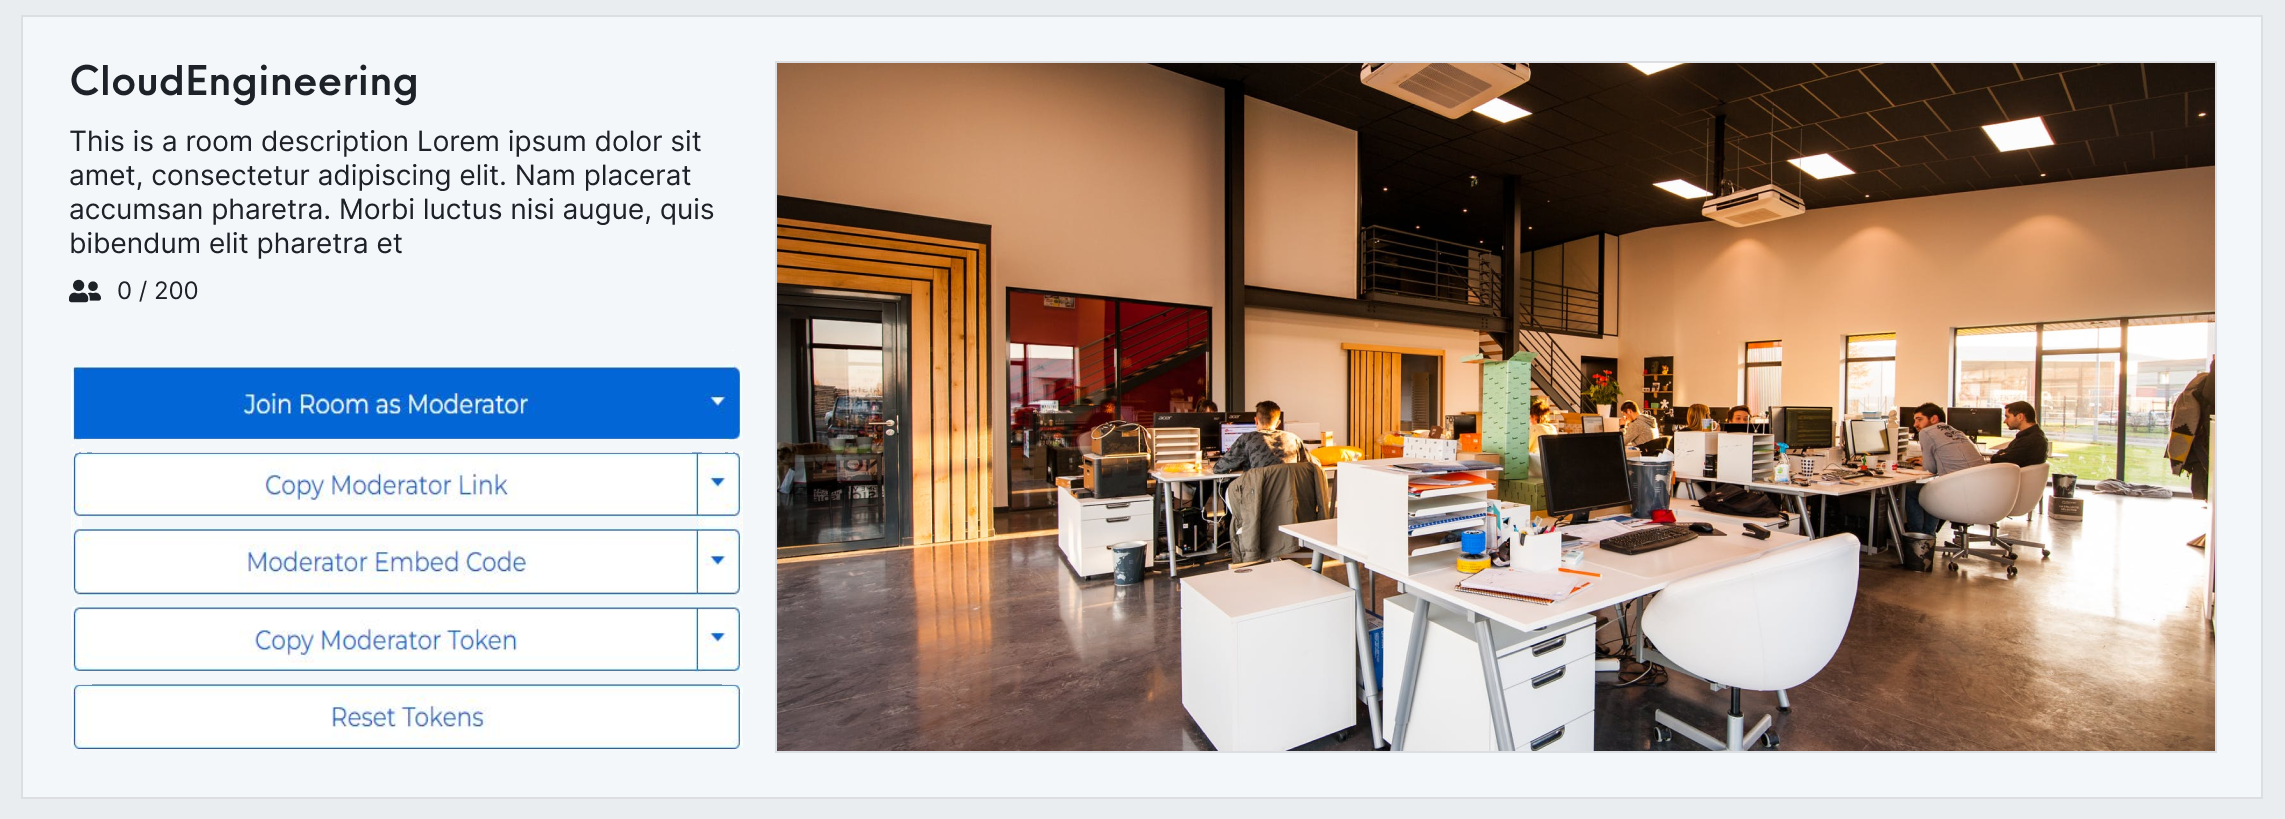
Overview screen for a Video Conference.
On the right, you see a preview of the room's content.
Note that this will be enabled only if you have enabled room previews.
On the left, you find buttons for using your room.
Pressing this button allows you to join the video room with moderator permissions.
Pressing the downwards arrow lets you join with guest permissions instead.
Pressing this button copies a link for joining the room with moderator permissions.
Pressing the downwards arrow lets you copy the link for joining with guest permissions instead.
Pressing this button copies a code snippet for embedding the video room into any web page.
By default, the code snippet will make users join with moderator permissions.
Pressing the downwards arrow lets you copy the code for joining with guest permissions instead.
You could decide to embed these into different pages of your website, one internal and one accessible by the public.
Pressing this button copies the room token which can be used programmatically to grant access to the room with moderator permissions.
Pressing the downwards arrow lets you copy the token for joining with guest permissions instead.
You may need these tokens if you alter the embedded code.
Pressing this button will reset the security tokens associated with a room.
Press this button if you want to disable existing access to the room.
Note that resetting the tokens will require you to update all the code snippets and links that you previously shared since they will stop working.
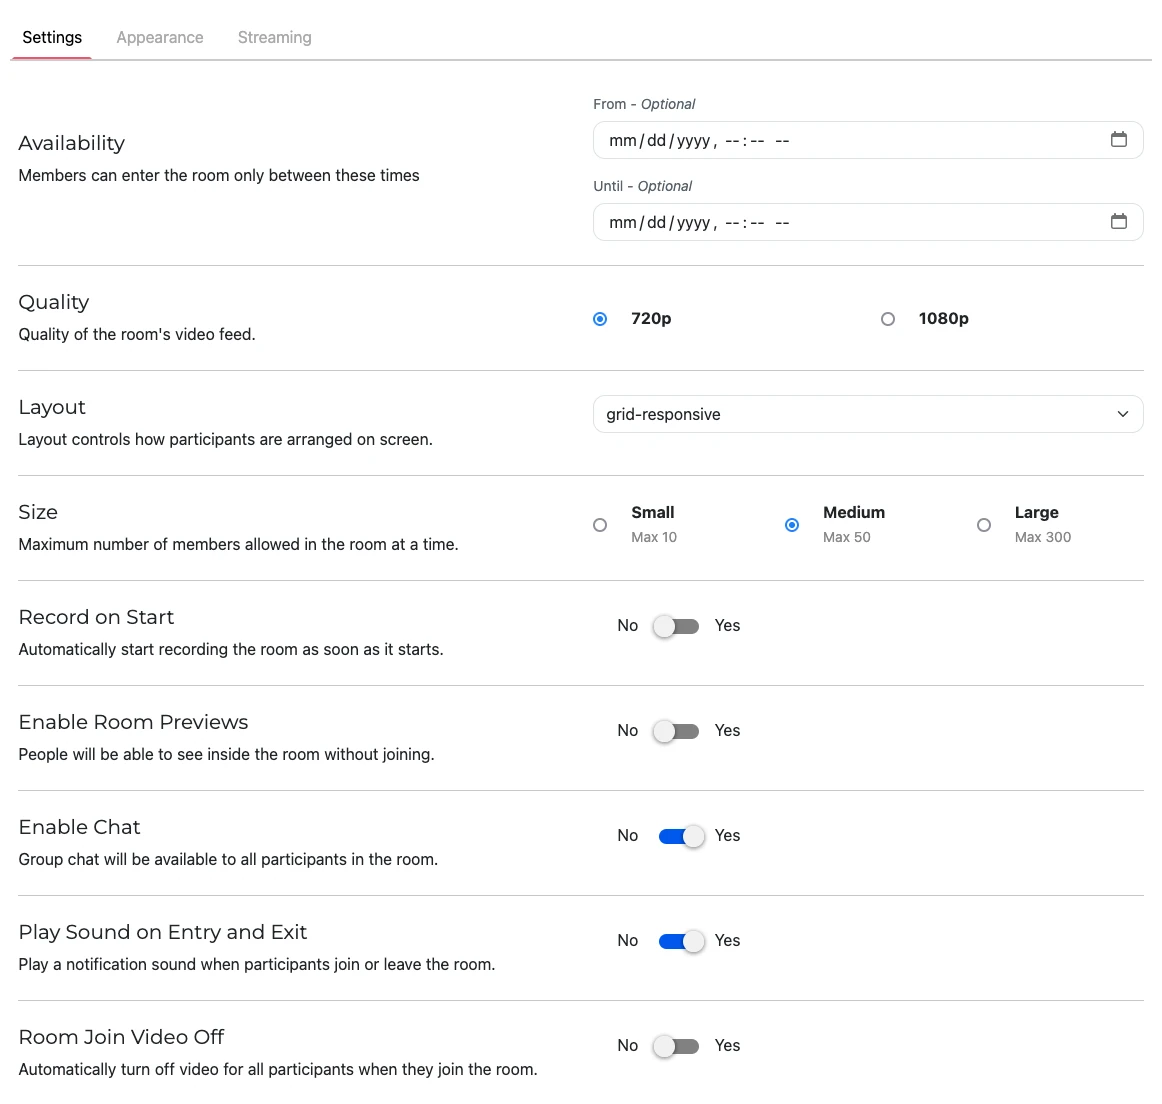
In this tab, you will find options to customize how your room is built.
Configuration options for Video Conferences.
Availability sets a specific time the room will be accessible.
If you want to limit accessibility to a specific event time, input the starting and ending date and time using your local format or click on the calendar icon to set them.
Quality allows you to set a lower or higher video quality depending on your bandwidth and system capabilities.
Layout controls the arrangement of participant video tiles.
This will be the same layout for all users.
The default is a responsive grid.
Size limits the number of participants allowed to join the room.
A small size will cap the number of participants at 10, medium size at 50, and large size at 300.
After the limit is reached, no other participants can join the room.
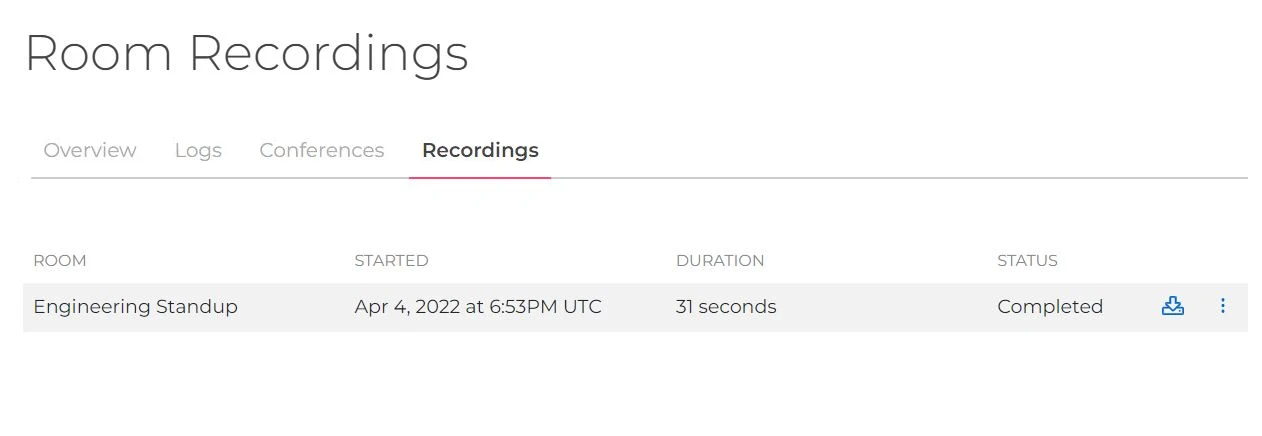
Record on Start starts a recording as soon as the room is opened.
Recordings are accessible later in the Recordings tab in the Video section of your SignalWire Space.
Enable Room Preview allows a short recording of the room content to be recorded and displayed to participants before joining the room.
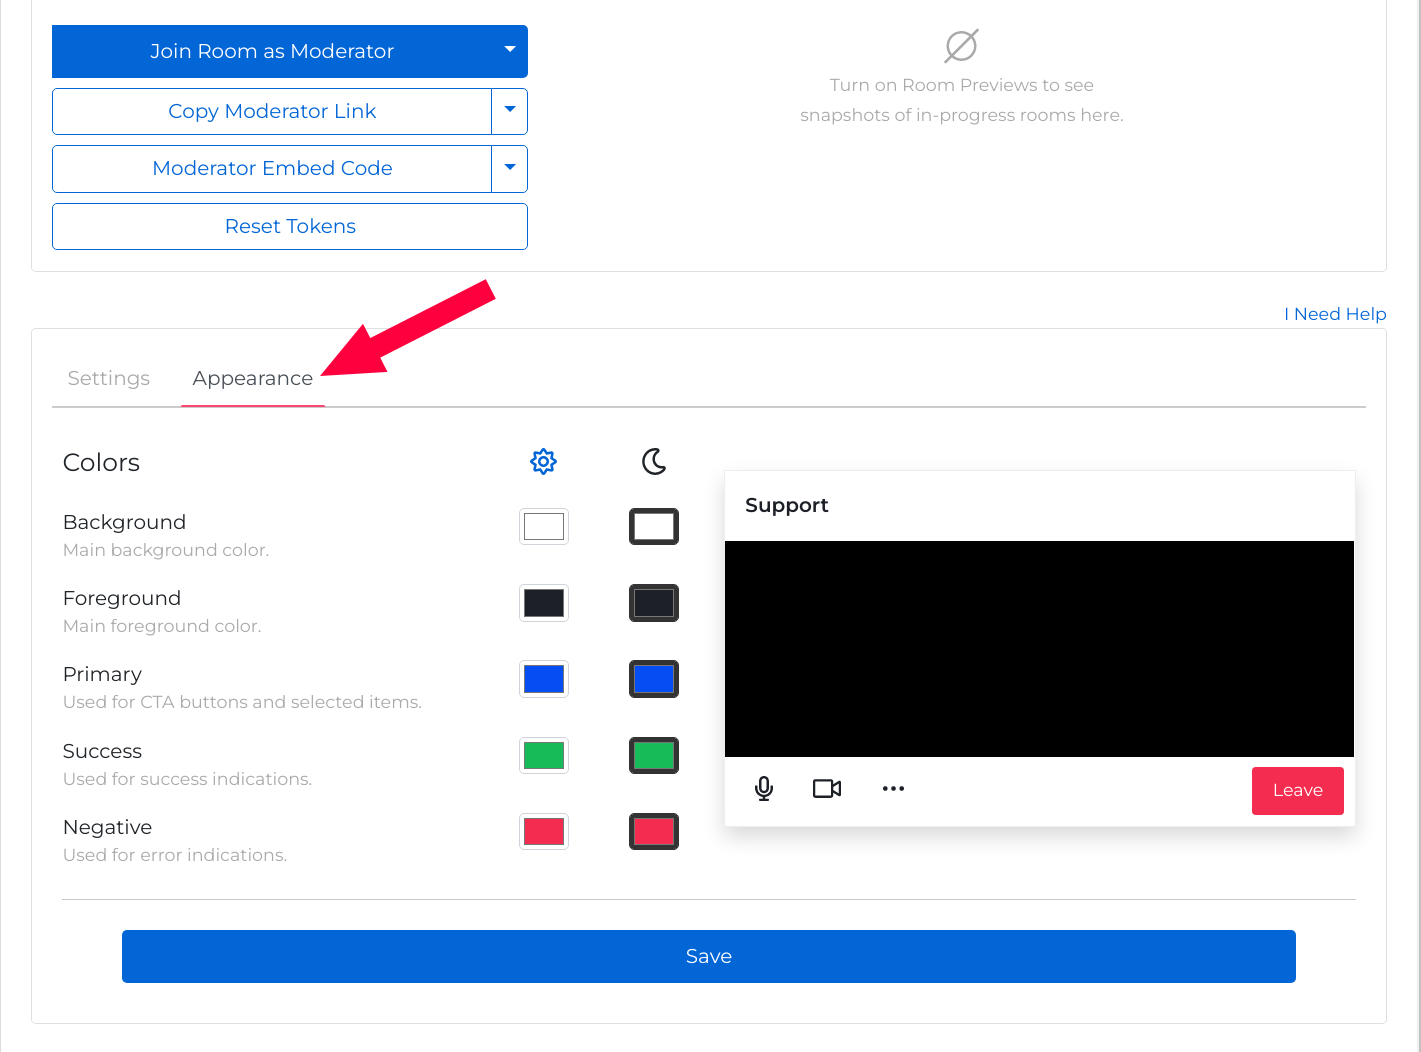
In this tab, you can customize the colors used in your room.
There is a color picker for Background, Foreground, Primary, Success Indications, and Error Indications.
There are two color schemes available: light and dark, and you can change them accordingly so they fit the look of your web page depending on the time of day.
You can use the preview to test out your choices.
Video Conference Appearance Tab
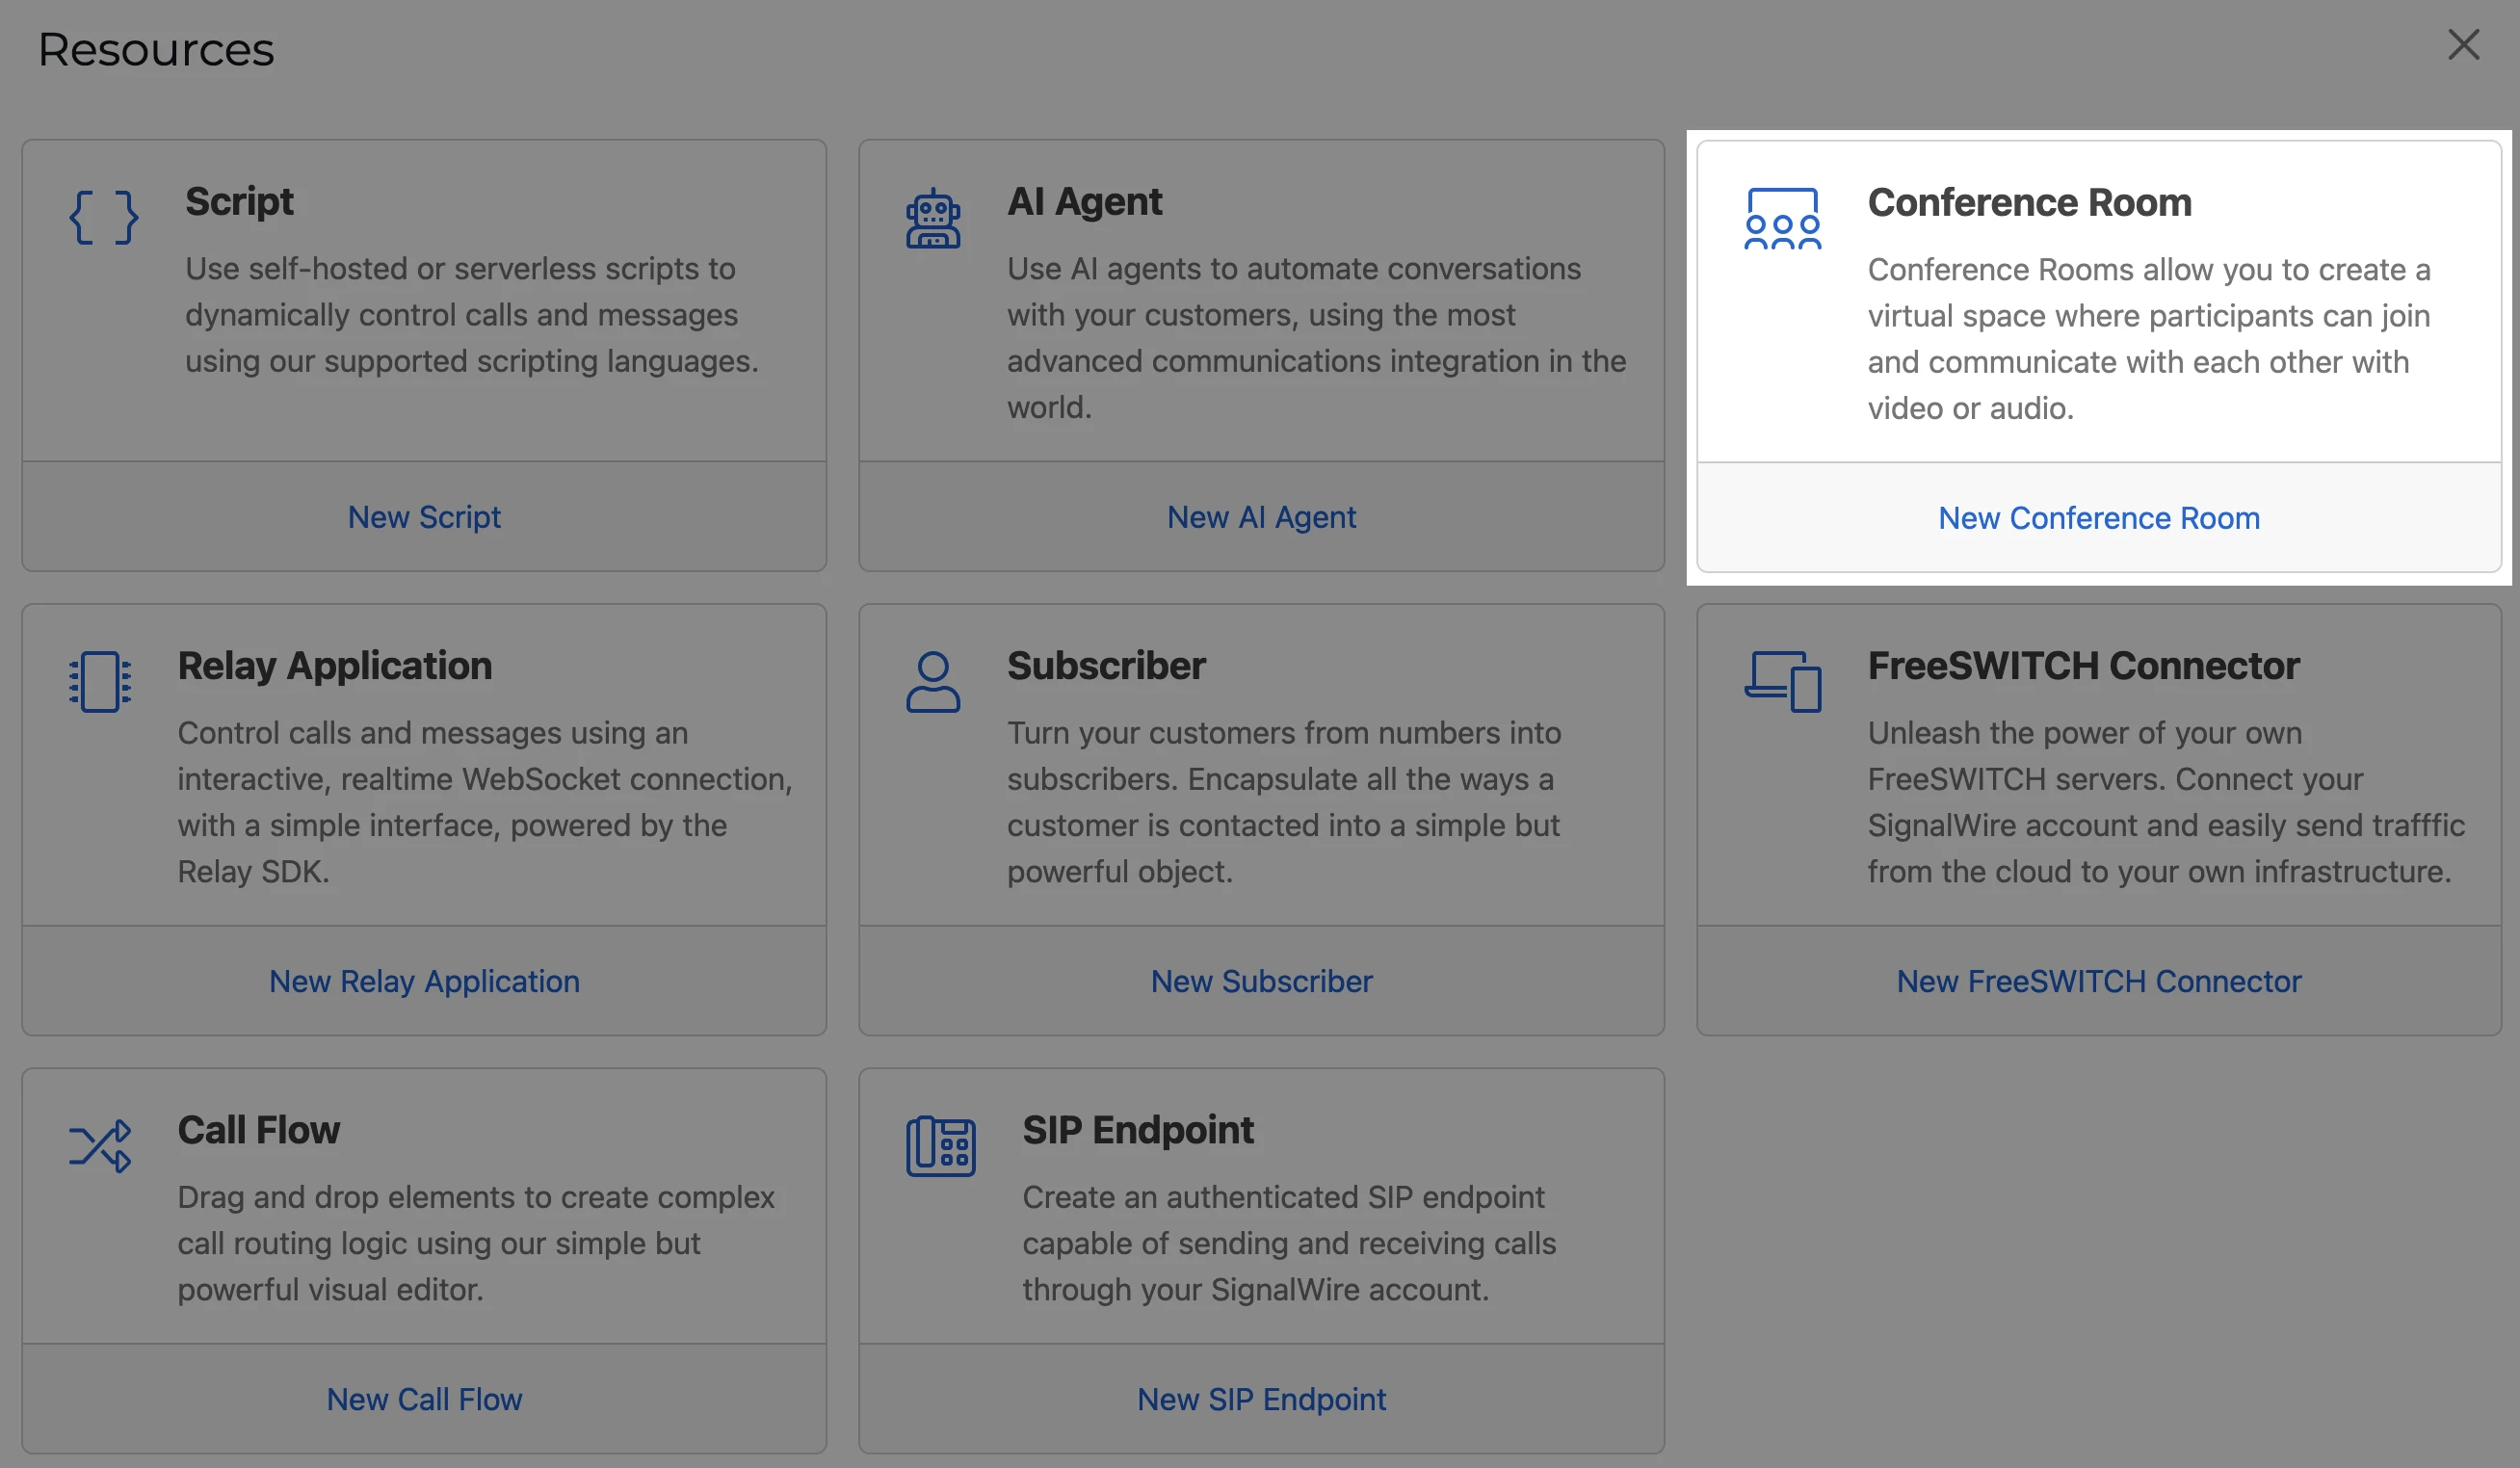
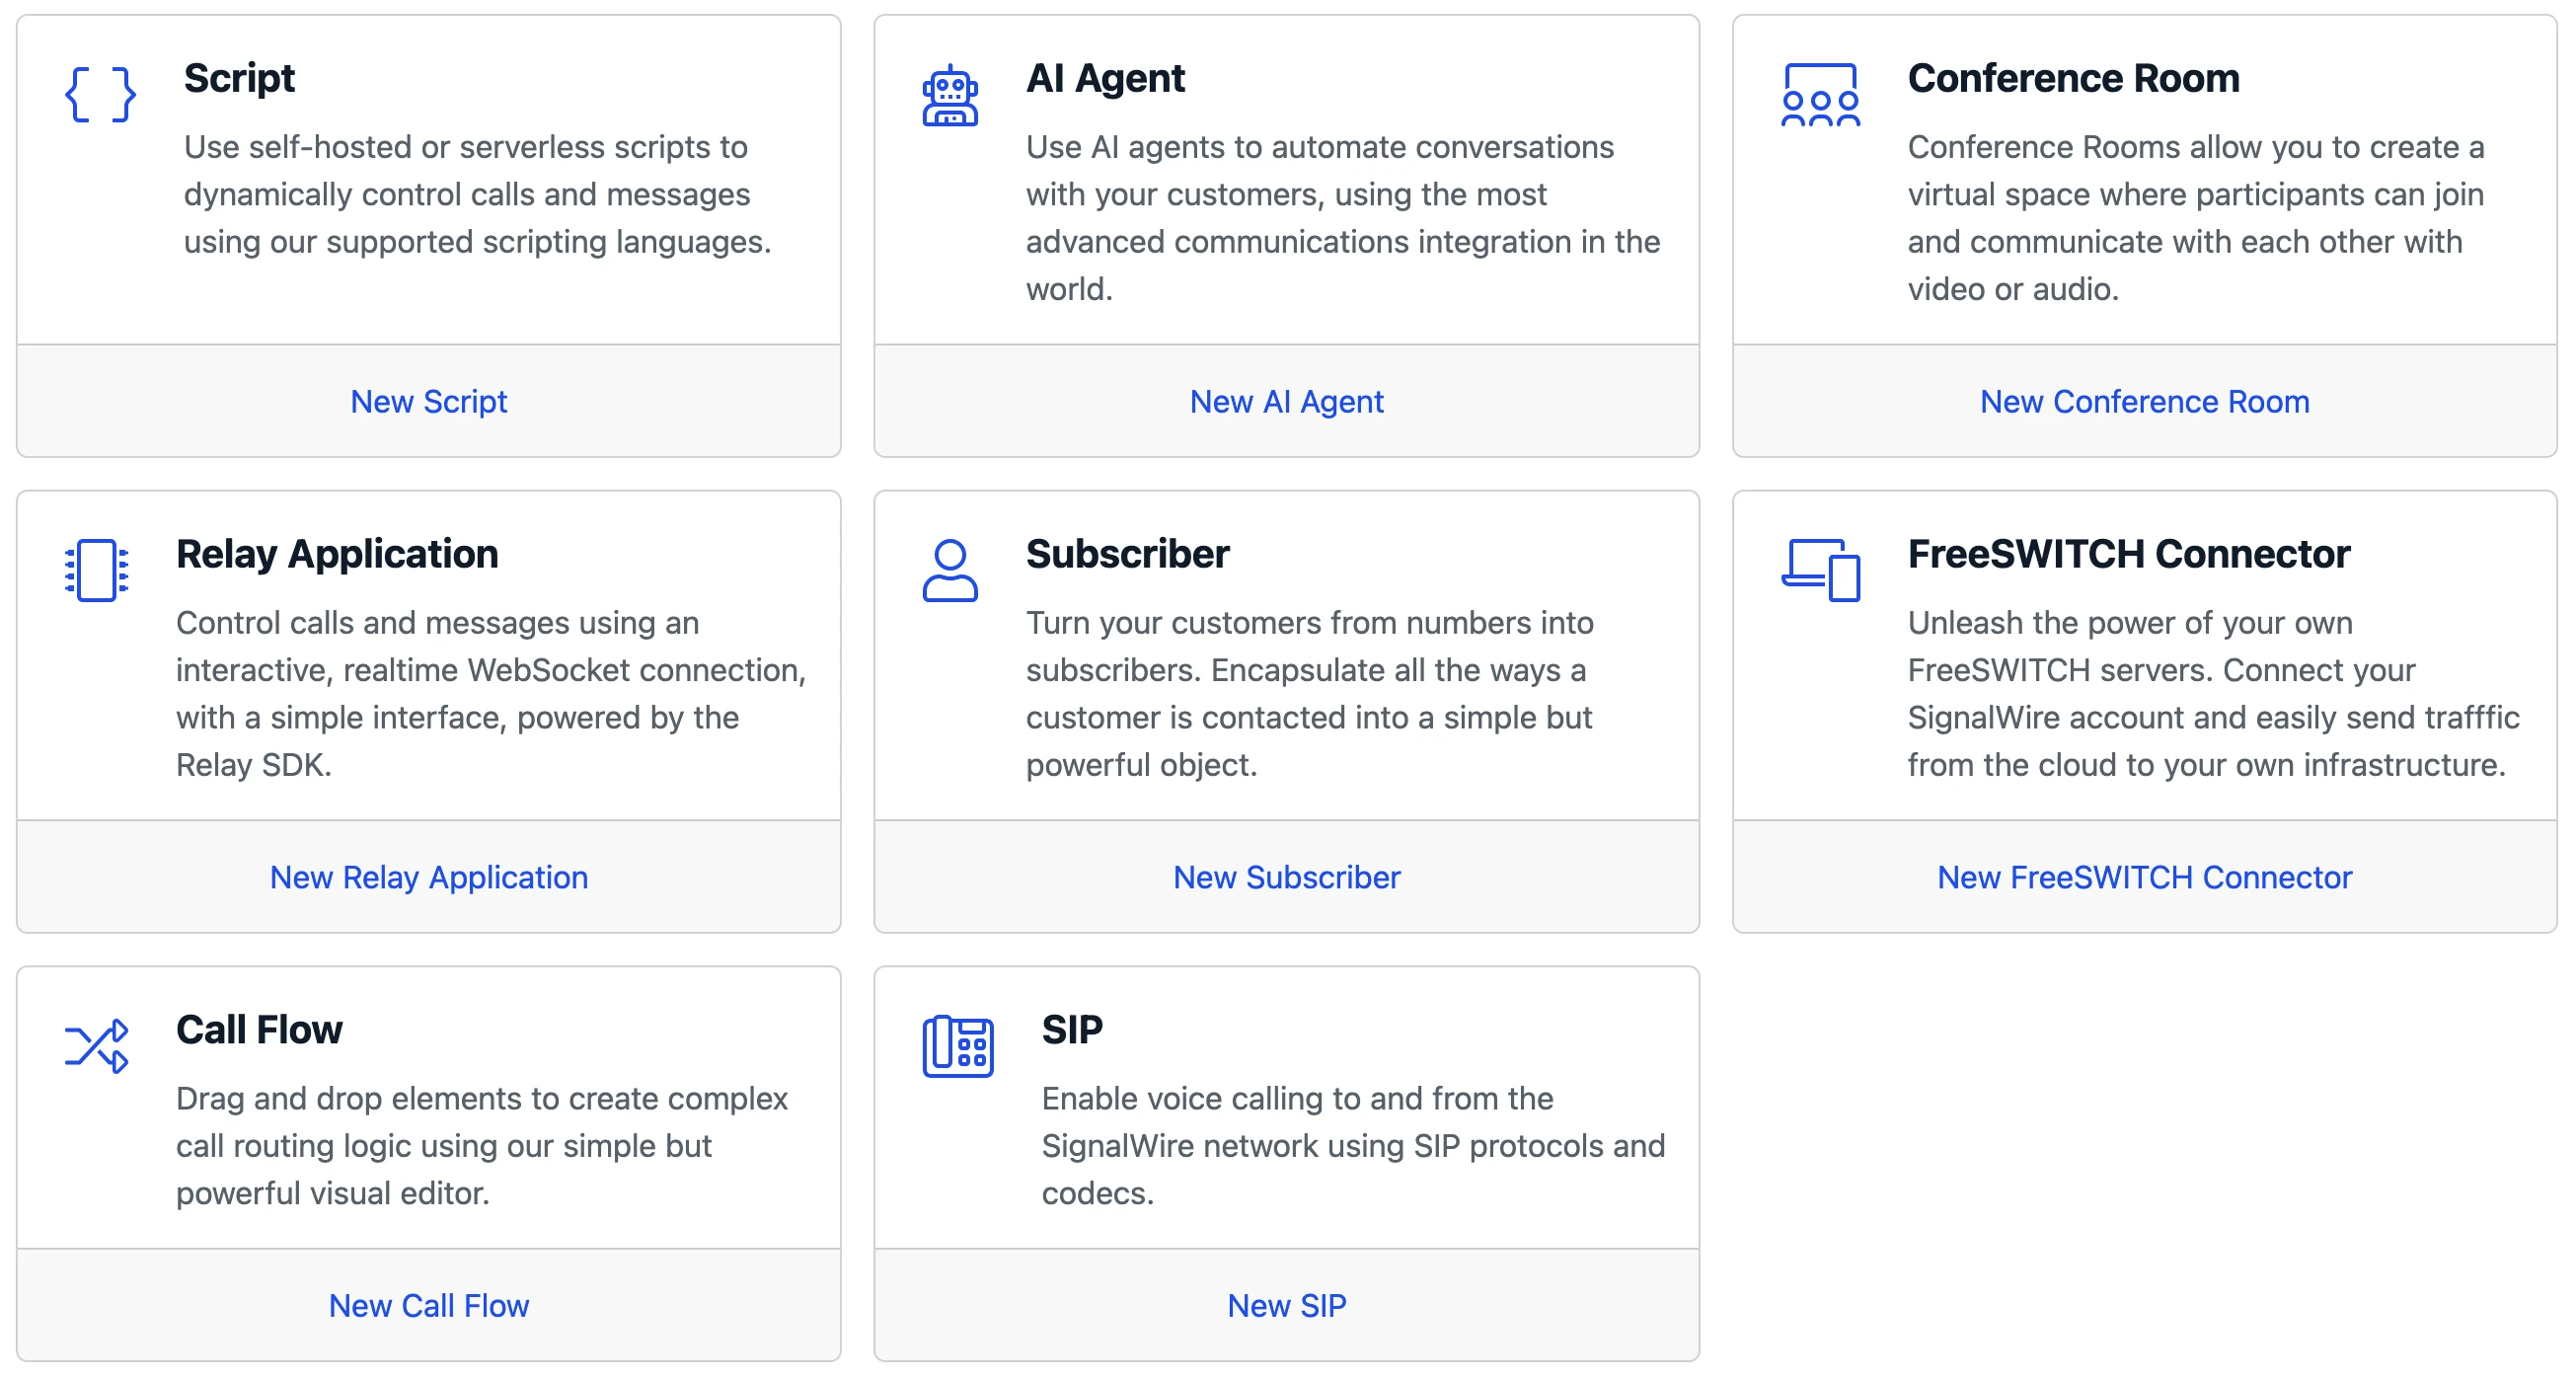
You can create a new Video Conference room by clicking the "+ New" blue button on the top right.
You have the option of creating a room with a prebuilt UI or without.
If you choose a room with a prebuilt UI, all you need to do is copy the embeddable code from the room's details page and drop it into your application.
For more information on rooms with a prebuilt UI, see our Video Conferences guide and our guide on
Integrating Video Conferences With Any Website.
Without the prebuilt UI, you will access the videoconference room through your application with a room token request which includes the room's name.
You can then use that token to programmatically start a Room Session, join the room, and display the video in the appropriate div in your application.
You can find a full guide to using a video room like this in the Simple Video Demo.
A Note on API Rooms
There are three ways to create API Rooms: from your SignalWire Space, with an API call, or auto-created when a room token is requested for a room that does not yet exist.
The first two methods create API Rooms that persist and are listed in this Conferences tab of your SignalWire Video page.
They remain accessible until they are manually deleted.
However, a room that is auto-created is automatically deleted when it is closed.