Introduction to WireStarter
WireStarter is a Docker container which sets up the SignalWire SDKs and builds a development and testing environment for new developers.
WireStarter includes SWSH (the SignalWire interactive Shell) by default. SWSH is a scriptable utility built to easily configure and manage SignalWire Spaces from a command-line environment.
Prerequisites
Before you begin, ensure you have the following prerequisites:
- A free SignalWire Account
- SignalWire API Credentials: Copy your Project ID and API Token from the API tab of your SignalWire Dashboard. Read our Introduction to SignalWire API Calls to learn more.
- Docker Desktop
If you intend to set up an example application, you'll also need to install ngrok and create a free ngrok account.
Installation
The instructions for installing WireStarter using Docker are universal and will work on MacOS, Linux, and Windows.
The script we run in step 3 will ask for your SignalWire Space ID, SignalWire Project ID, SignalWire Project Token, ngrok Token, and ngrok Args (optional - mostly for custom domains), so make sure you have that information handy by opening the SignalWire 'tokens' page and the ngrok 'Your Authtoken' page.
Repeat these instructions anytime you need to start WireStarter again.
Start Docker Desktop
Docker must be running at the start of the process.
Download, install, and run WireStarter
WireStarter is frequently updated. If you've used WireStarter before, be sure to delete the previous version (using the Docker Desktop UI or the command line) and reinstall the latest version of the container.
docker run -it -d --rm --name wirestarter briankwest/wirestarter:latest
This Docker command downloads and installs WireStarter (if it isn't already installed). It then runs the container in the background and automatically removes it on exit.
Start SWSH
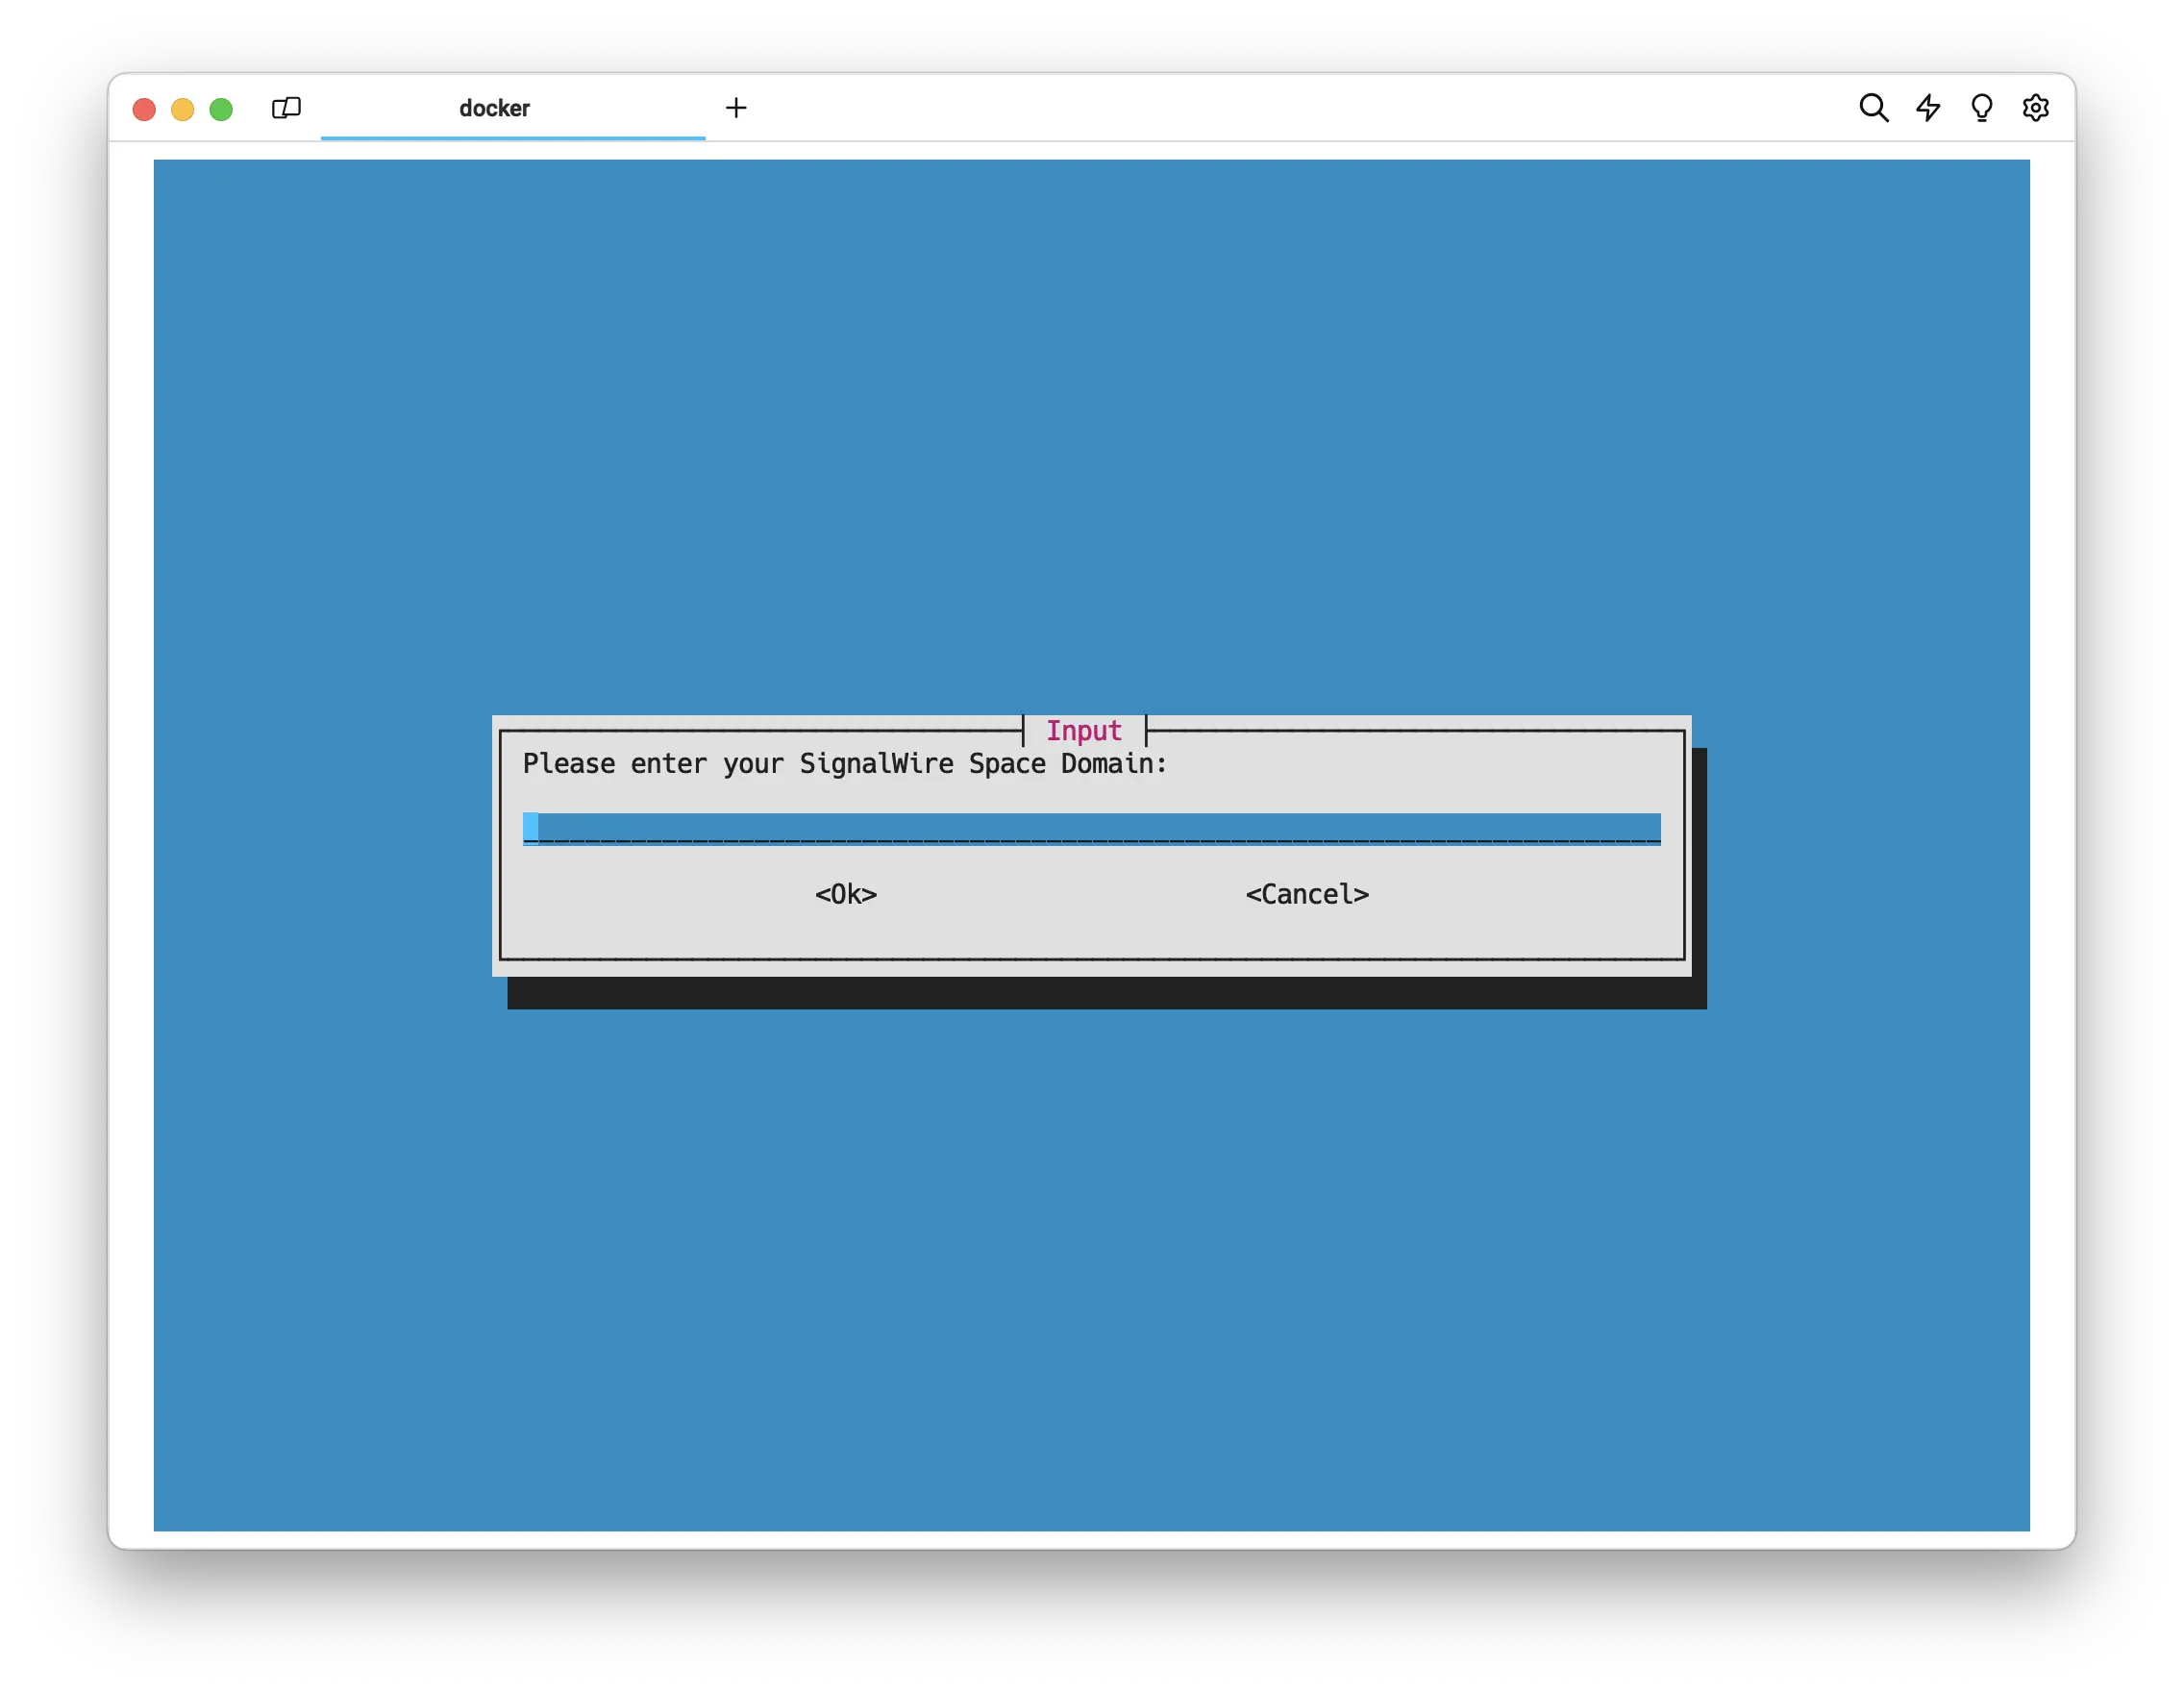
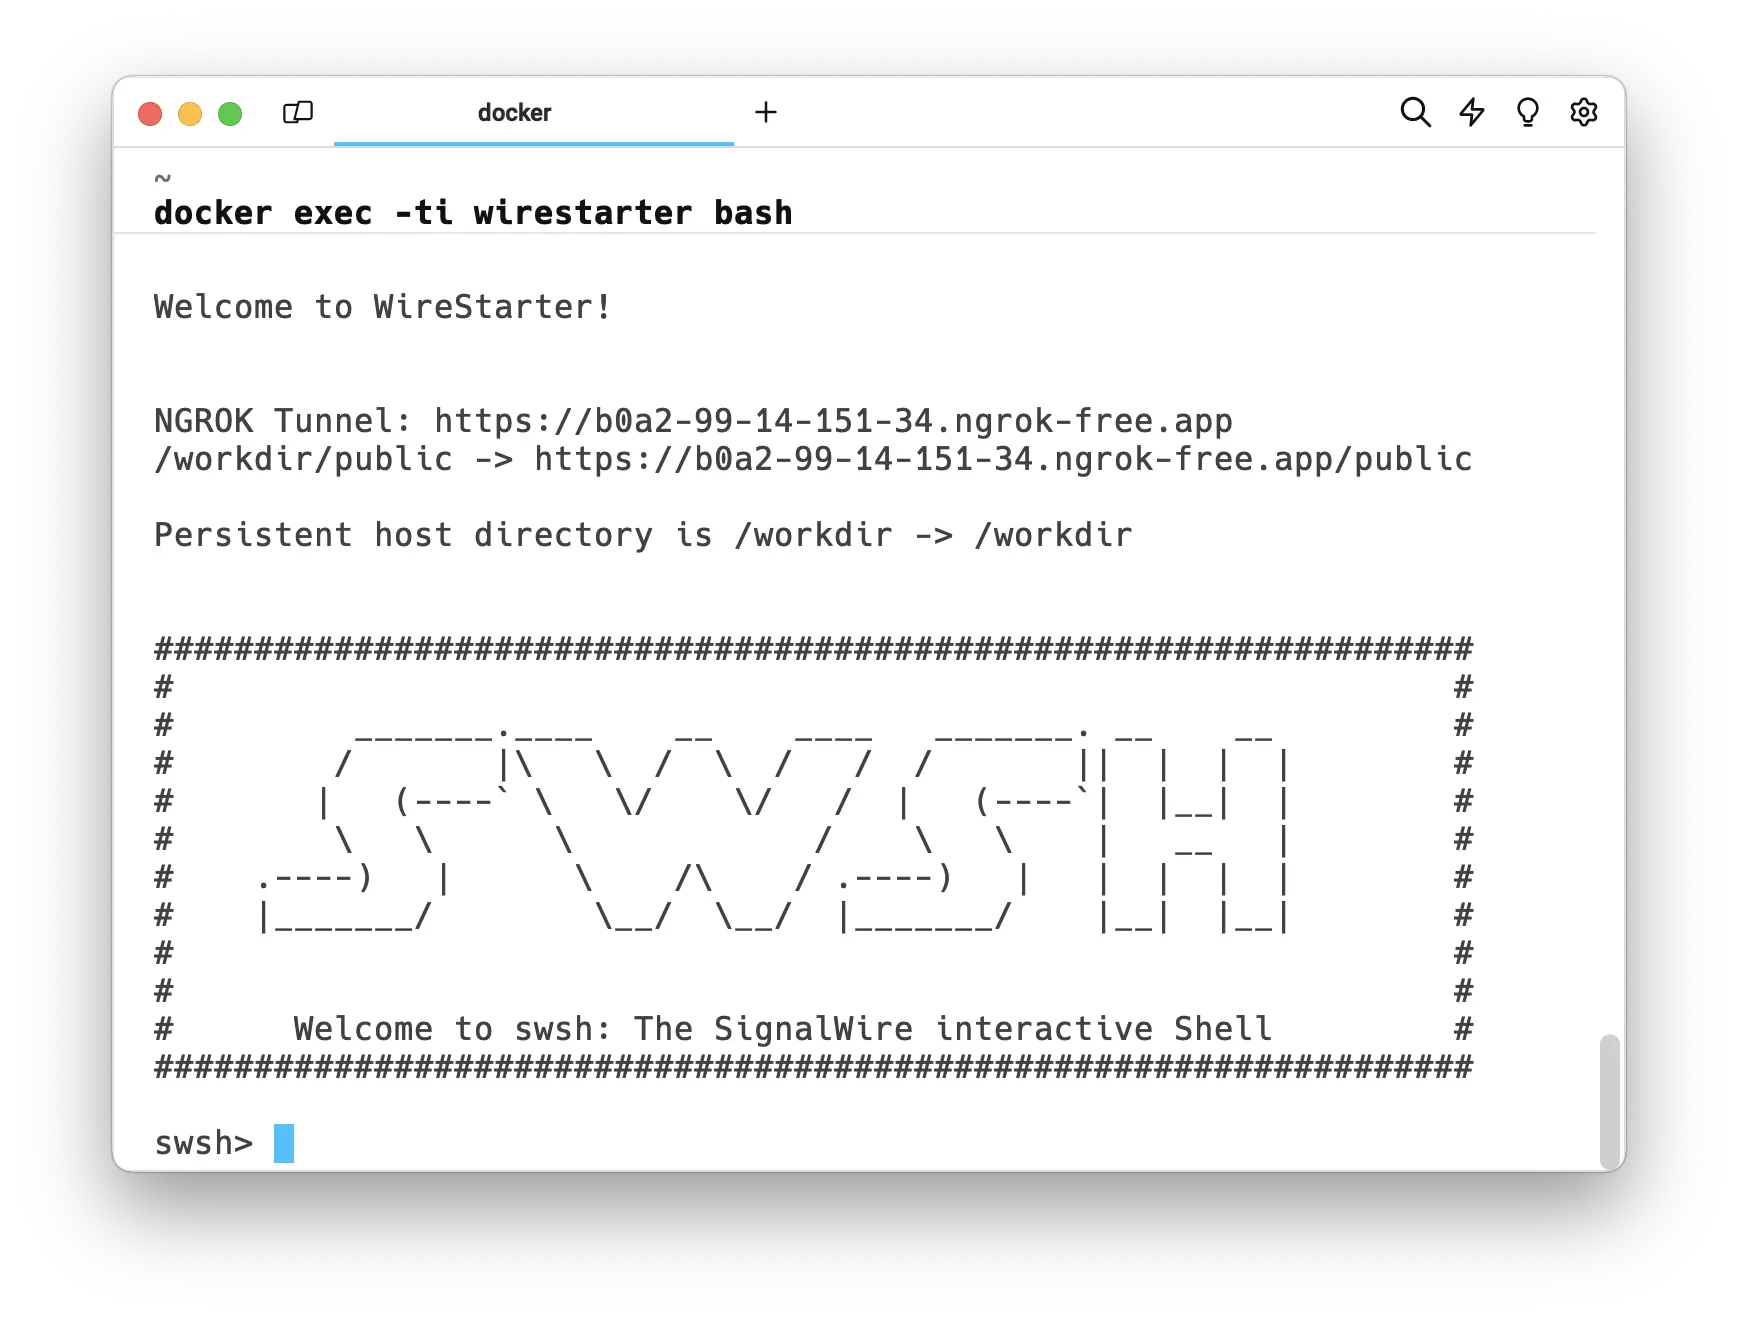
This command starts a terminal UI which will prompt you for relevant IDs and tokens. It will walk you through configuring the development and testing environment so you can quickly deploy and test our example applications. It then automatically enters SWSH (SignalWire Shell), the official SignalWire CLI.
Follow the prompts on screen to enter your SignalWire Space, Project ID, and API token.
Your SignalWire Space is the subdomain that prefixes .signalwire.com.
In other words, if your Dashboard is accessed at https://spacename.signalwire.com/dashboard,
you should enter spacename when prompted for your Space.
Copy the Project ID and REST API token from the
API pane of your SignalWire Dashboard.
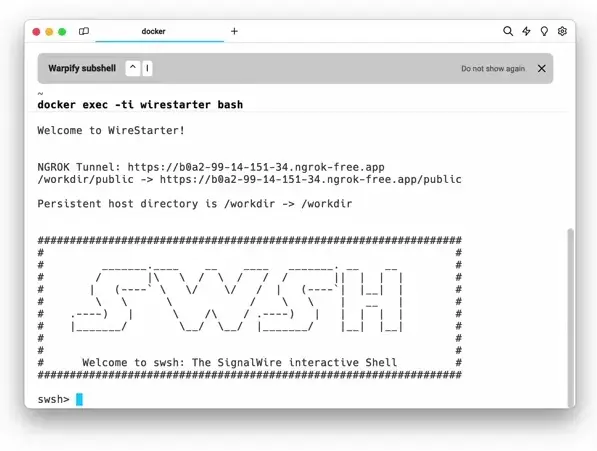
docker exec -ti wirestarter bash

When prompted, select your preferred editor: nano, vim, or emacs. We recommend nano for beginners.
Copy the SignalWire Space ID, Project ID, and Project token from the API pane of your SignalWire Dashboard. Copy the ngrok Token from the Your Authtoken ngrok page. ngrok Args are optional and only needed if you want to use a custom ngrok domain name. If not, leave the text field blank and proceed.
If you don't plan to set up a WireStarter example application, you can safely ignore both ngrok prompts by leaving them blank and hitting Enter or Return.
Learn more about WireStarter by visiting its repository on GitHub.
Optional: Buy and set up a phone number
After entering the SignalWire and ngrok information in the previous step, you will enter the SWSH CLI. If you already have a number set up in your Space that you want to use, you can skip this step.
Phone numbers purchased in the Dashboard UI must be named before being assigned to these demos. Any name will work — just edit and save the populated number as its own name. Numbers purchased in SWSH are not affected by this limitation.

Purchase and configure a phone number using the phone_number command.
Enter help or help -v to view more options for SWSH.
You can also purchase a phone number in the Web UI in your SignalWire Space.

Set Startup Variables
Set the following variables from the same bash prompt in order to streamline startup. These variables are required for running SWSH in Non-Interactive mode. If they are not set, SWSH will ask for them at startup.
export PROJECT_ID=<YOUR_PROJECT_ID>
export SIGNALWIRE_SPACE=<YOUR_SIGNALWIRE_SPACE>
export REST_API_TOKEN=<YOUR_REST_API_TOKEN>
setx PROJECT_ID=<YOUR_PROJECT_ID>
setx SIGNALWIRE_SPACE=<YOUR_SIGNALWIRE_SPACE>
setx REST_API_TOKEN=<YOUR_REST_API_TOKEN>
Learn more by reading our Introduction to SWSH.
Build an Example Application
Follow these instructions to build and test an example application!
Run exit to Exit SWSH
Once WireStarter is successfully configured, and you've purchased any numbers with SWSH,
run exit once to exit SWSH.
Run setup.sh
From the same bash prompt, run setup.sh and select a demo.
Follow the instructions to assign a phone number and finish setup.
If you encounter any problems using WireStarter, please let us know by reporting an issue on its GitHub repo.
You can also get live support in the Community Discord, or by emailing devex@signalwire.com.

Help
Have a question or bug to report?
Help us improve WireStarter for your use case by reporting an Issue on the GitHub Repository.