Creating a Zapier Zap
What is Zapier?
There are two aspects to a Zapier process, otherwise known as a Zap. A Trigger is an event that begins the zap, and an Action is an event that the Zap performs based on the trigger. Think of a zap as an "if this, then that" statement.
Before We Get Started
As with all third-party integrations, there are a few things you will need before getting set up with Zapier, and we recommend retrieving all these things before getting started! The first thing you'll want to do is Create a SignalWire Space. Once you have a SignalWire Space, you will need three things from your new Space.
- Your SignalWire Space URL (example.signalwire.com)
- Your Project ID
- Your API Token
Once you've retrieved those three things, head over to Zapier's website and create an account with them!
The Process
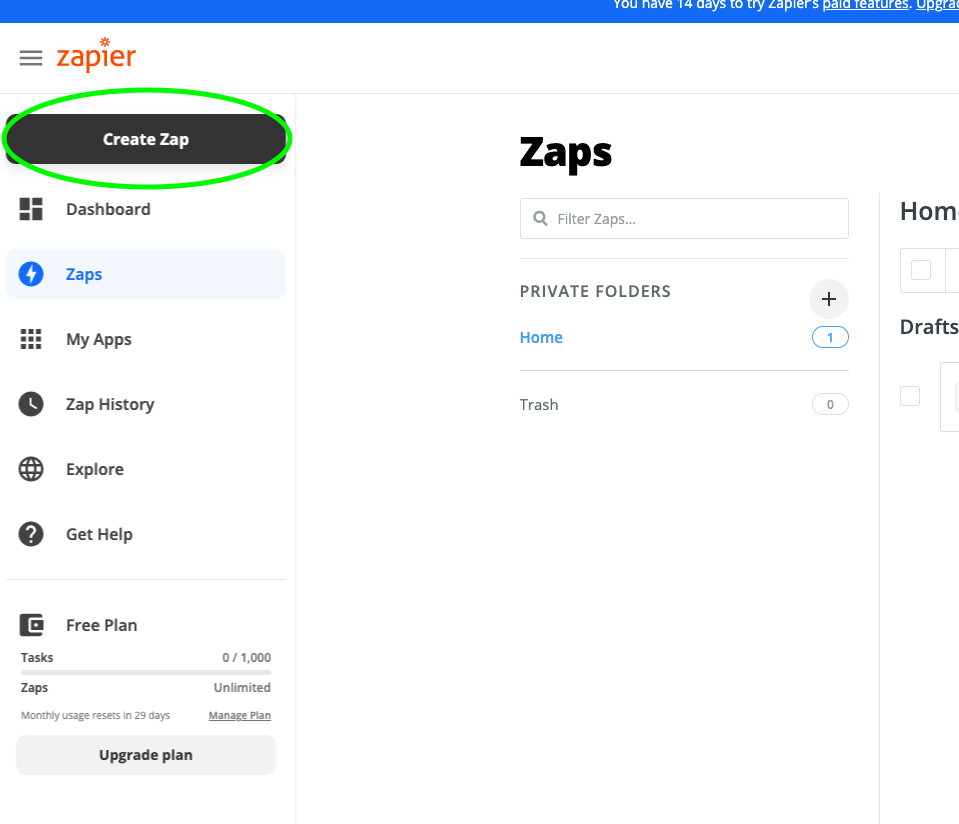
For this example, we'll be creating a zap that operates the same as a LaML bin, in which SignalWire performs an action based on an incoming call or text into a given SignalWire number. After creating a Zapier account, you'll want to click on the "Create Zap" button to the left of the screen and then click on "Open editor".
For the trigger, select SignalWire and choose whether you would like this process to begin with an incoming call or text. For this example, we'll be using the "New Text Messages" option. You'll then be prompted to Sign in to SignalWire. This is where you will use the API credentials we had discussed earlier. After logging in to SignalWire, you can then fill out the parameters in which the action is triggered. For this example, we'll just use the "To Number" parameter.
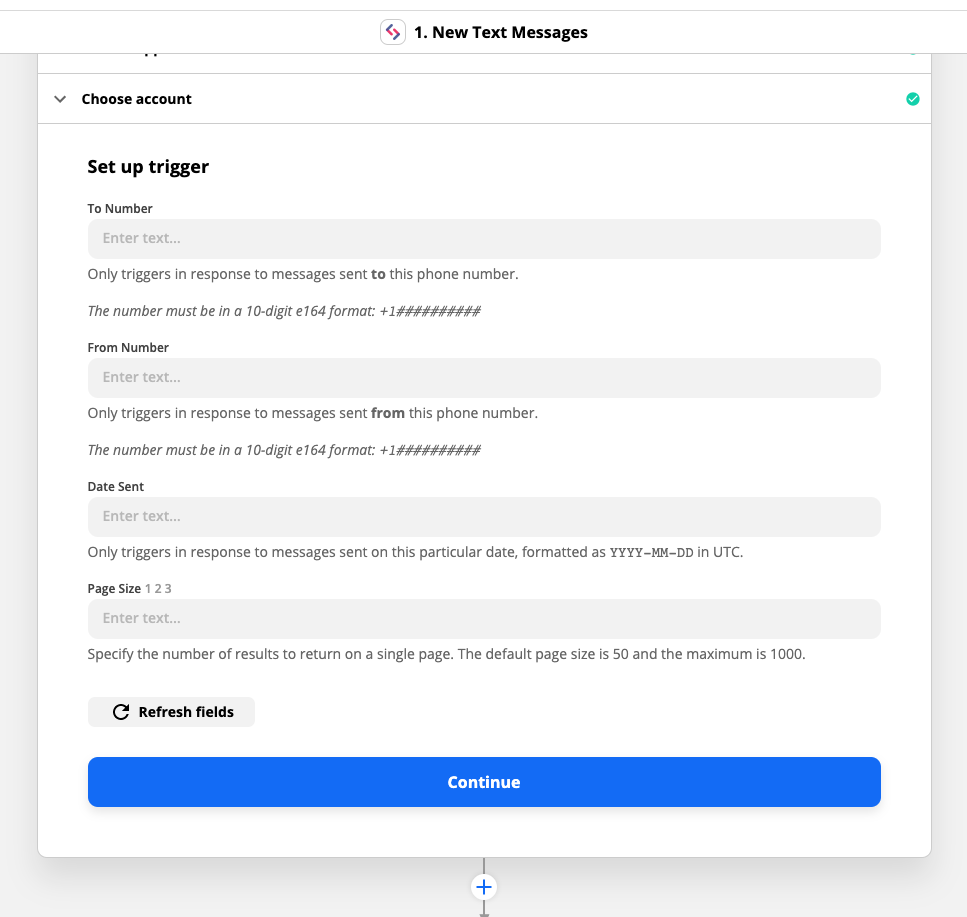
The "To Number" parameter in this scenario must refer to a phone number you own within your SignalWire Space and be written in E.164 format. For example, +12345678910.
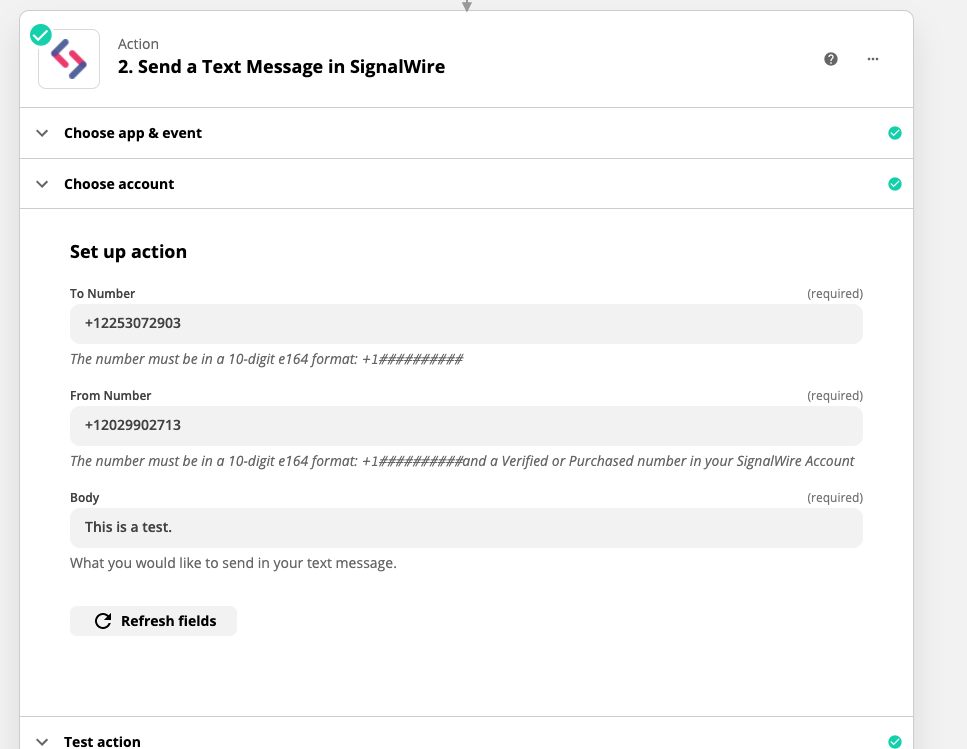
Once you've saved that information, Zapier will prompt you to test the trigger that you now have set up. Feel free to do so if you would like, or simply hit the "plus" button to continue without testing. The next thing we will do is configure the action by selecting SignalWire as the application in question. For the action event, you can select whatever action from the dropdown menu you would like Zapier to complete based on the trigger event we've already made. For this example, we will send a text message. You will then need to select your SignalWire account again. If you have completed the previous steps, your SignalWire API credentials will be saved in the dropdown menu here so you can select it without needing to reinput any information! You can then set up the action by inputting the phone number you would like to text to, the phone number within your SignalWire Space you would like to send the message from, and then the Body of the text message itself.
Once done, you can test the Zap! Once you see that the Zap was successful, you can turn on that Zap and let it ride!