Making and receiving phone calls
Follow this guide to make and receive your first phone calls using SignalWire Markup Language (SWML) and the SignalWire API.
We'll also show you how to accomplish the same goals using cXML and the Compatibility API, which are ideal for migrating existing Twilio applications to SignalWire.
Prerequisites
To be able to make calls, you will need:
- a SignalWire phone number
- your API credentials (Space URL, Project ID, and API token)
Also, note that if your account is in trial mode, you'll need to upgrade it in order to call numbers other than your own verified numbers. See How to exit Trial Mode.
To acquire a phone number, log in to your SignalWire Space. From the Phone Numbers section, buy a new phone number. You will need at least one number to make and receive calls.
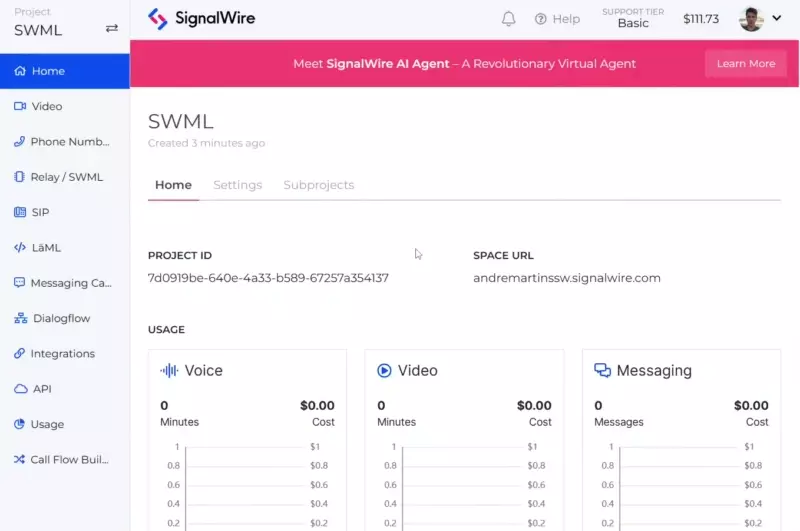
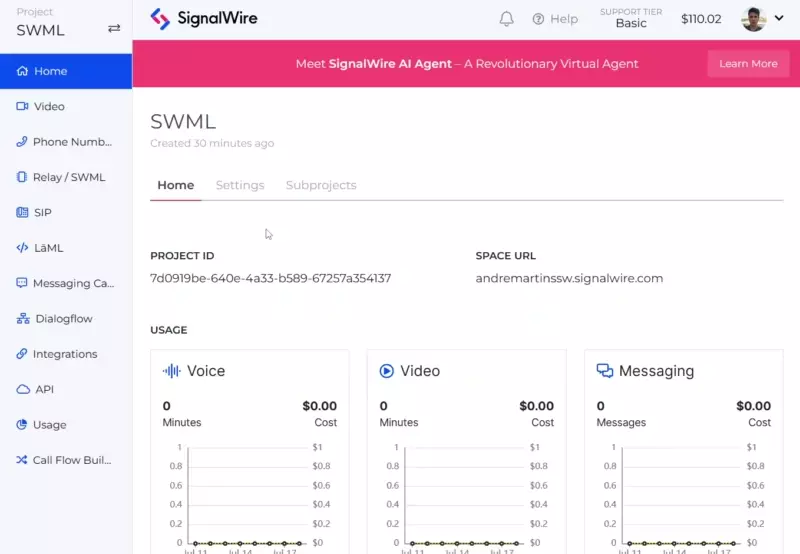
Find your API tokens in the API section of your Space, as shown below. You may need to create a new token if you never used one. Make sure that your token has at least the "Voice" scope enabled.
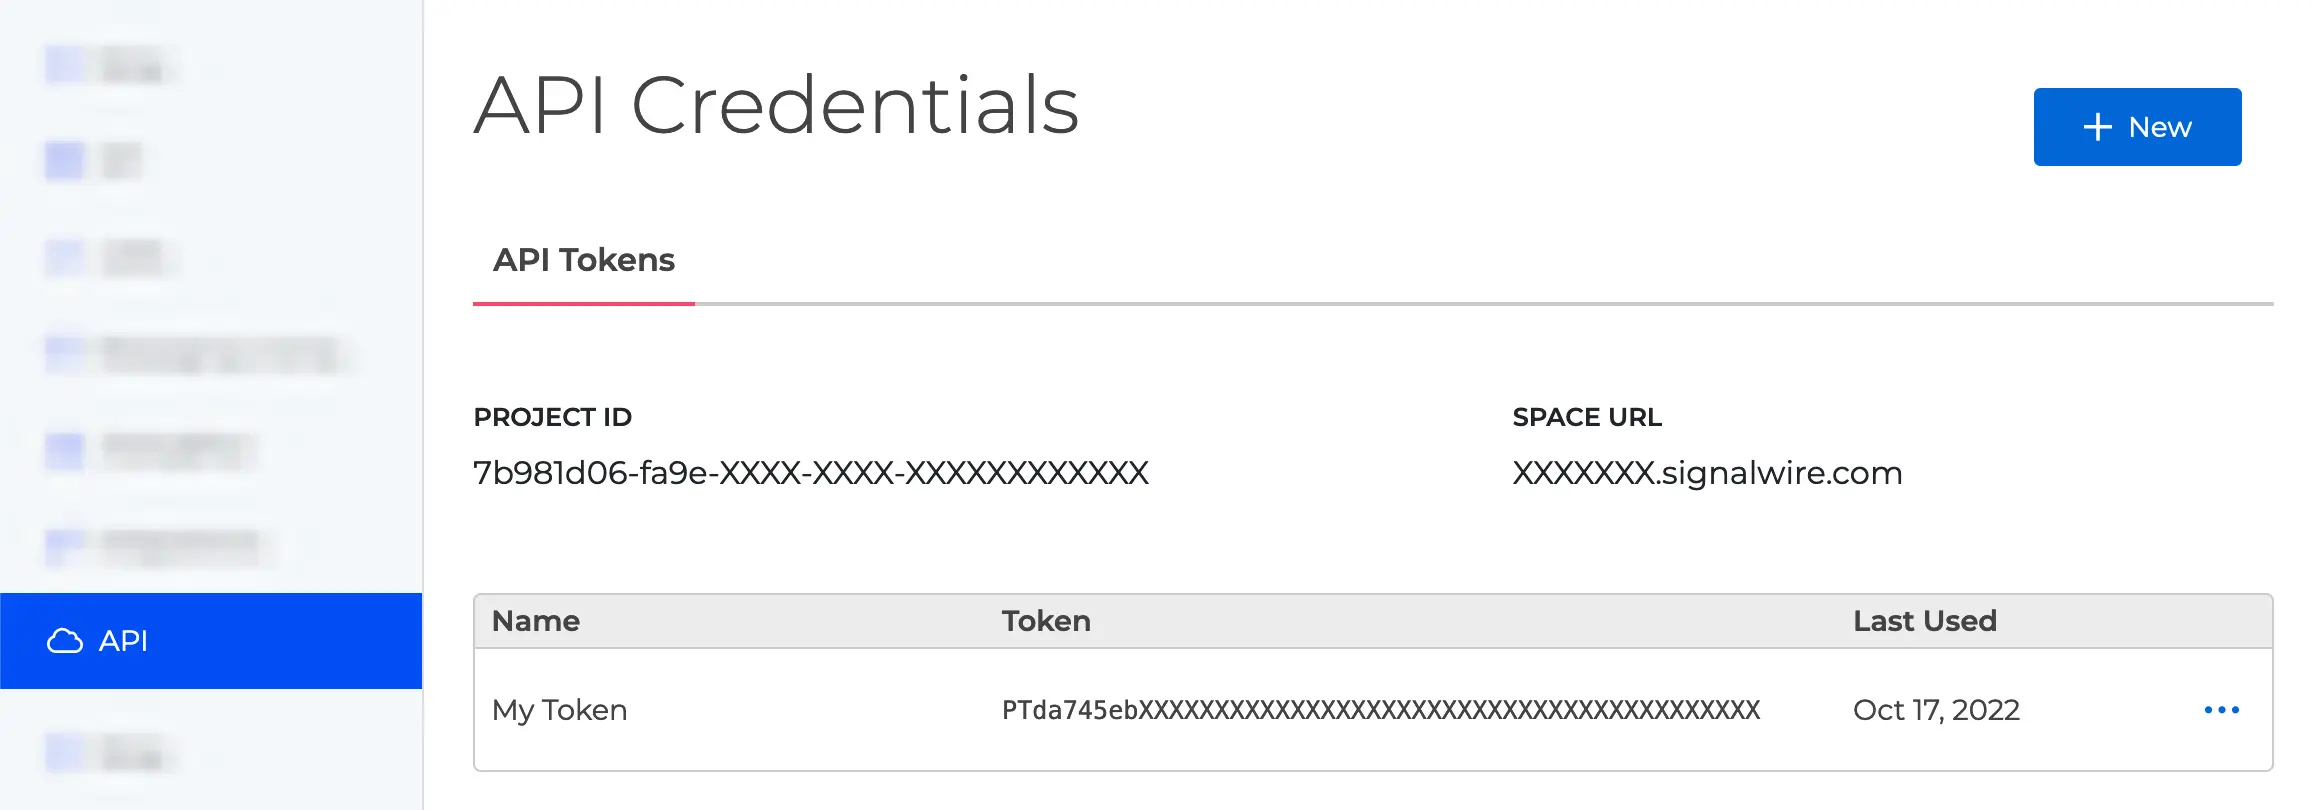
You can find your Project ID and Token from the API tab in your SignalWire Space. Make sure your token has the 'Voice' scope enabled.
SWML
Receiving incoming calls
To handle incoming calls we need to configure the phone number in our SignalWire Space to answer calls using a SWML Script.
- New Dashboard
- Legacy Dashboard
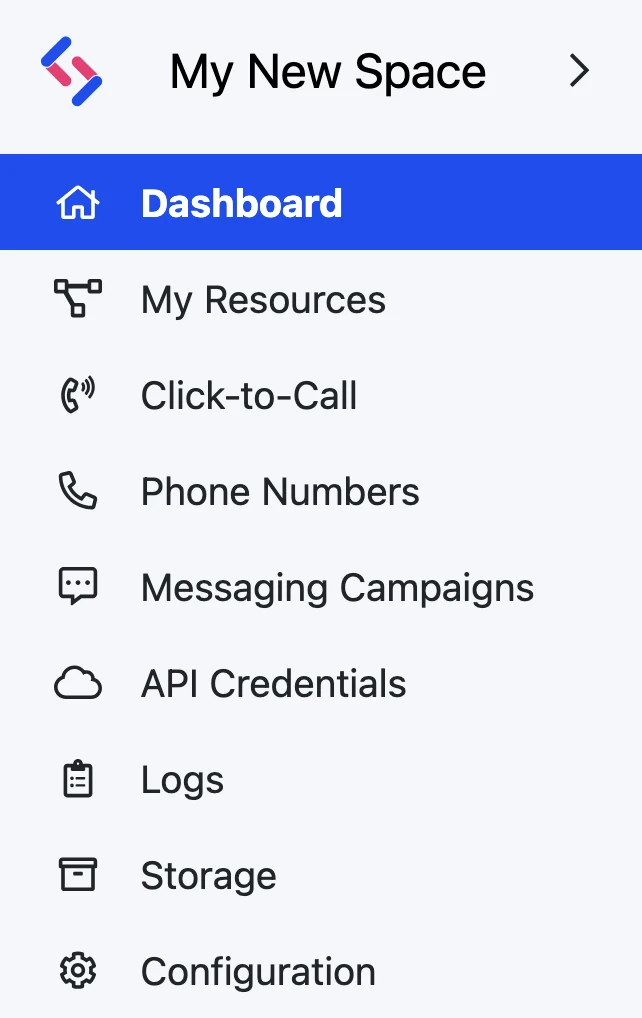
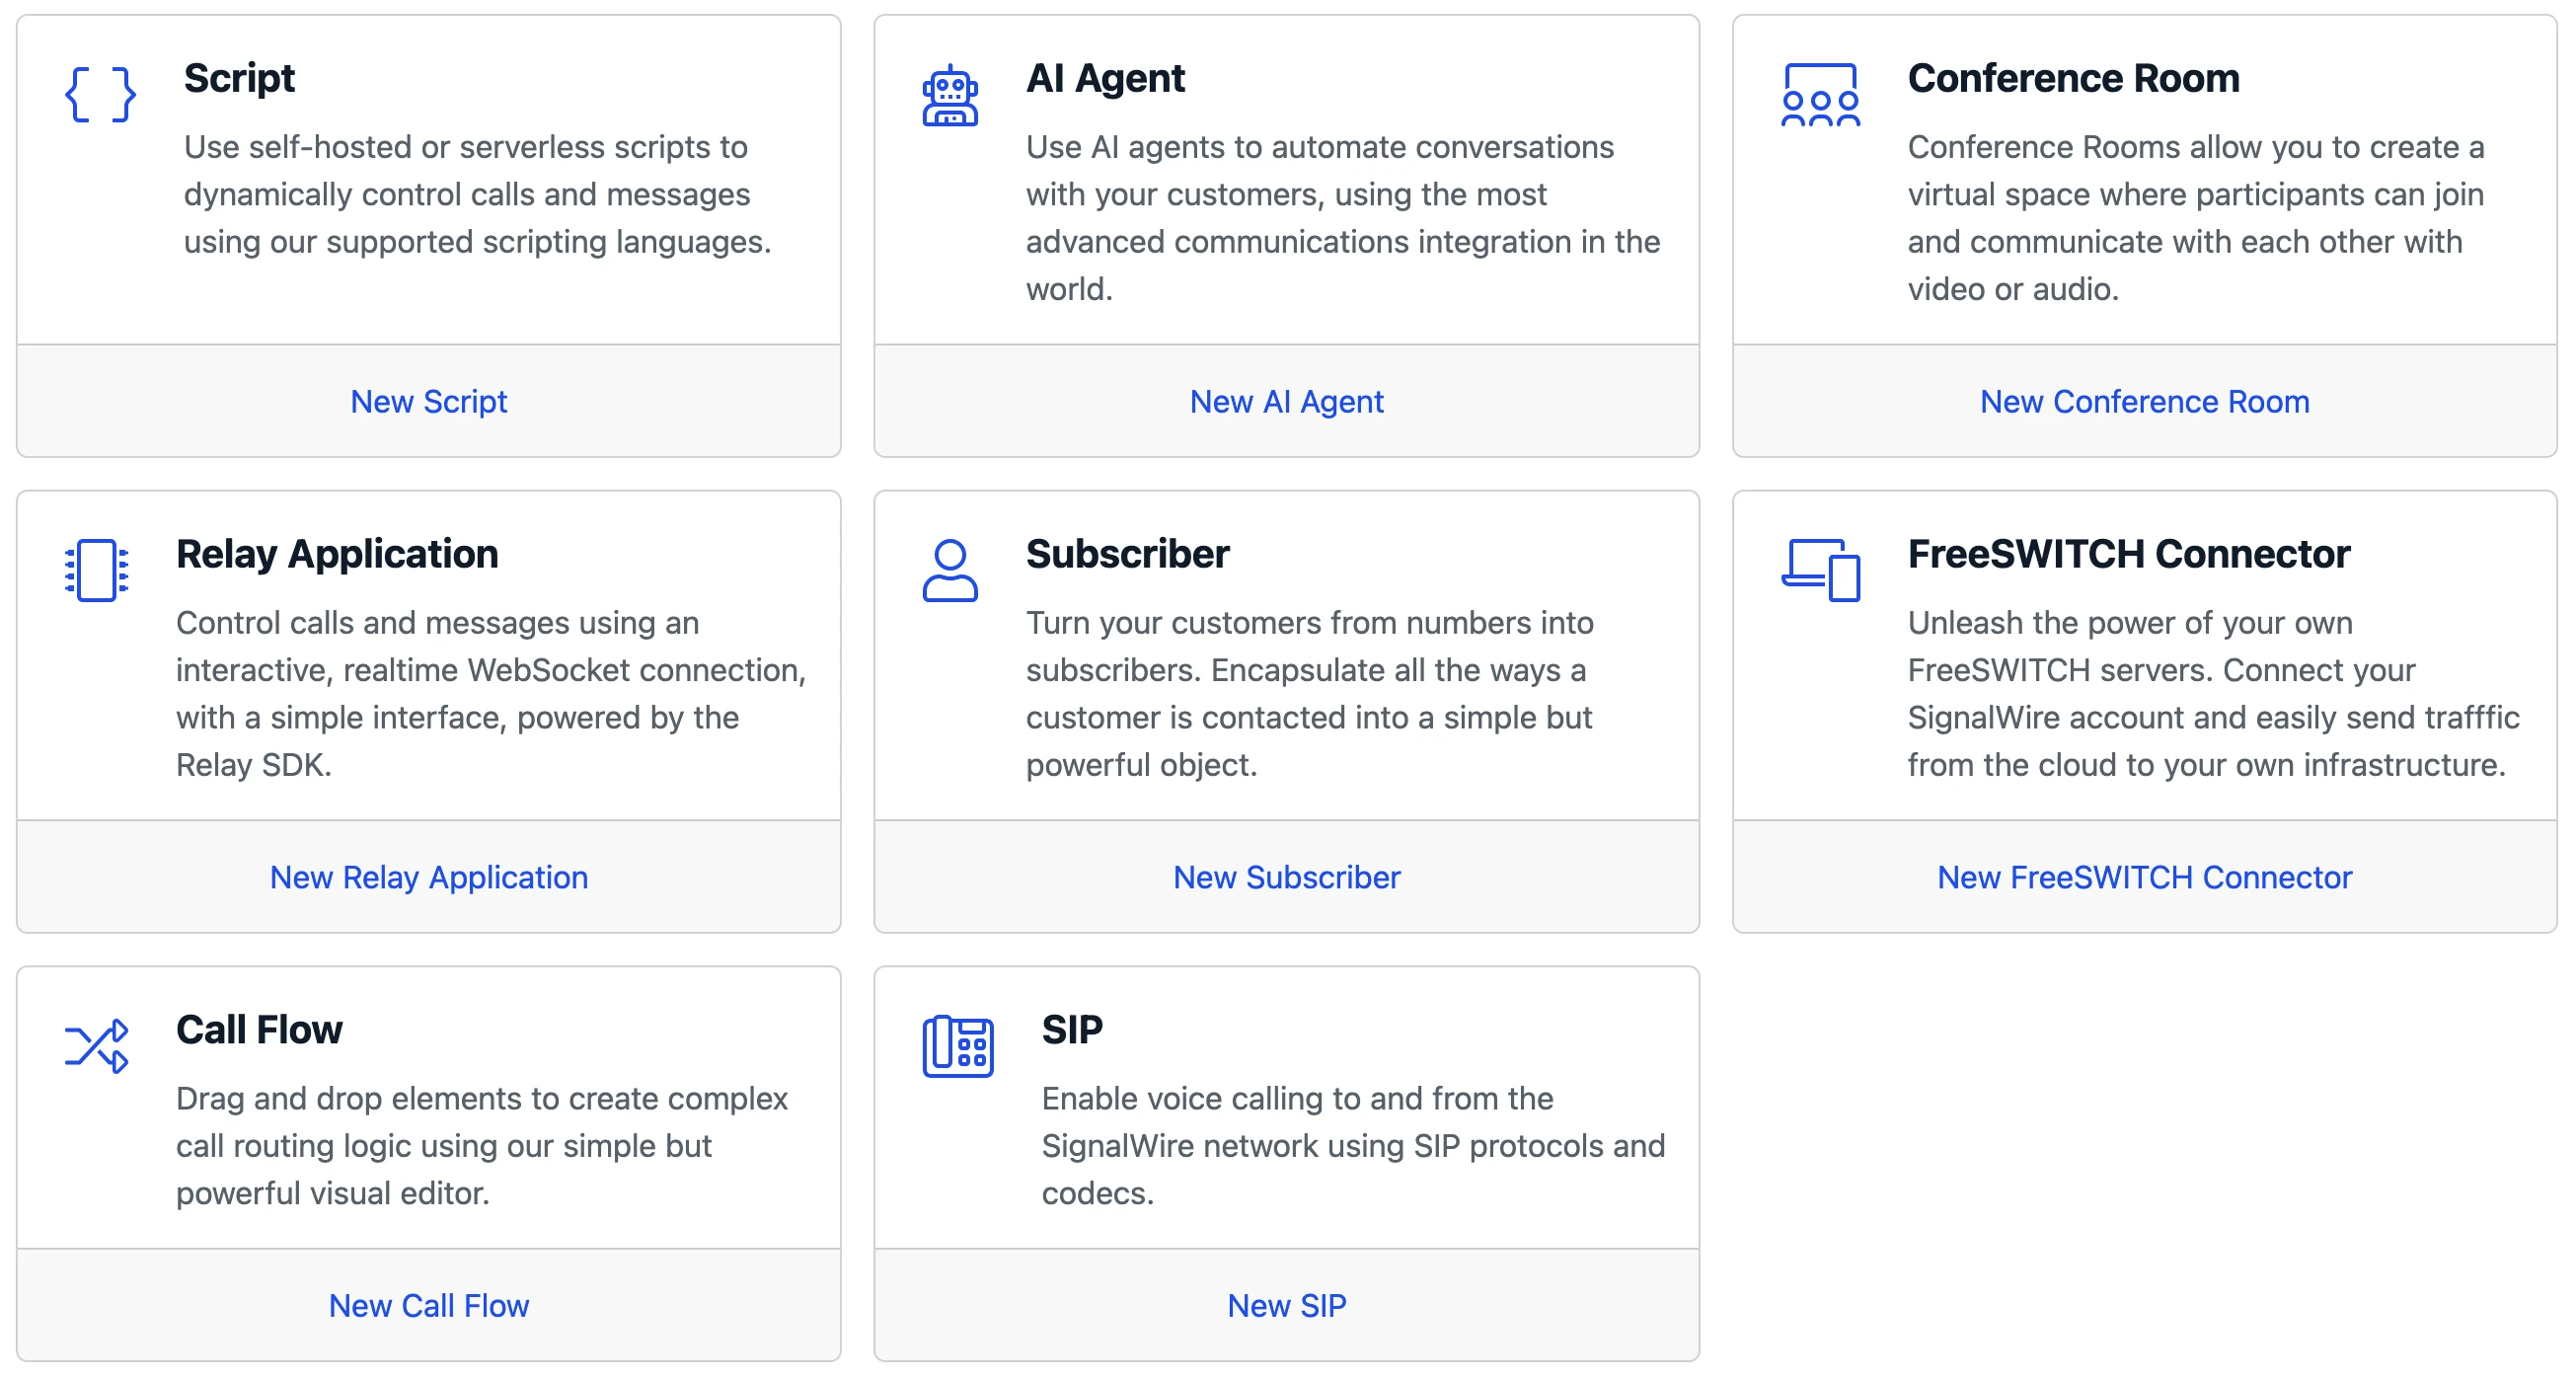
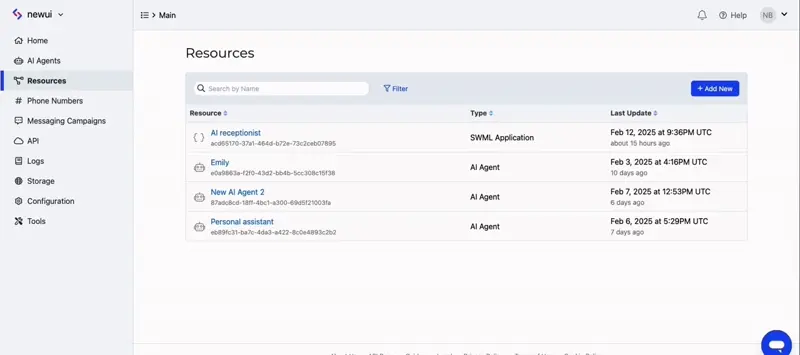
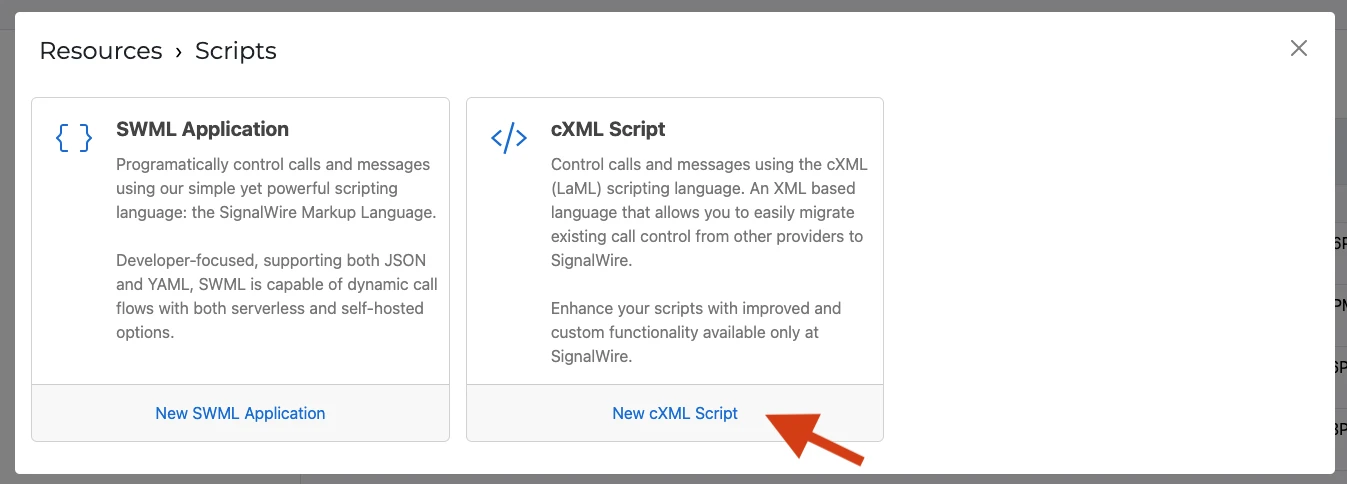
To create a SWML Script in the new UI, go to the Resources section from the sidebar, and create a new Resource. In the new resource picker, select Script and create a SWML Application.
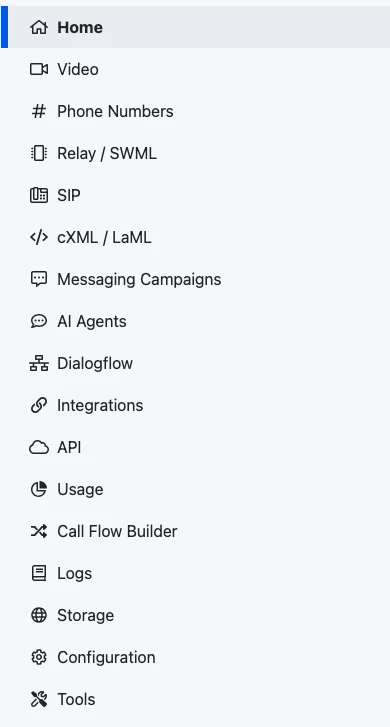
If you are using the Legacy UI, go to the "Relay/SWML" section in your sidebar, then click on the SWML Scripts tab. Click on Create a SWML Script, and then give it a name and pass it some instructions. You can use the following as a starting point:
- YAML
- JSON
version: 1.0.0
sections:
  main:
    - play: say:Hello from SignalWire!
{
  "version": "1.0.0",
  "sections": {
    "main": [
      {
        "play": "say:Hello from SignalWire!"
      }
    ]
  }
}
Take note of the Request URL for the SWML Script that we created. You can even create a new script if you want to define a different behavior for incoming calls.
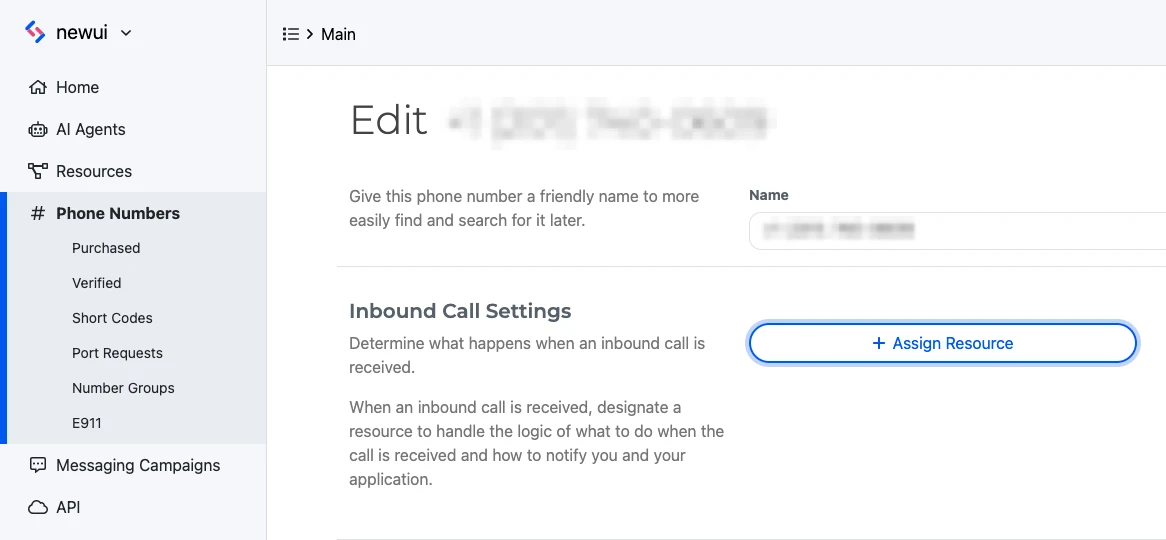
To configure your number to handle incoming calls with an SWML Script, click the Phone Numbers section within your SignalWire Space, and edit the settings of the specific number you would like to use to answer calls. Set Handle calls using to a SWML Script, then select your SWML Script from the dropdown
That's it! Inbound calls to this SignalWire number will execute the specified SWML Script.
Making your first call
Outbound calls can be made via the SignalWire REST API's Create a Call endpoint. This is accomplished by sending a POST request using SWML in the request body to handle the call. The SWML can be served via URL or passed inline directly as an escaped JSON string.
- URL
- SWML object
- Inline SWML
curl -L -g 'https://Your_Space_Name.signalwire.com/api/calling/calls' \
-H 'Content-Type: application/json' \
-H 'Accept: application/json' \
-H "Authorization: Basic $(echo -n "${YOUR-PROJECT-ID}:${YOUR-API-TOKEN}" | base64)" \
--data-raw '{
  "command": "dial",
  "params": {
    "from": "sip:from-sip@example-112233445566.sip.signalwire.com",
    "to": "+1xxxxxxxxxx",
    "caller_id": "+1234567890",
    "fallback_url": "https://example.com/fallback",
    "status_url": "https://example.com/status_callback",
    "status_events": [
      "answered",
      "ended"
    ],
    "url": "https://example.com/swml"
  }
}'
curl -L -g 'https://Your_Space_Name.signalwire.com/api/calling/calls' \
-H 'Content-Type: application/json' \
-H 'Accept: application/json' \
-H "Authorization: Basic $(echo -n "${YOUR-PROJECT-ID}:${YOUR-API-TOKEN}" | base64)" \
--data-raw '{
  "command": "dial",
  "params": {
    "from": "sip:from-sip@example-112233445566.sip.signalwire.com",
    "to": "+1xxxxxxxxxx",
    "caller_id": "+1234567890",
    "fallback_url": "https://example.com/fallback",
    "status_url": "https://example.com/status_callback",
    "status_events": [
      "answered",
      "ended"
    ]
  },
  "swml": {
    "version": "1.0.0",
    "sections": {
      "main": [
        {
          "play": "say:Hello from SignalWire!"
        }
      ]
    }
  }
}'
To pass SWML as an inline string, quotes must be escaped, as shown in the example below.
curl -L -g 'https://Your_Space_Name.signalwire.com/api/calling/calls' \
-H 'Content-Type: application/json' \
-H 'Accept: application/json' \
-H "Authorization: Basic $(echo -n "${YOUR-PROJECT-ID}:${YOUR-API-TOKEN}" | base64)" \
--data-raw '{
  "command": "dial",
  "params": {
    "from": "sip:from-sip@example-112233445566.sip.signalwire.com",
    "to": "+1xxxxxxxxxx",
    "caller_id": "+1234567890",
    "fallback_url": "https://example.com/fallback",
    "status_url": "https://example.com/status_callback",
    "status_events": [
      "answered",
      "ended"
    ],
	"swml": "{\"version\":\"1.0.0\",\"sections\":{\"main\":[{\"play\":\"say:Hello from SignalWire!\"}]}}"
  }
}'
Compatibility API
The Compatibility API is built to enable easy migration from the Twilio REST API. Likewise, cXML is built for compatibility with TwiML.
If you're starting a new application from scratch, we recommend you follow the SWML (SignalWire Markup Language) instructions instead.
Next steps
SWML and cXML scripts allow you to handle incoming phone calls, and REST APIs make it easy to trigger outbound calls.
If you need more flexibility and real-time control on your calls, you may be interested in our guide about how to make and receive calls in Node.js.