SIP trunking
SIP trunking is a popular option for customers who have an existing PBX phone system and would like to route SIP traffic through SignalWire without taking advantage of our application-level features. Customers can create SIP endpoints programmatically or in their SignalWire Space and route traffic to those endpoints in the SignalWire network. These endpoints could be many things, such as PBXs / Business Phone Systems, IP Phones, Softphones, Mobile Applications, and IoT devices, just to name a few. The SIP trunk will allow any of these endpoints to connect with other external SIP endpoints or the Public Switched Telephone Network (PSTN).
Creating a SIP endpoint
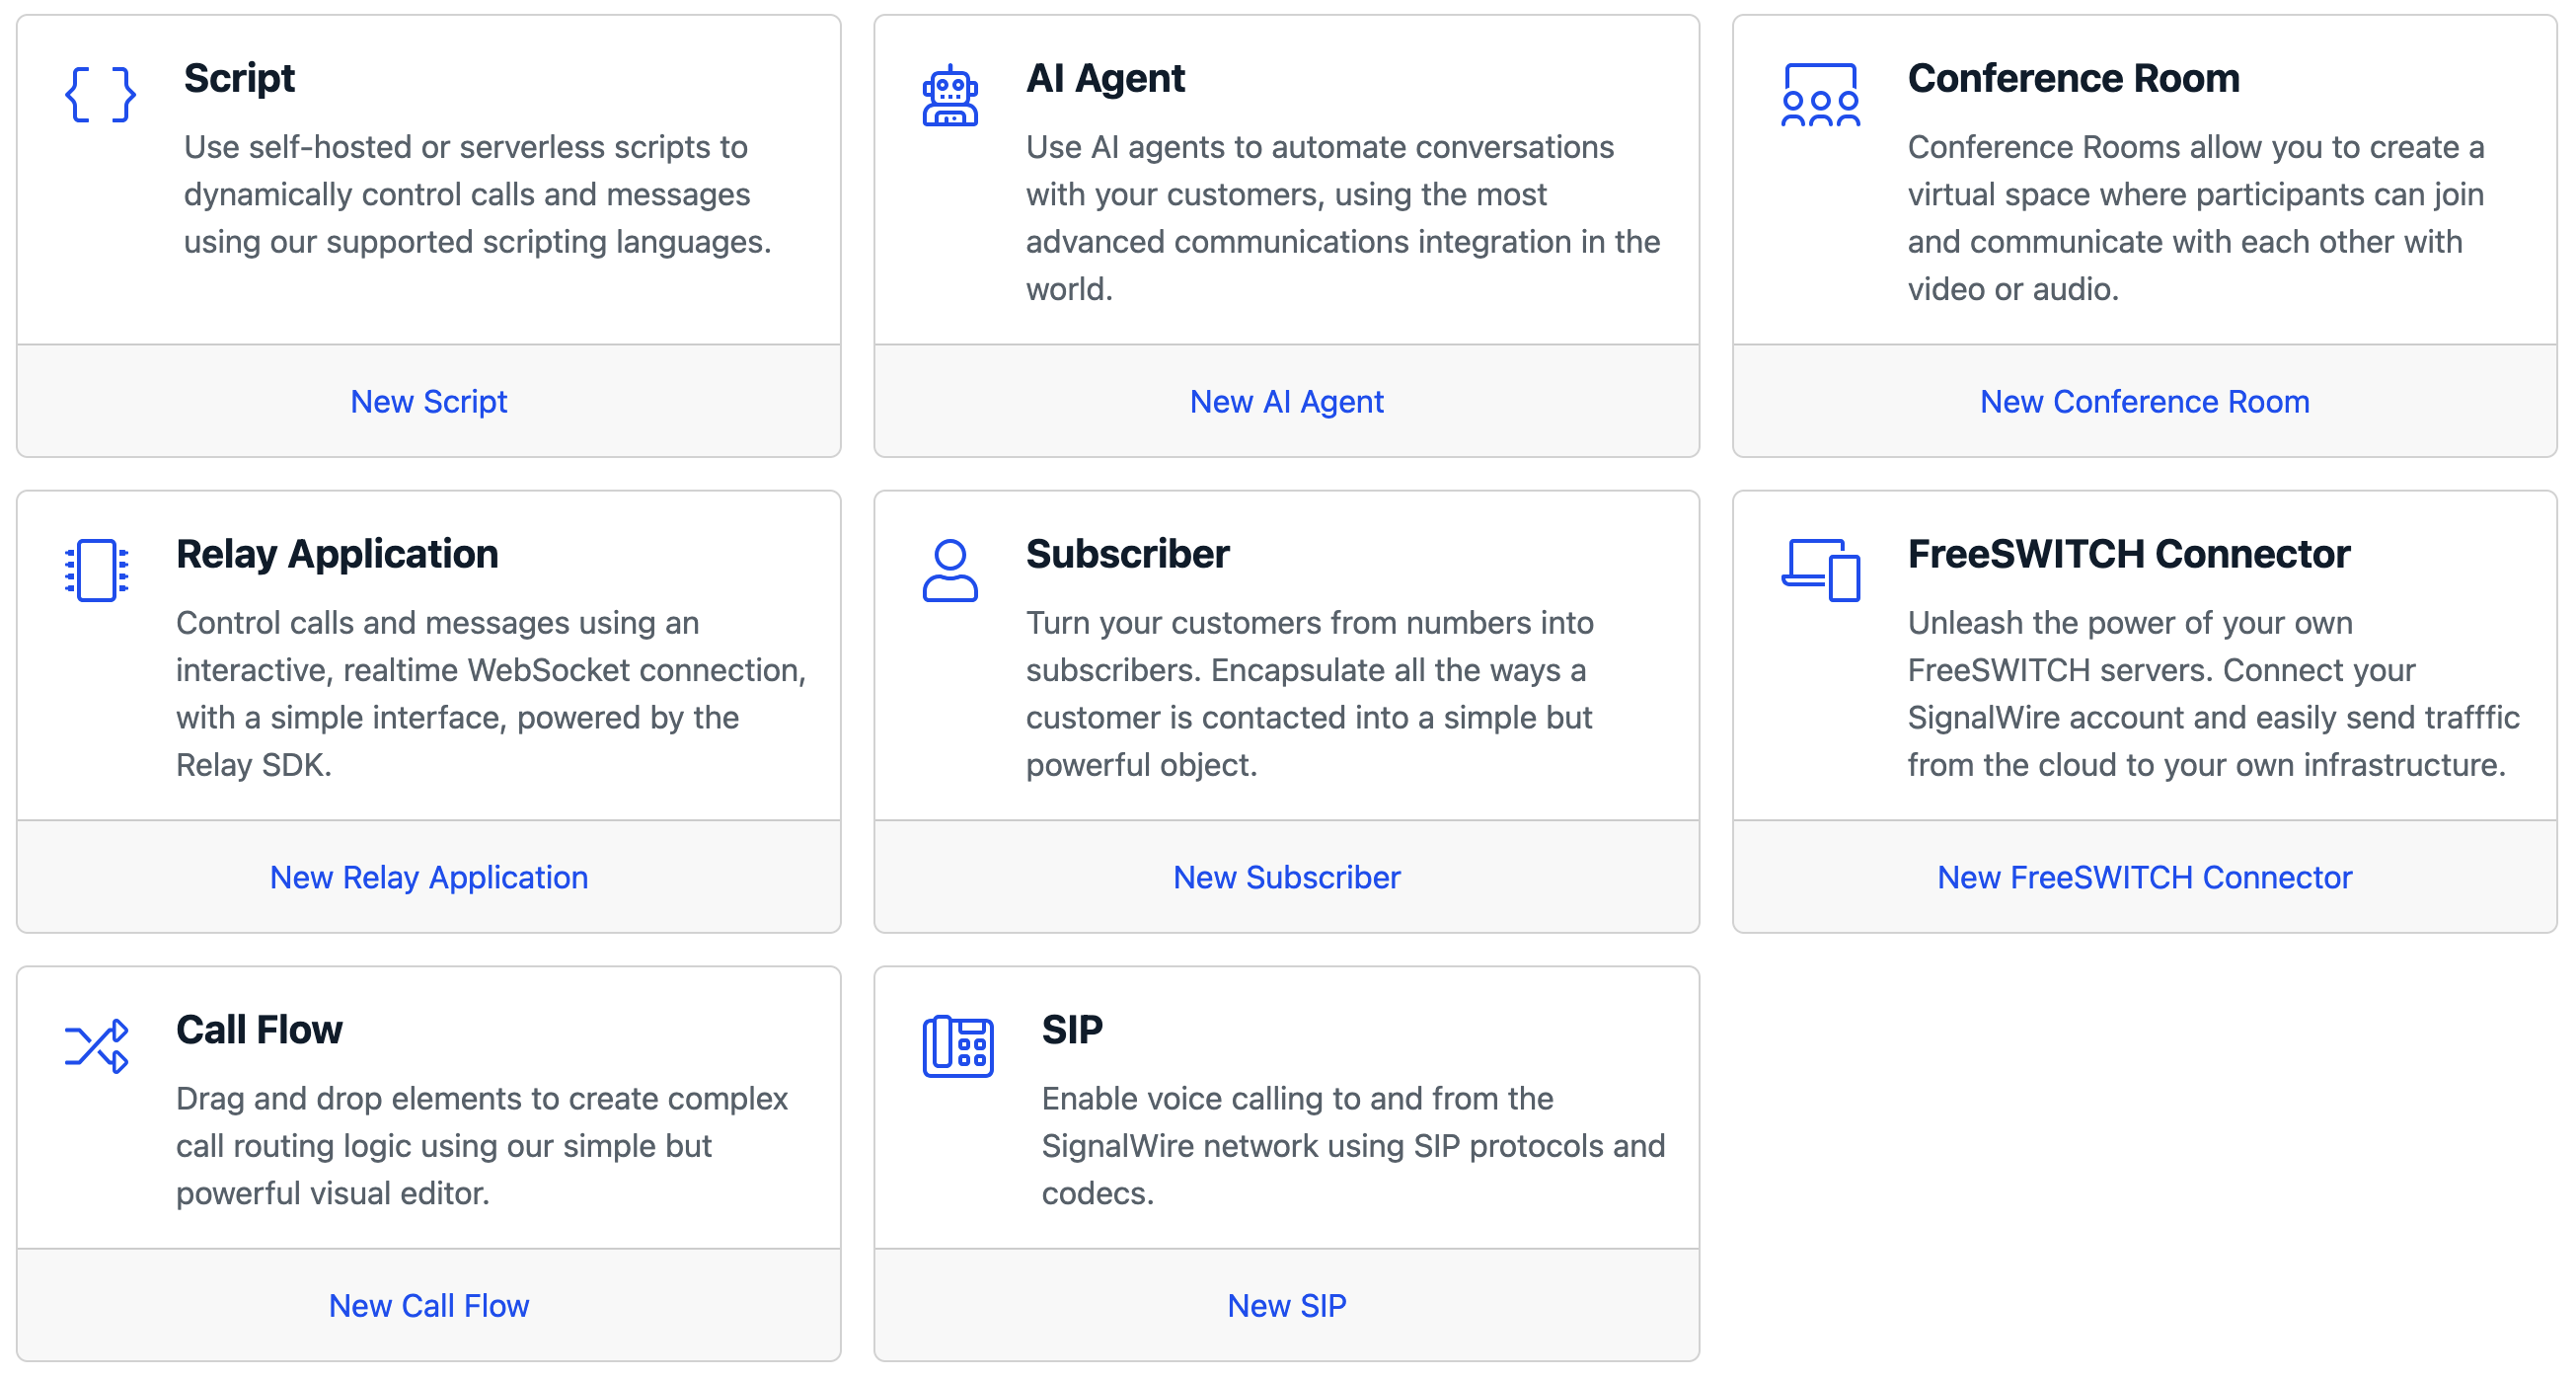
If you follow our guide to creating a SIP endpoint in your SignalWire Space, you should have a SIP endpoint and a password for it. In short, you can go to "Resources" in your SignalWire Space, and create a new "SIP Endpoint".
Alternatively, you can create the endpoint programmatically with an API call.
curl -L -X POST 'https://$SPACE_NAME.signalwire.com/api/relay/rest/endpoints/sip' \
-u '$PROJECT_ID:$API_TOKEN' \
--data-raw '{
  "username": "newCompany",
  "password": "#SuperSecurePassword",
  "caller_id": "New Company",
  "encryption": "required"
  }'
For an in-depth look at what these settings do and all of your SIP Dashboard tools, see the complete guide to your SIP space.
Note that the endpoint URL depends on the SIP URI that you name in your SIP Profile. Manage your SIP Profile on your Dashboard or via API. The username, password, and URL in your SIP endpoint settings will be used later to connect your SIP device.
After saving your settings, your endpoint is ready to accept traffic via its SIP URL, or you can set up a phone number to accept incoming PSTN calls.
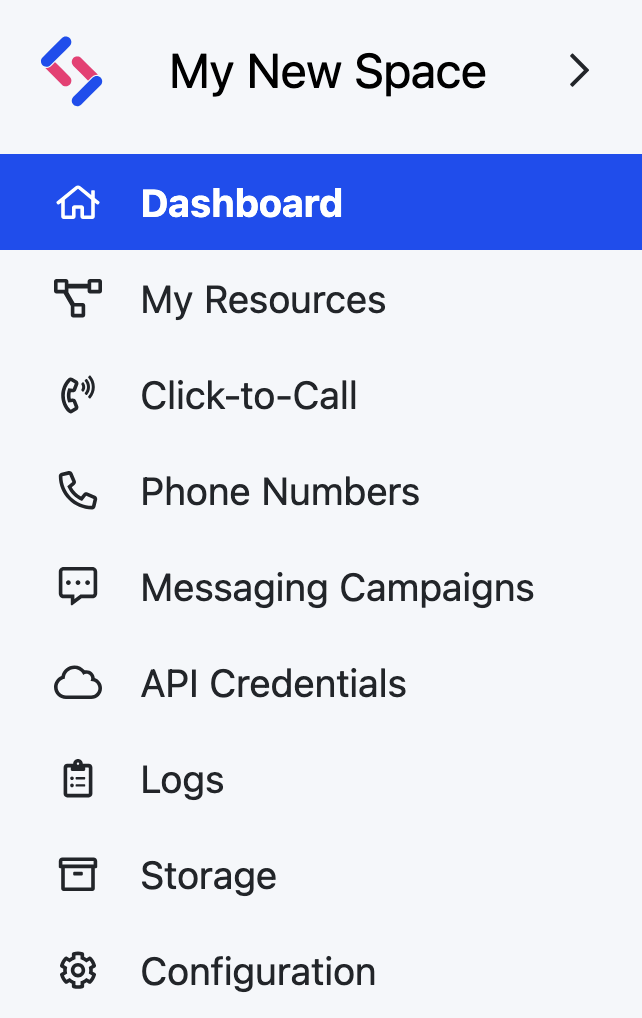
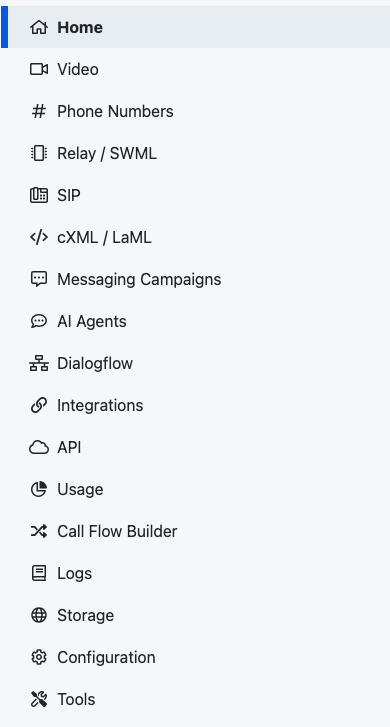
Phone Number to Handle Incoming Calls
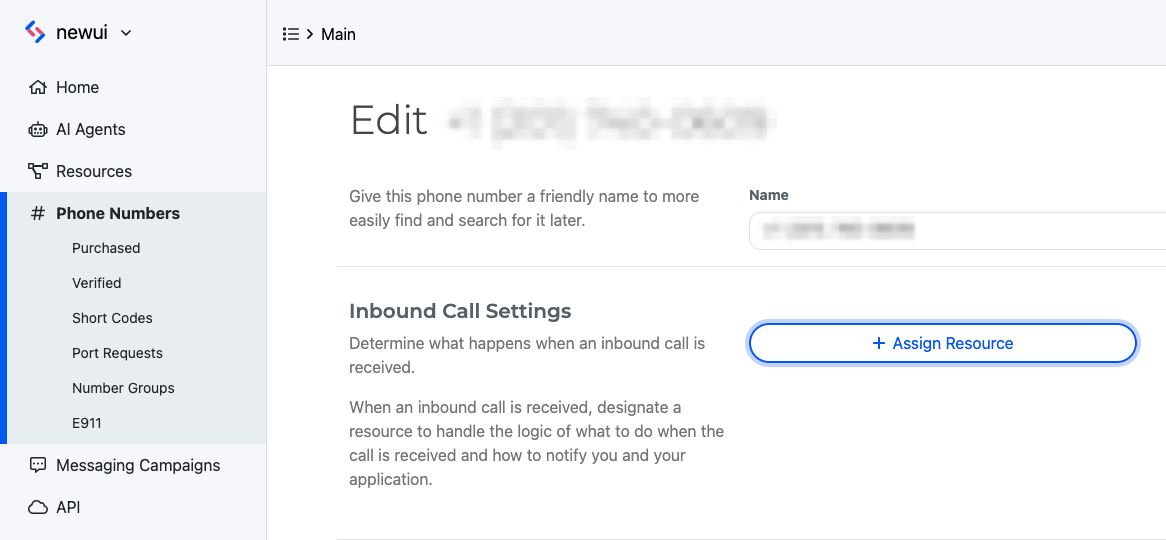
To direct incoming traffic to your endpoint, you may wish to purchase a SignalWire phone number (DID) and connect it to your SIP endpoint. Again, you have the option to do this via your Dashboard or programmatically.
See Buying a Phone Number for step-by-step instructions on searching for and purchasing a number, then open its settings by clicking on your new number in your Dashboard's Phone Numbers Space.
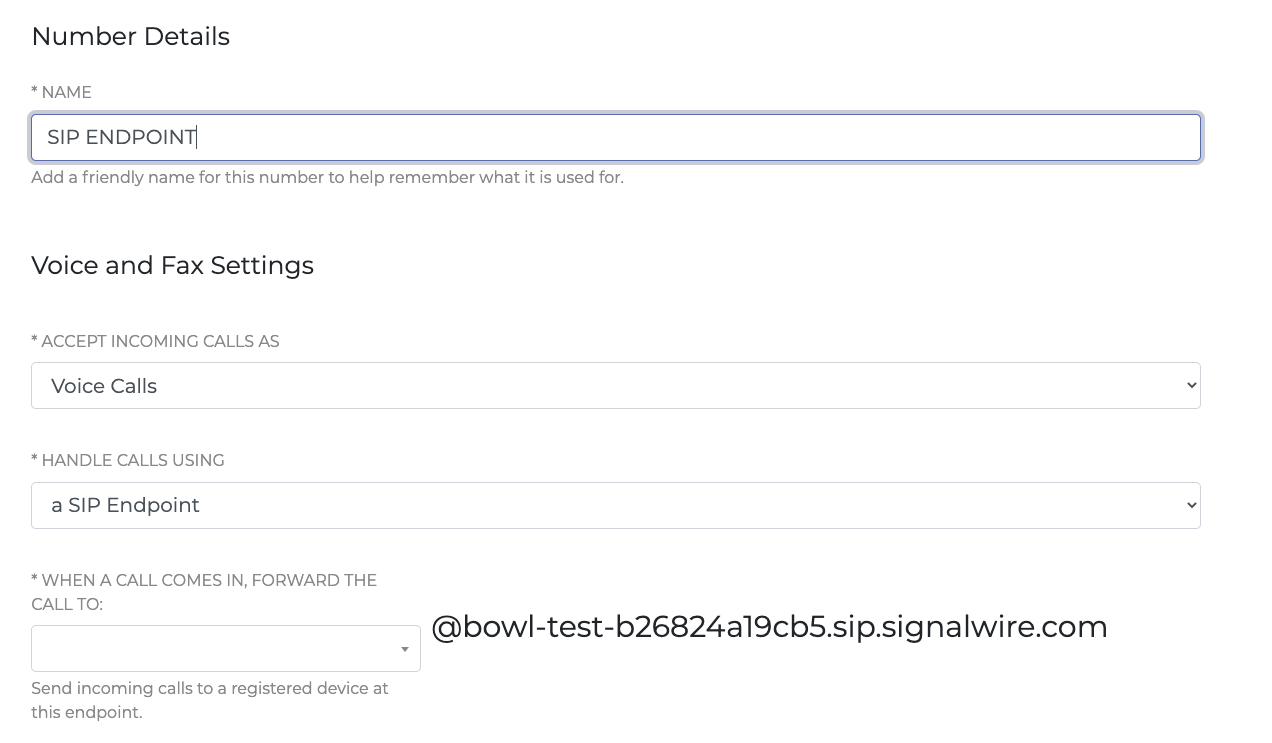
In the number's setting, click on the "Assign Resource" button and select your SIP endpoint resource.
If you don't see the My Resources tab, your SignalWire Space is on the Legacy Dashboard. Refer to the Legacy section of this guide for instructions for your Dashboard and information about the migration.
If you prefer to use API calls, you will need the Search for Available Phone Numbers, Purchase a Phone Number, and Update a Phone Number endpoints.
Change the Voice and Fax Settings to accept incoming calls as Voice Calls and handle calls using a SIP Endpoint. Then you can search for the endpoint by username.
After saving your settings, incoming calls to this number will be immediately directed to your SIP endpoint.
Configuring a SIP Device
To handle calls after they reach your SIP endpoint, you'll need to set up a SIP device. Depending on what your SIP device is—be it a PBX or a SIP application or IP Phone—they require many of the same field parameters.
- SIP Username
- SIP Password
- Local SIP Port (In order to avoid malicious behavior, we suggest choosing a local SIP port that is not the typical SIP port.)
- SIP Server
- SIP Server Port
- SIP Server Transport Protocol
- Outbound Proxy
- Outbound Proxy Port
- Outbound Proxy Transport Protocol
Continuing with our earlier example, our parameters for a SIP IP Phone or soft client might be:
- SIP Username: newCompany
- SIP Password: #SuperSecurePassword
- Local SIP Port: 6050
- SIP Server: newCompany @xxx-xxx.sip.signalwire.com (refer to your Dashboard for the correct URL)
- SIP Server Port: 5061 (SIP Port: 5060, TLS Port 5061)
- SIP Server Transport Protocol: TLS
- Outbound Proxy: (supported but not generally needed)
- Outbound Proxy Port: (supported but not generally needed)
- Outbound Proxy Transport Protocol: (supported but not generally needed)
Security
Security is important to us! Communications over the open internet should be secure both in signalling and in media. We feel so strongly about security that we decided to support TLS (Transport Layer Security) and SRTP (Secure Real-time Transport Protocol) by default. When setting up your SIP endpoint, specify which codecs and ciphers to support, but you must choose at least one. Be aware that not all codecs and ciphers are compatible with every SIP device, so refer to your device documentation for compatibility.
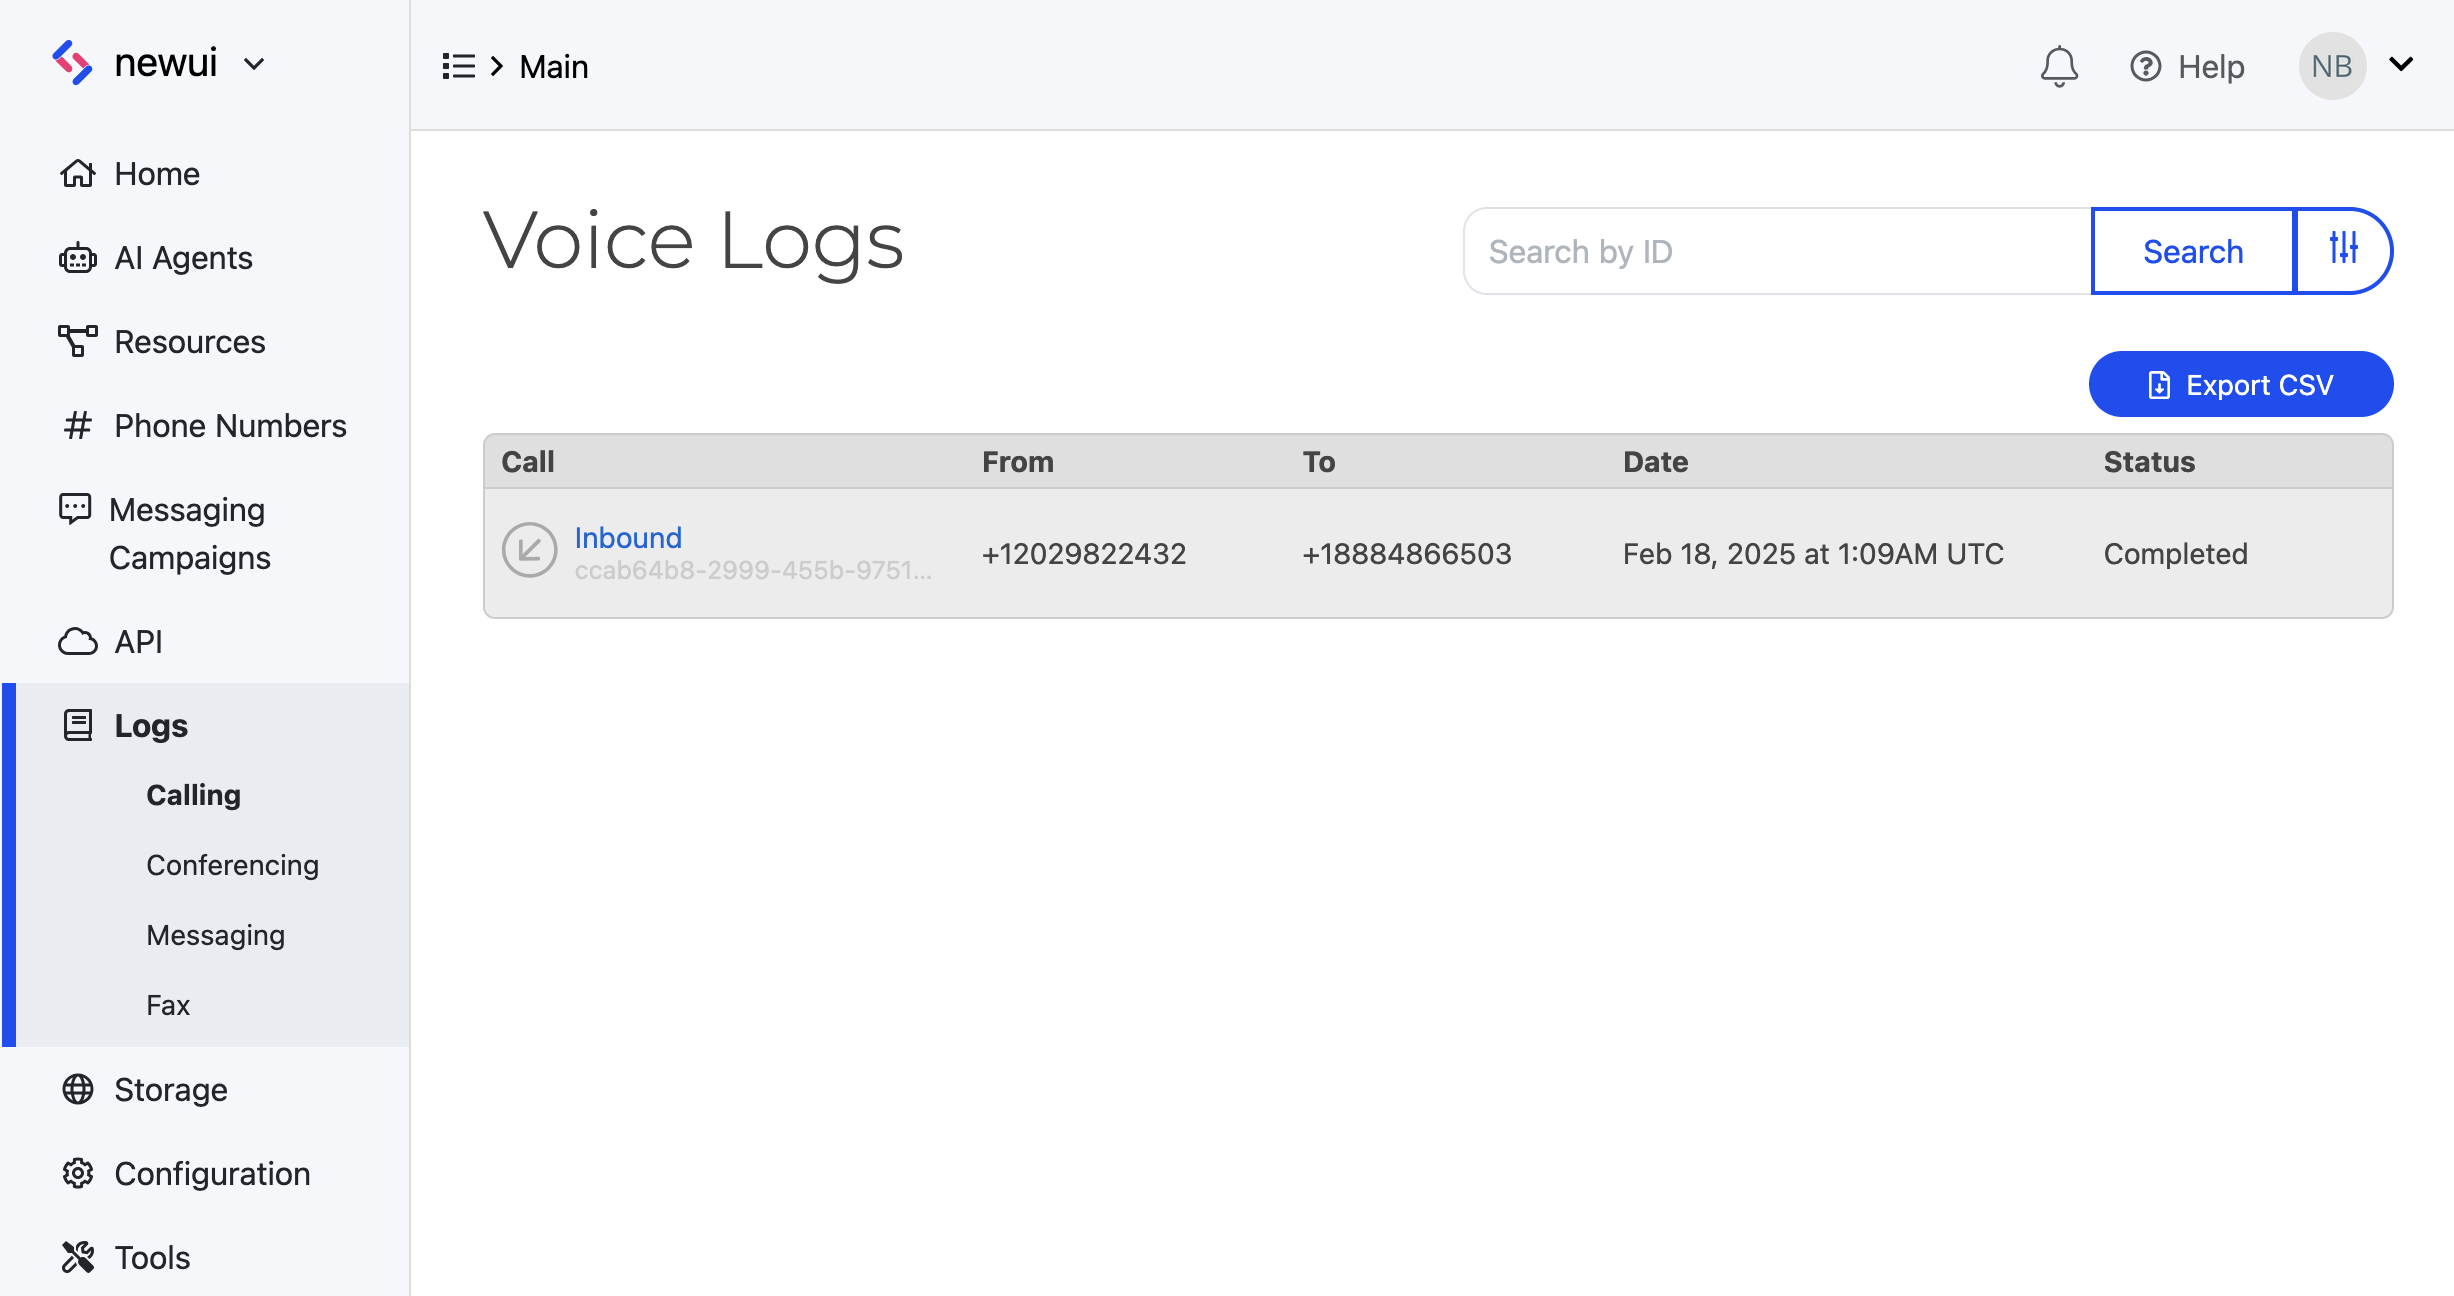
Call Logs
All call logs can be viewed in the "Logs" tab of your SignalWire Dashboard. Here, you can see details for each call including the SignalWire resource type and cost. Additional details for each call are available by clicking on the resource name.
Wrap Up
Setting up a SIP trunk like this may be the solution for you if all you need is to direct SIP traffic in and out of your existing system. However, the flip side to that is there will be no features available on the trunk such as recording, IVR or any form of call control. If you want to explore SIP options that take advantage of SignalWire's services and features, check out Getting Started Without Code or our guide to SIP Domain Applications.