SignalWire Docs
- Take advantage of building sophisticated AI agents with the new AI Agents SDK
- Voice APIs that outperform the competition
- Integrated ultra low-latency Voice AI for human-like interaction – intuitive routing and logic with SWML and API access with SWAIG serverless functions
- Build with compatible REST APIs or next-generation WebSocket realtime APIs
- Robust Chat, Fax, and Video APIs and SDKs
- High-throughput Messaging backed by unmatched support to stay compliant and maximize delivery rates
Don't know where to start?
Talk to Sigmond! He is a helpful assistant that can answer questions and help you get started, and he's built using SignalWire APIs.
Build me!
Get started with building your own AI-powered assistant on SignalWire by signing up for a free account!
Explore applications
There are lots of ways to build on SignalWire. Check out a few starting points for popular applications below.
- SWML
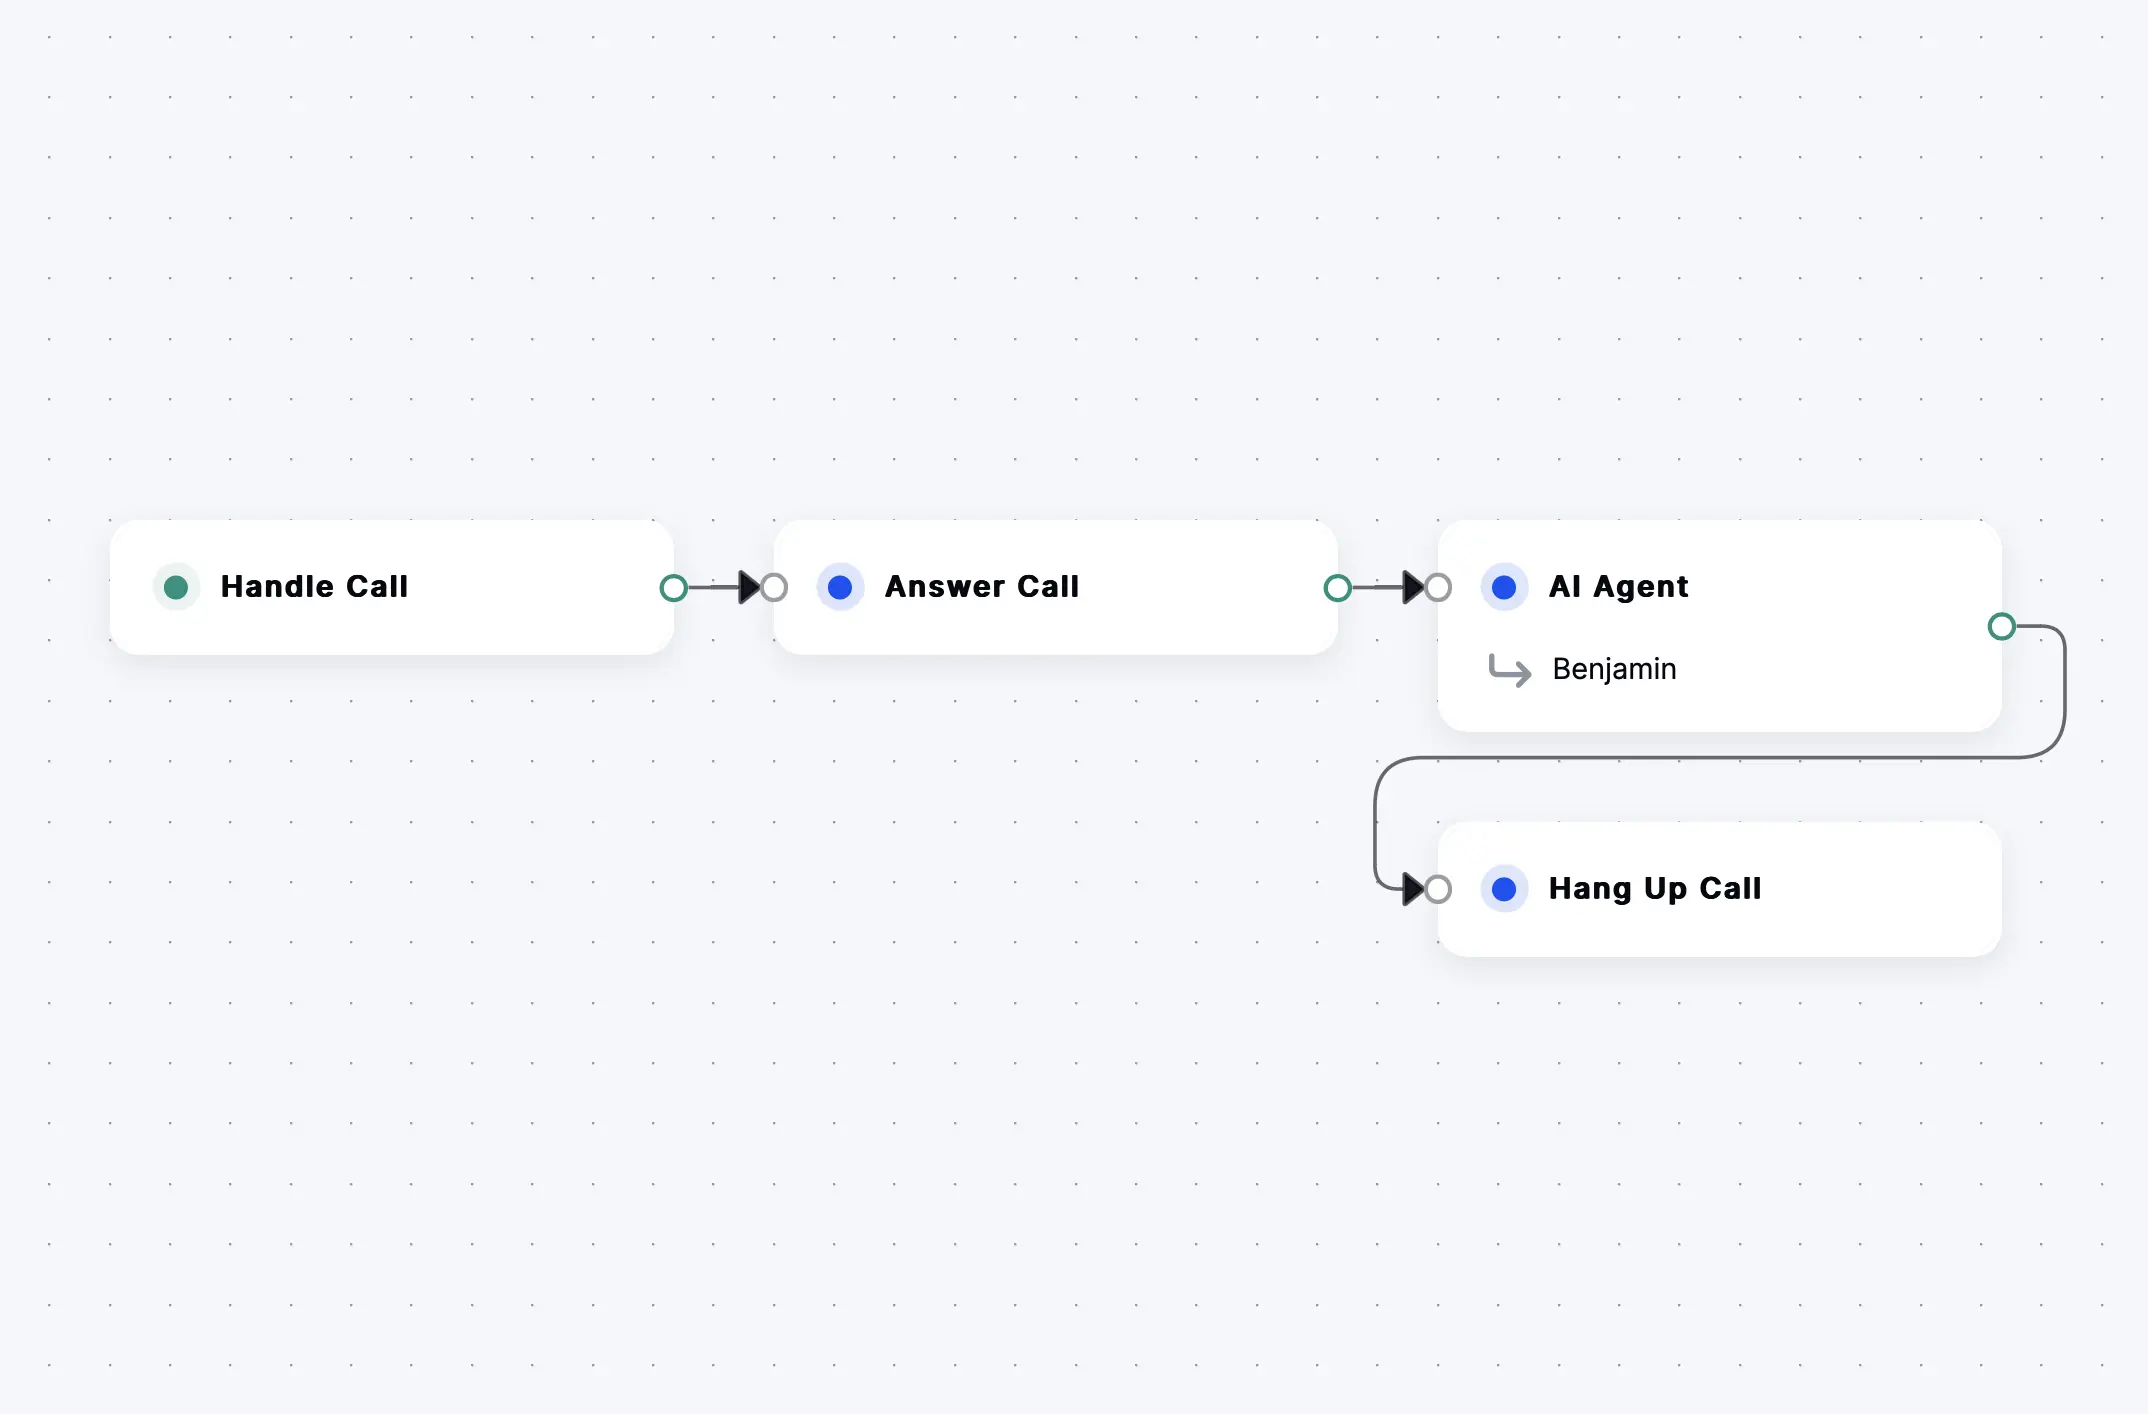
- Call Flow Builder
SWML
version: 1.0.0
sections:
  main:
    - ai:
        post_prompt_url: https://example.com/my-post-prompt-url
        params:
          save_conversation: true
        prompt:
          text: |
            You are a knowledgeable developer.
            Have an open-ended discussion with the caller about SignalWire and programmable communications.
Call Flow Builder

Core products
Want to get started with a specific channel? Start here.
AI
Integrated, powerful, scalable AI agents for your applicationVoice
High-performance realtime and compatible APIsVideo
Fully customizable audio/video conferencing appsChat
Implement seamless in-browser chat using PubSubMessaging
Programmable, high- throughput, compliant SMS & MMSFax
Programmable fax, certified SOC 2 Type II and HIPAA compliantAPIs, SDKs, and Tools
APIs and SDKs for SignalWire services that unify voice, video, chat, fax, and messaging.
Agents SDK
Create and manage sophisticated AI agents with the new Agents SDK.SWML
Powerful, lightweight and comprehensive markup that unifies LLMs, text-to-speech, speech-to-text with PSTN, SIP, and WebRTCSignalWire REST APIs
REST APIs for SignalWire servicesRELAY Realtime SDK
Manage realtime communication applications with a server-side SDKRELAY Browser SDK
Add video calling, audio calling, chat, and more to your websiteCall Flow Builder
Build drag-and-drop calling apps without codeClick to Call
Embed one-click calling to phone numbers, AI Agents, and more on your websiteSWSH CLI
SignalWire Shell command-line interfaceWireStarter
Quick-start templates for SignalWire applicationsAI
SignalWire AI services weave together LLMs, text-to-speech, speech-to-text and other AI services with PSTN, SIP, and WebRTC using a powerful underlying Call Fabric architecture and a comprehensive markup language called SWML.
AI Agents can call functions and connect to APIs with SWAIG
AI Agents
Create and manage AI agents for voice, video, and text interactionsSWML AI method
Create and manage AI agents for voice, video, and text interactions using SWMLSWAIG
A serverless function framework that connects Voice AI agents to APIsDatasphere
SignalWire RAG: upload, manipulate, and retrieve information in the context of a SignalWire applicationPrompt Object Model
A structured data format and accompanying Python SDK for composing, organizing, and rendering prompt instructions for LLMsTools
Tools to help you make the most of SignalWire services efficiently.
Call Flow Builder
Build drag-and-drop calling apps without codeClick to Call
Embed one-click calling to phone numbers, AI Agents, and more on your websiteSWSH CLI
SignalWire Shell command-line interfaceWireStarter
Quick-start templates for SignalWire applicationsCompatibility
Use SignalWire services using APIs and SDKs with compatibility APIs that facilitate transition from other providers and legacy systems.