WebRTC with SIP Over WebSockets
SignalWire supports industry-standard WebRTC SIP over WebSockets! This means that you can use off-the-shelf JavaScript libraries with SIP to connect to SignalWire services.
Services enabled in a WebRTC compliant browser include:
- Audio calling to/from Web and PSTN
- product:video calling between Web and SIP endpoints
- Programmatically creating SIP endpoints and directing calls to your WebRTC endpoints
To get started, navigate to your SignalWire Space and create a new SIP endpoint. To use secure protocols, make sure the Encryption is required.
Now, you can test the newly created endpoint on a popular JS SIP (JSSIP) library:
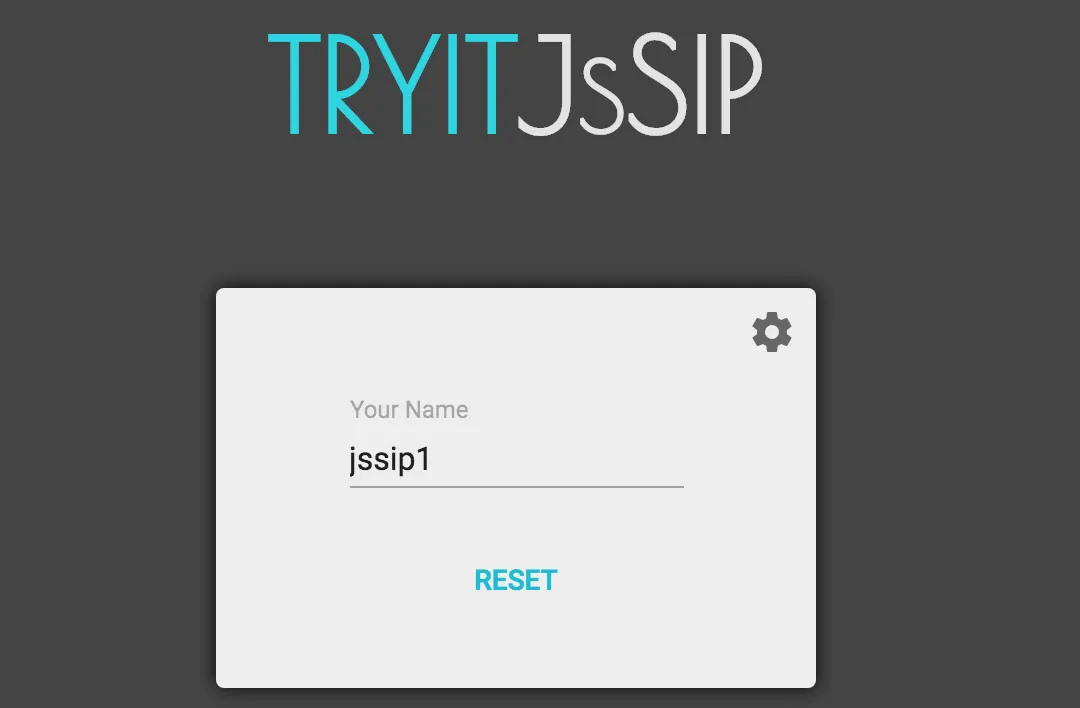
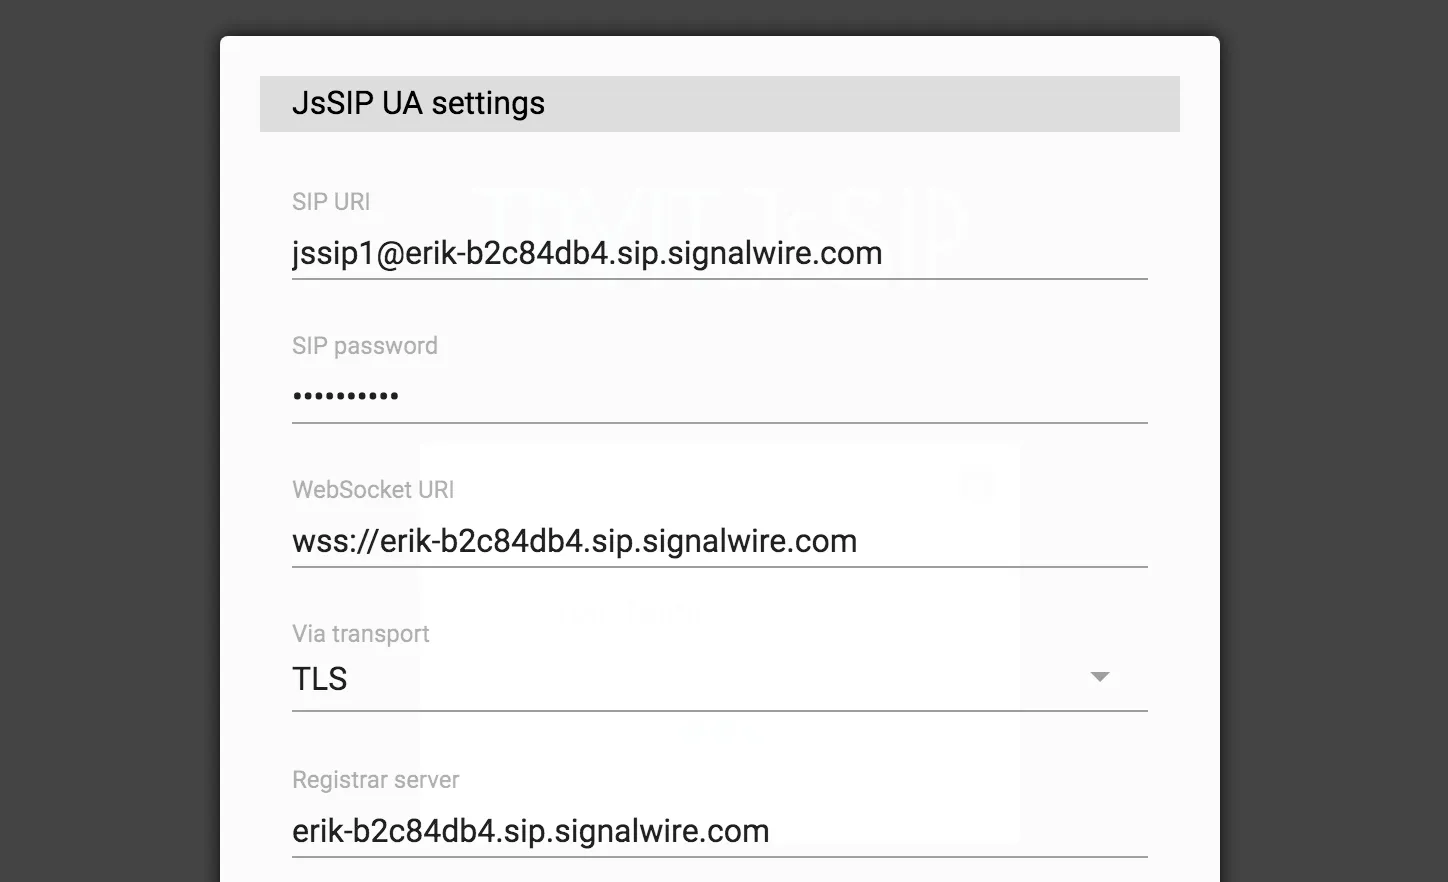
If you click the gear icon, you can configure the settings needed to connect to SignalWire. The SIP URI is your SignalWire SIP username and domain. The password set on your SIP endpoint can be used in the SIP password section to authenticate. The WebSocket URI is your domain with an appended wss://. To match the encryption on SignalWire, set the transport to TLS. The Registrar Server should be set to your domain.
Once you've saved the entered information, you will see the endpoint register and turn from yellow to green.
Then, set up another SIP endpoint with the same process as above.
Now that both of the endpoints are registered, you can place the first call. If you're using SIP endpoints in the same project, you can use short-hand names (for example, jssip1 and jssip2) to place the call:
If everything was set up correctly, you should see a video call from one of the addresses to the other.
In addition, you can attribute a phone number to your created sip endpoint and receive calls from the PSTN! You can also place the outbound calls to the PSTN from the WebRTC client.