Navigating your SignalWire Space
Congratulations, now you have a SignalWire Space! If not, create one here. You can then log in at here. Here's a quick walkthrough to make sure you can find everything you need.
Toolbar
In the upper-right corner, you'll notice your toolbar has several items of importance.
By clicking the bell, you can see our updates of new API features, updates to current APIs, upcoming LiveWire sessions to demonstrate SignalWire capabilities with real time Q&A, and more. To the right of that, a help menu provides you with helpful links for further information and support. Farther right, your current SignalWire balance is displayed next to a link to add credit to that balance. Finally, the account icon with the drop-down menu on the far right will allow you to view your profile or log out.

When you click on the dropdown menu to the view your profile, you will see additional options including "Profile, Billing, Users, and Settings" as well as the option to switch SignalWire Spaces or log out.
You will not be able to view Billing, Users, or Settings unless you are an Admin on that SignalWire Space.

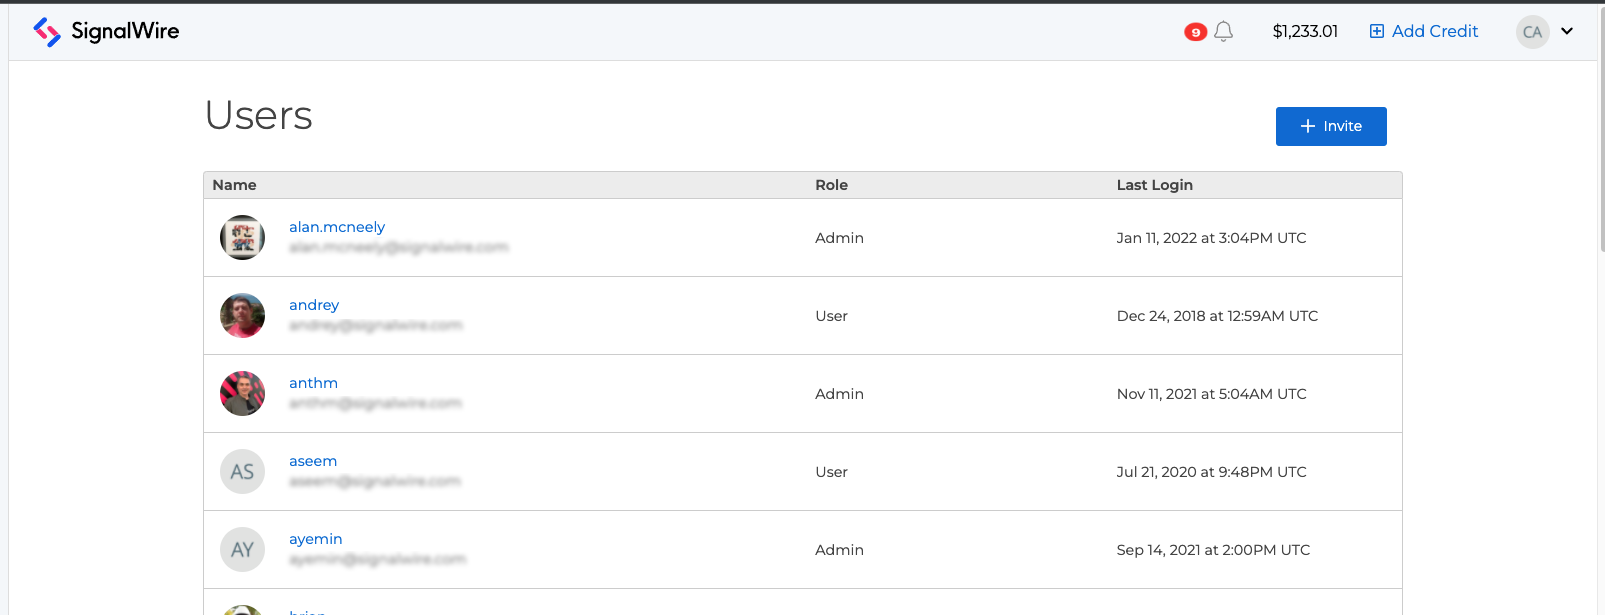
Users
The Users tab shows all users (depending on if you are an admin or not) and lets you invite other users. You can also invite users and restrict them to only being able to see specified projects.
Side Navigational Bar
On the lefthand side, you'll find the side nav bar. At the top, you'll see your project name and two opposite facing arrows. By clicking that button, you will see all of your projects and can easily switch between them.

At the top, clicking on the arrows lets you switch between Spaces. Below that you have links to access different configuration pages.
Below that, you have the directory to each of the different pages within your portal.
Home
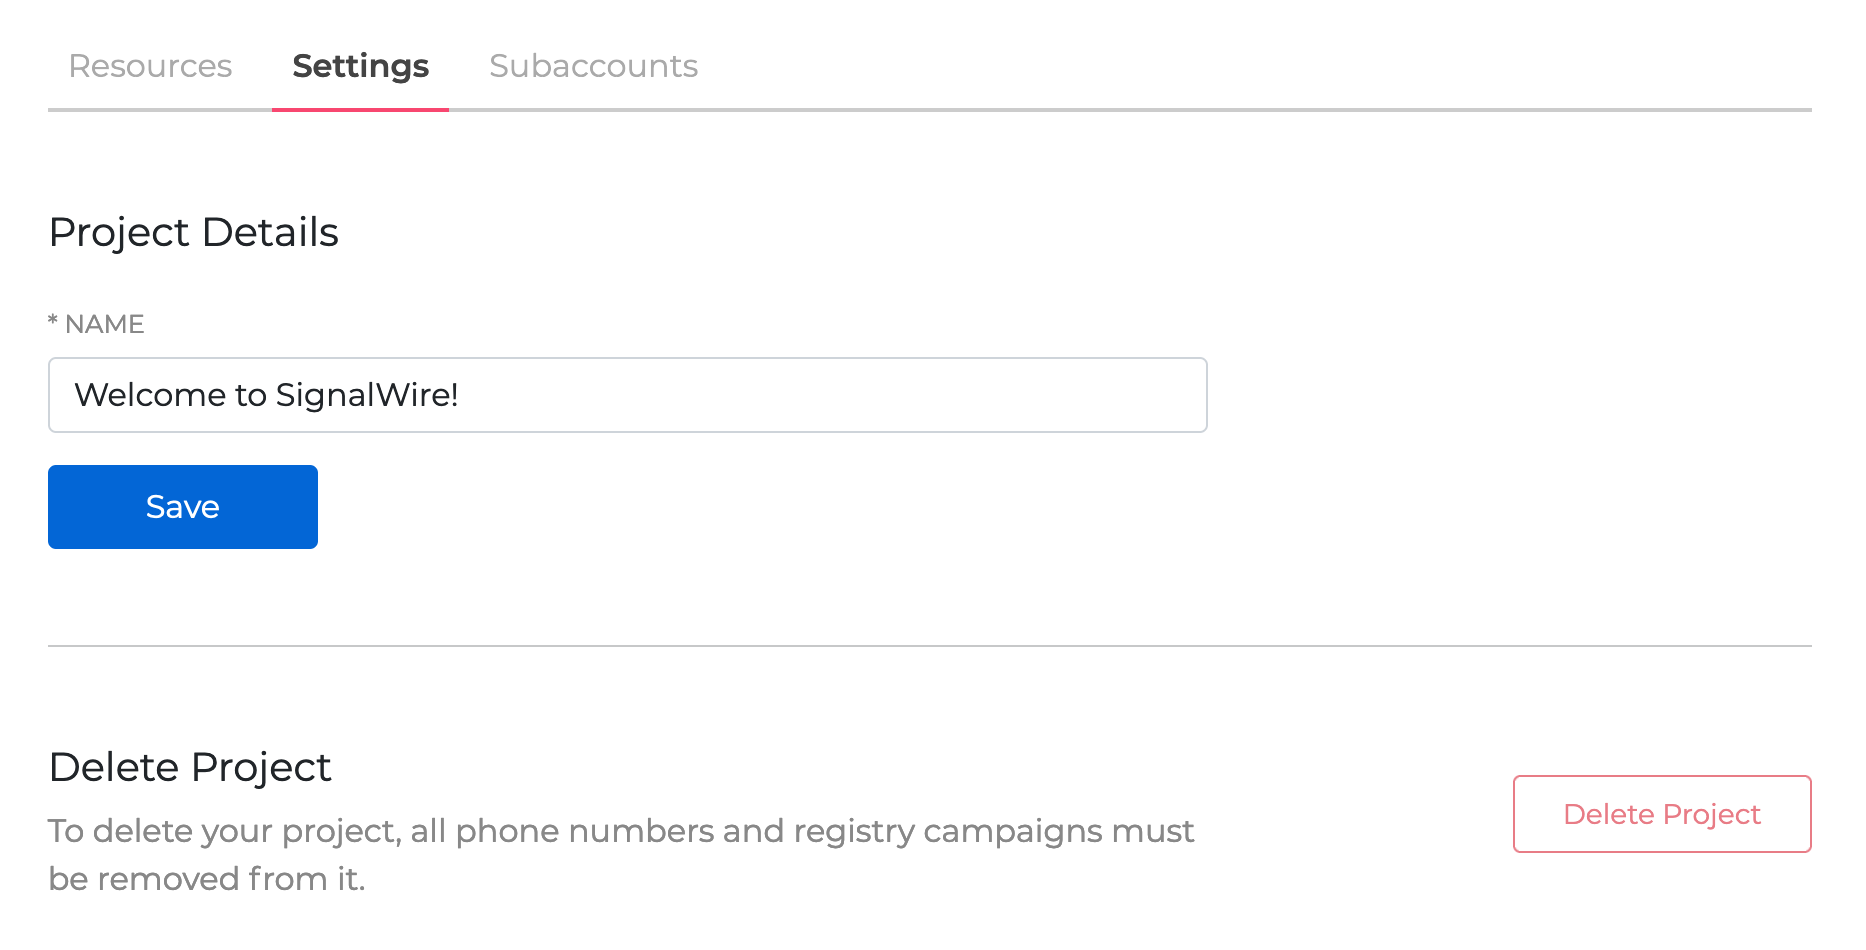
Home contains your project ID and Space URL, as well as the ability to change the project's name and delete the project.
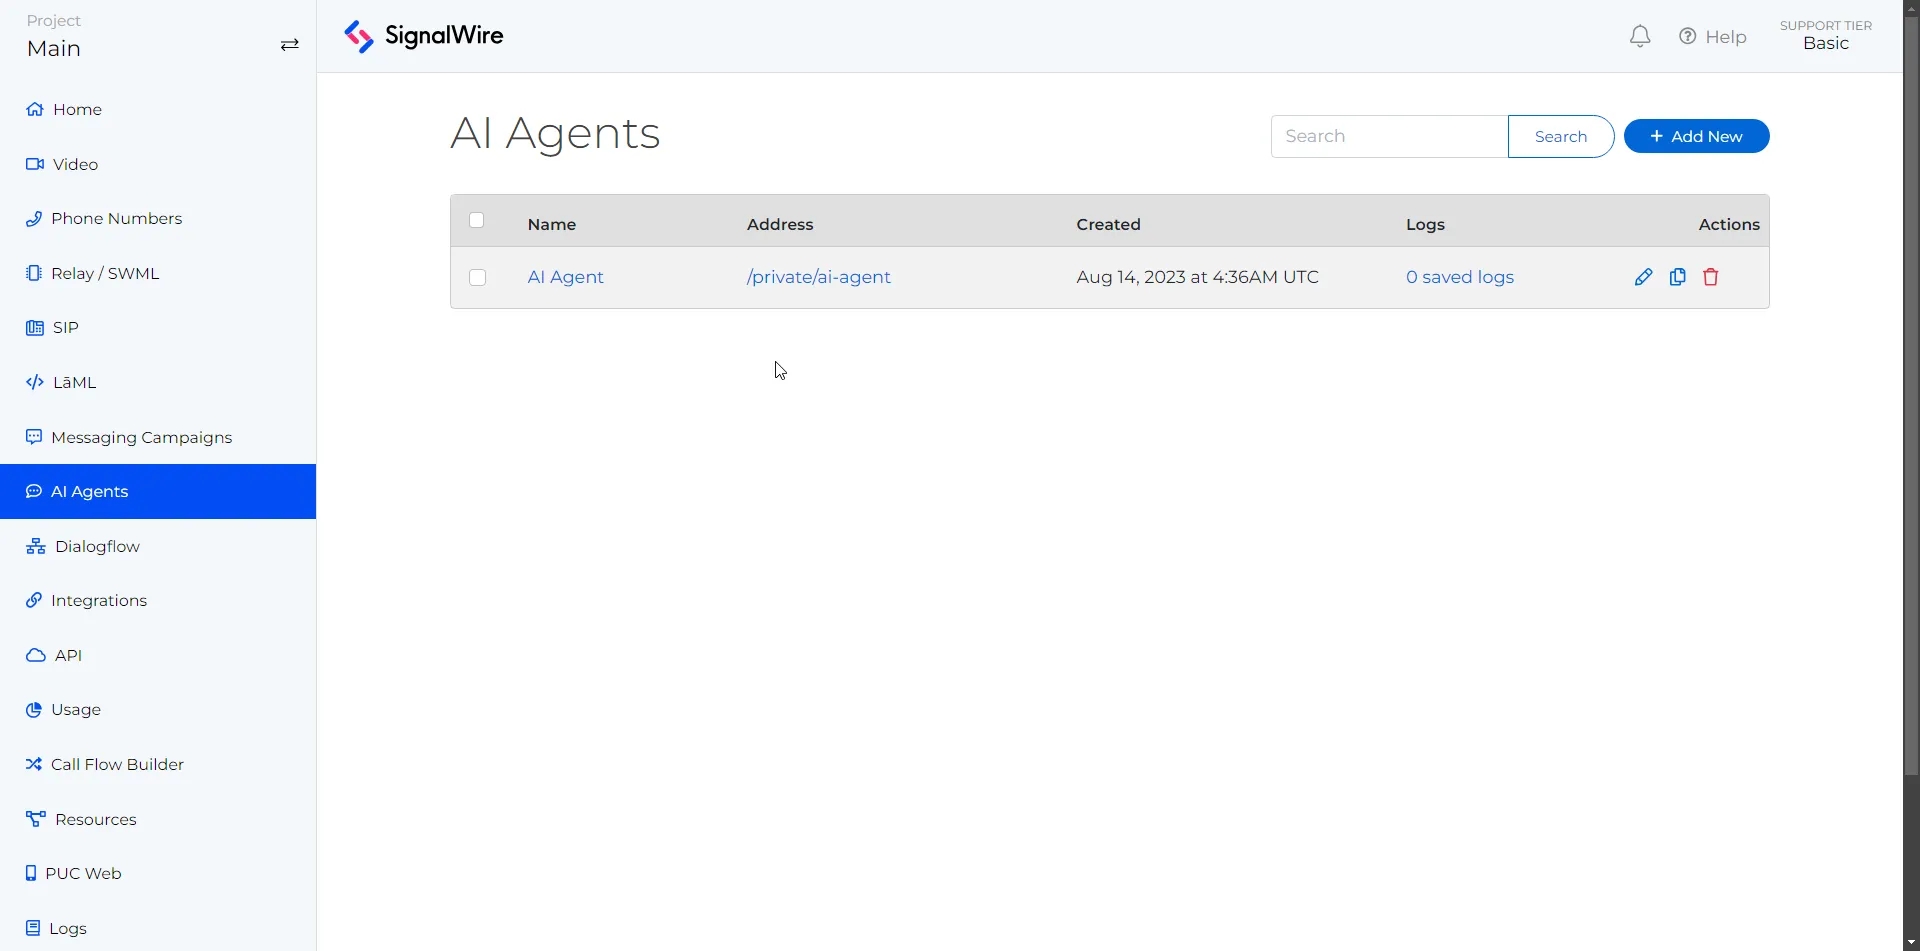
AI Agents
The AI Agents tab lets you create and manage your AI agents. This provides users the ability to create and manage multiple SignalWire AI agents through the UI, without needing to write any code.
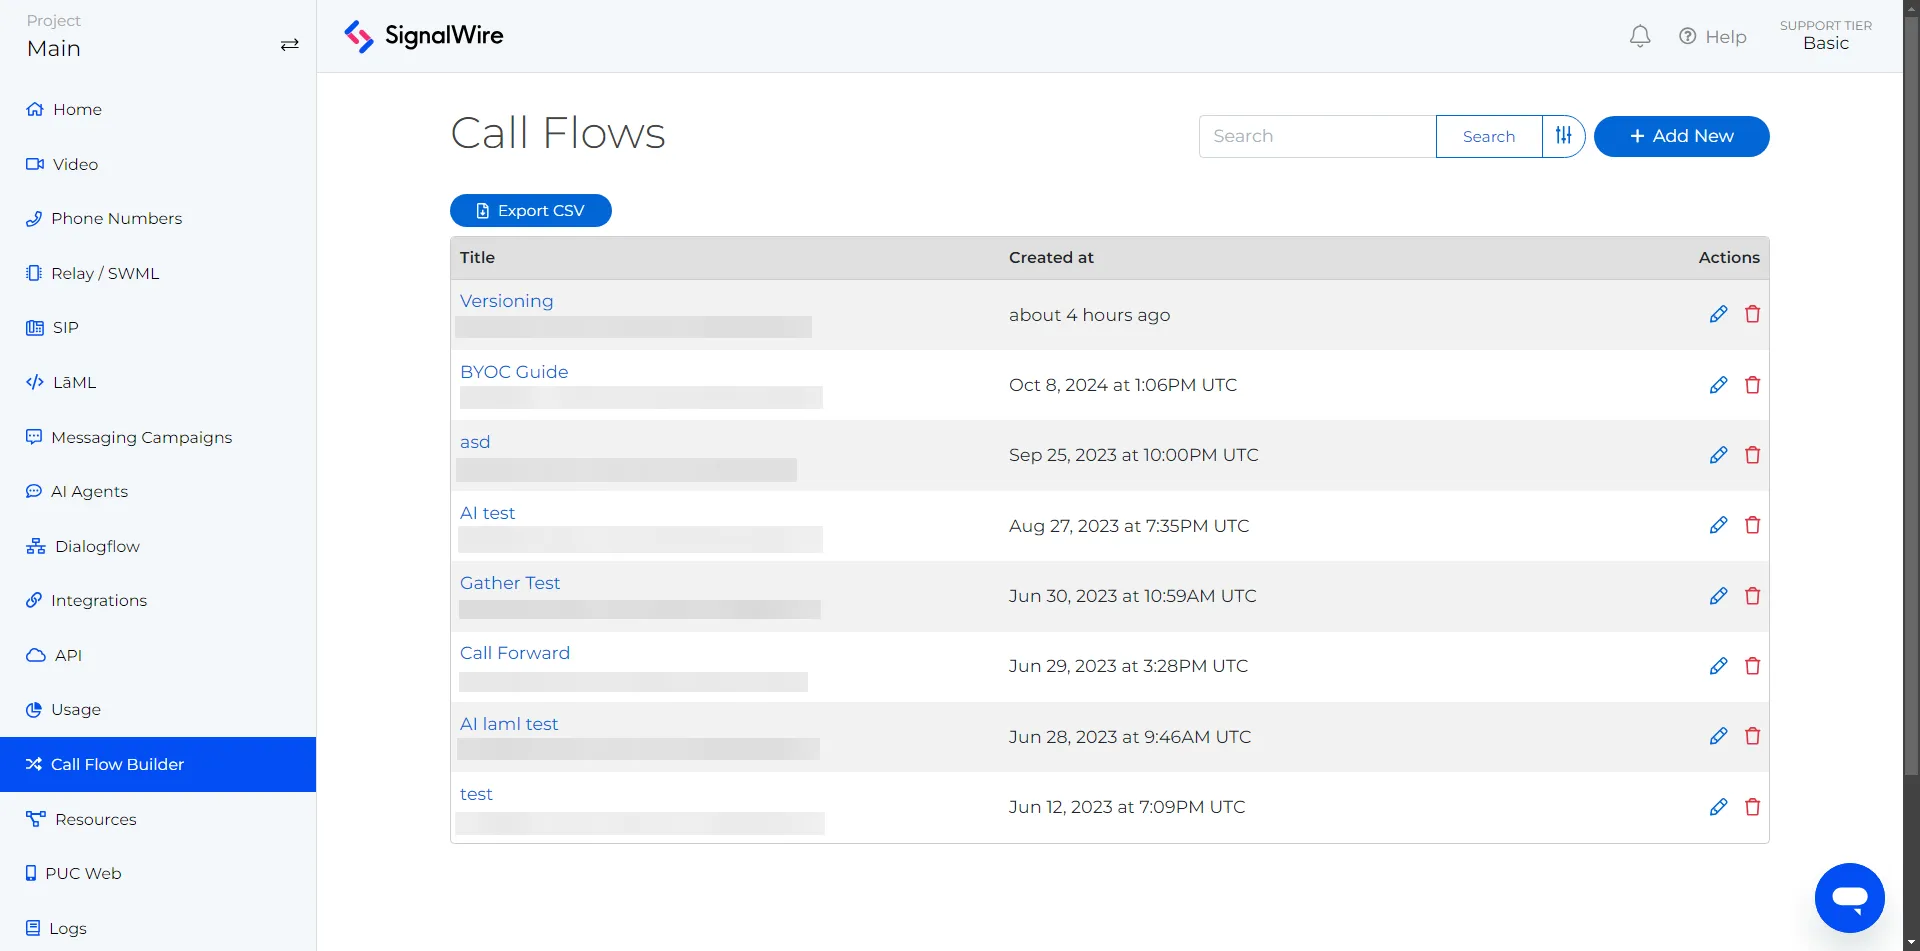
Call Flow Builder
The Call Flow Builder tab provides users the ability to create and manage multiple SignalWire call flows through the UI, without needing to write any code.
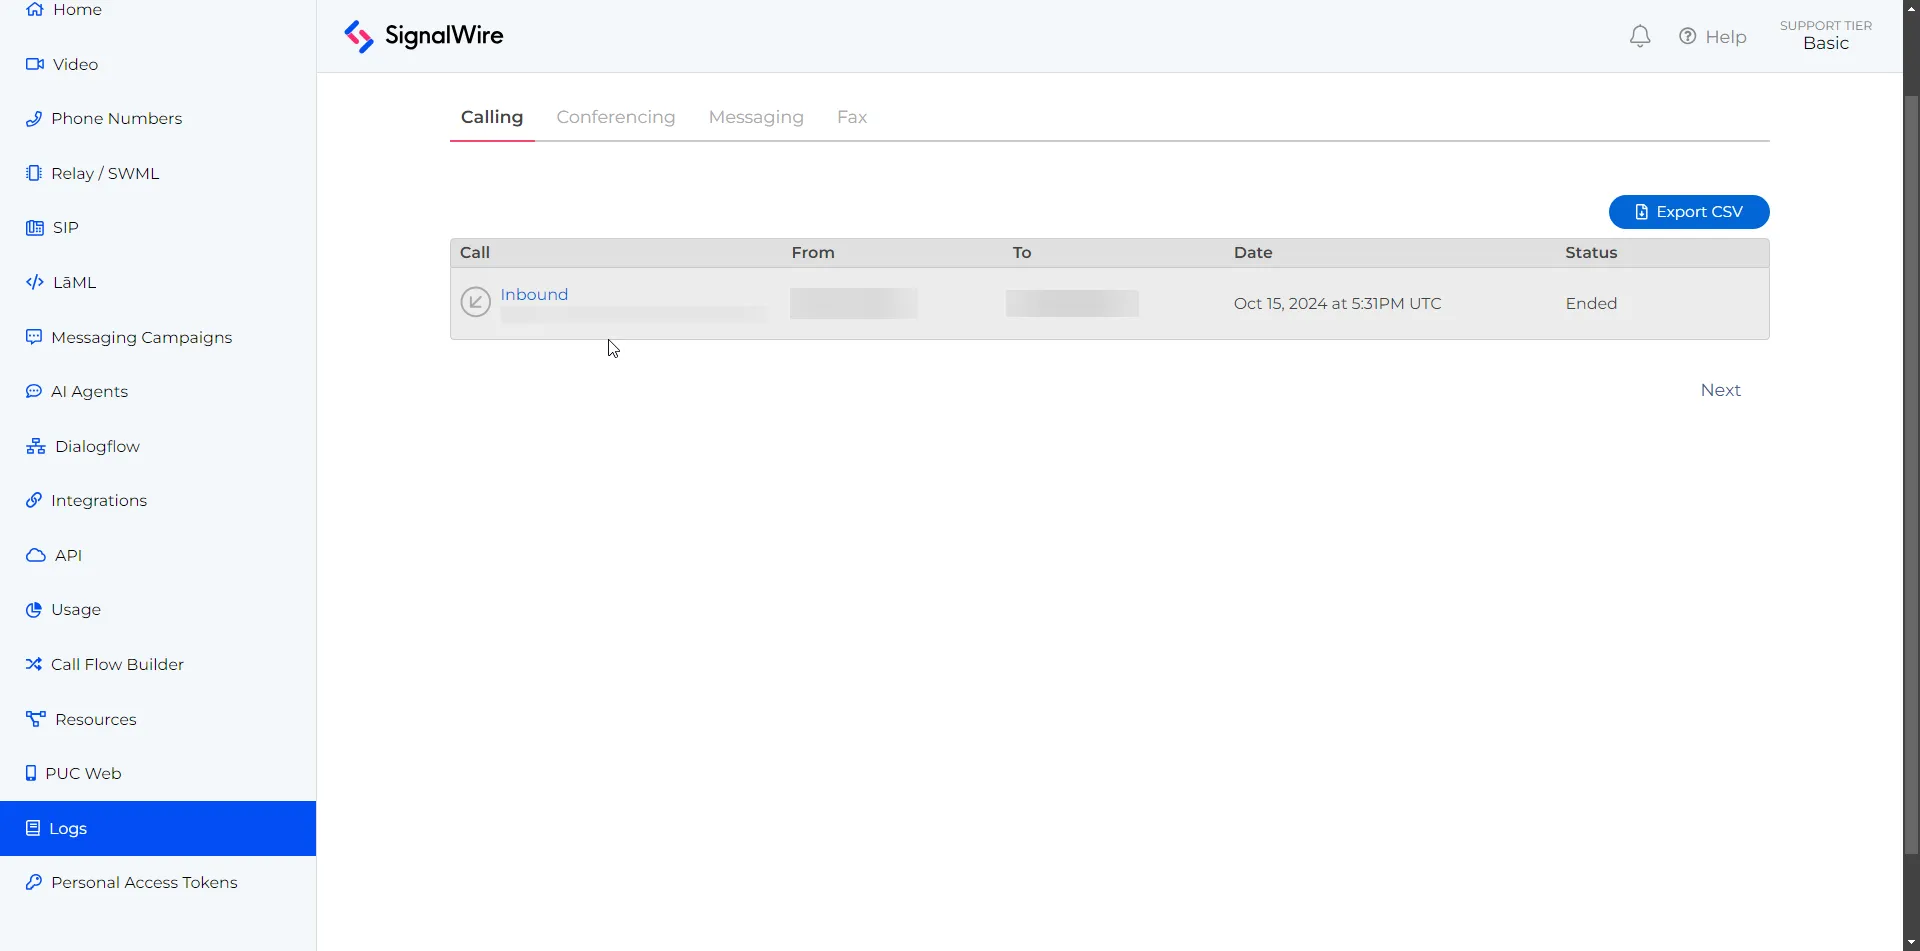
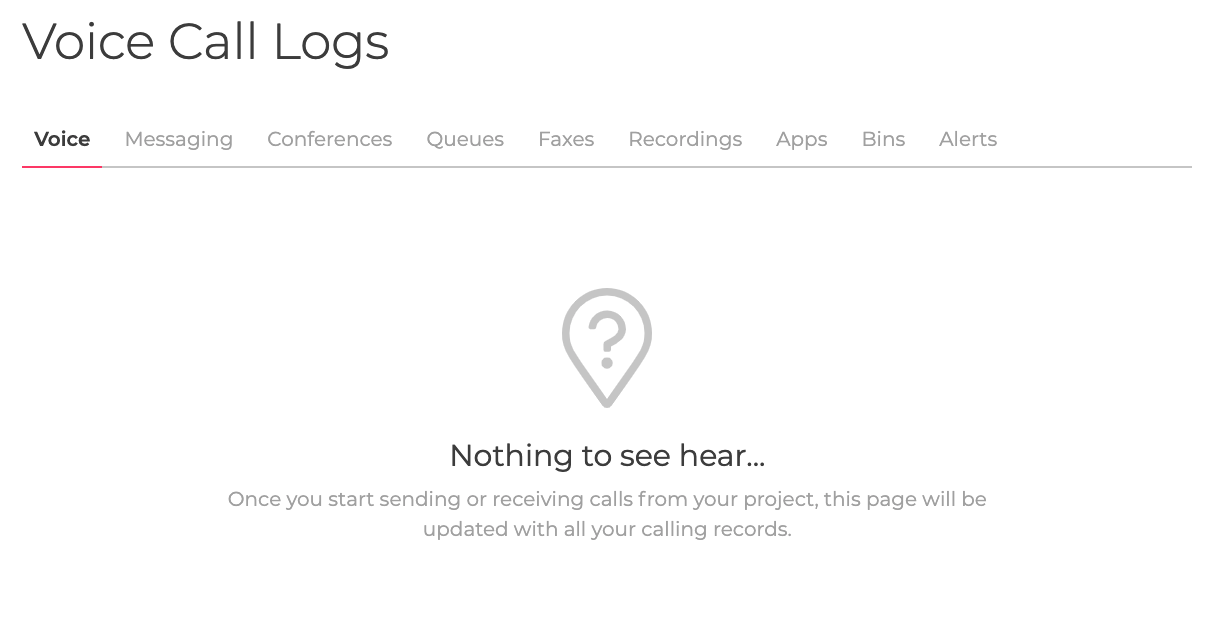
Logs
The Logs tab contains all of your logs for your project. Calling, Conferencing, Messaging and Faxes logs are all available here.
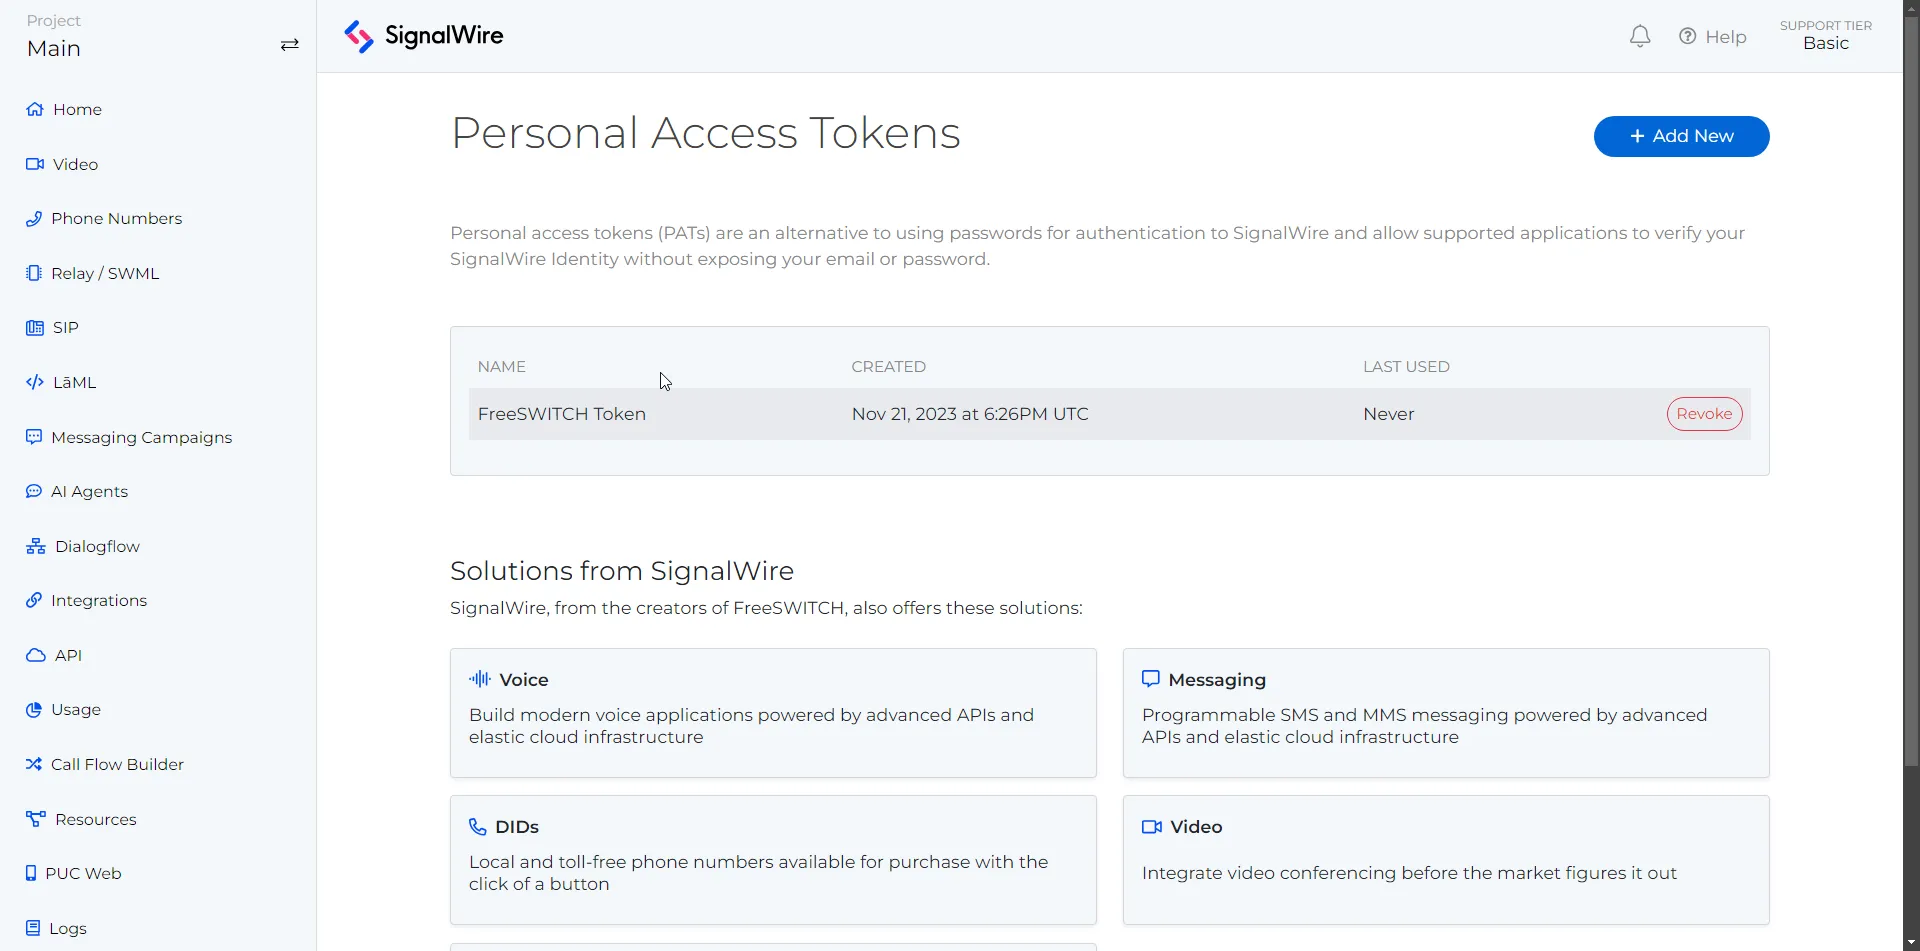
Personal Access Tokens
The Personal Access Tokens tab lets you create and manage your personal access tokens for supported applications (such as FreeSWITCH).
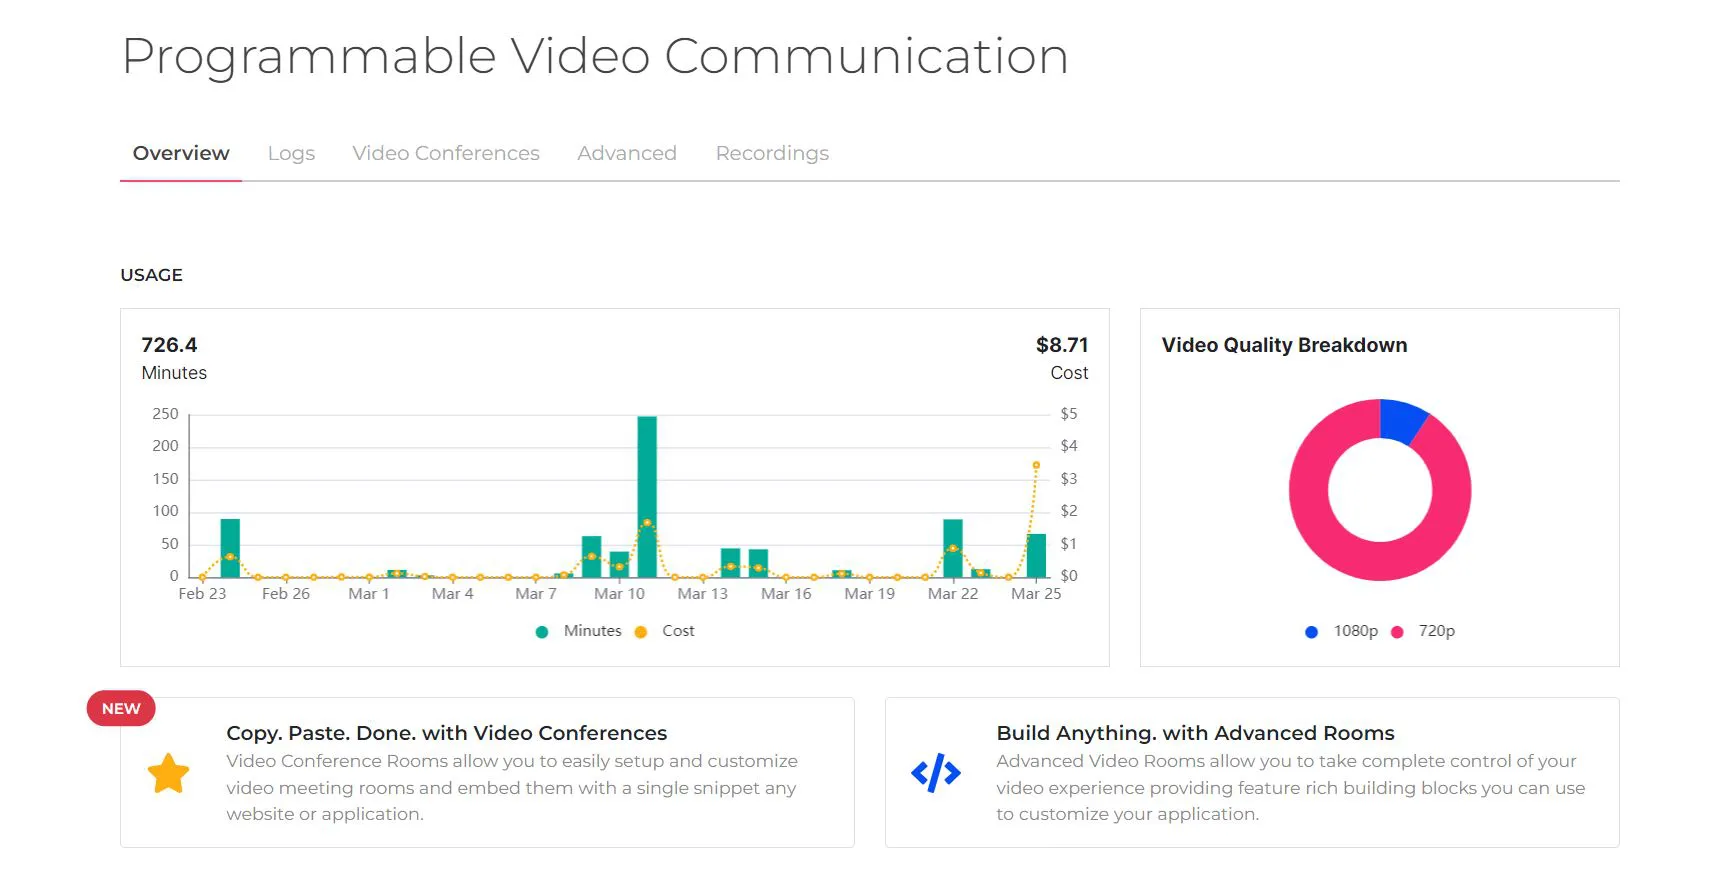
Video
The Programmable Video Communication page lets you explore, create, and configure everything related to video rooms and room sessions. Here, you can find the code to embed Video Conferences into your web pages, download room recordings, and more. Check out the Your SignalWire Video Space page for an in-depth tour.
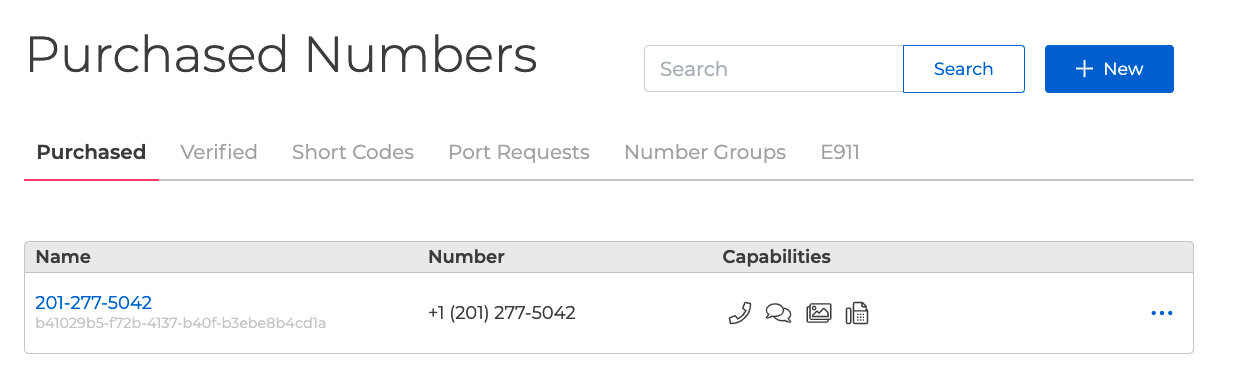
Phone Numbers
The Phone Numbers tab has all your purchased and verified numbers, capabilities to buy phone numbers and edit phone number settings, E911 addresses, and the spot to submit porting requests.
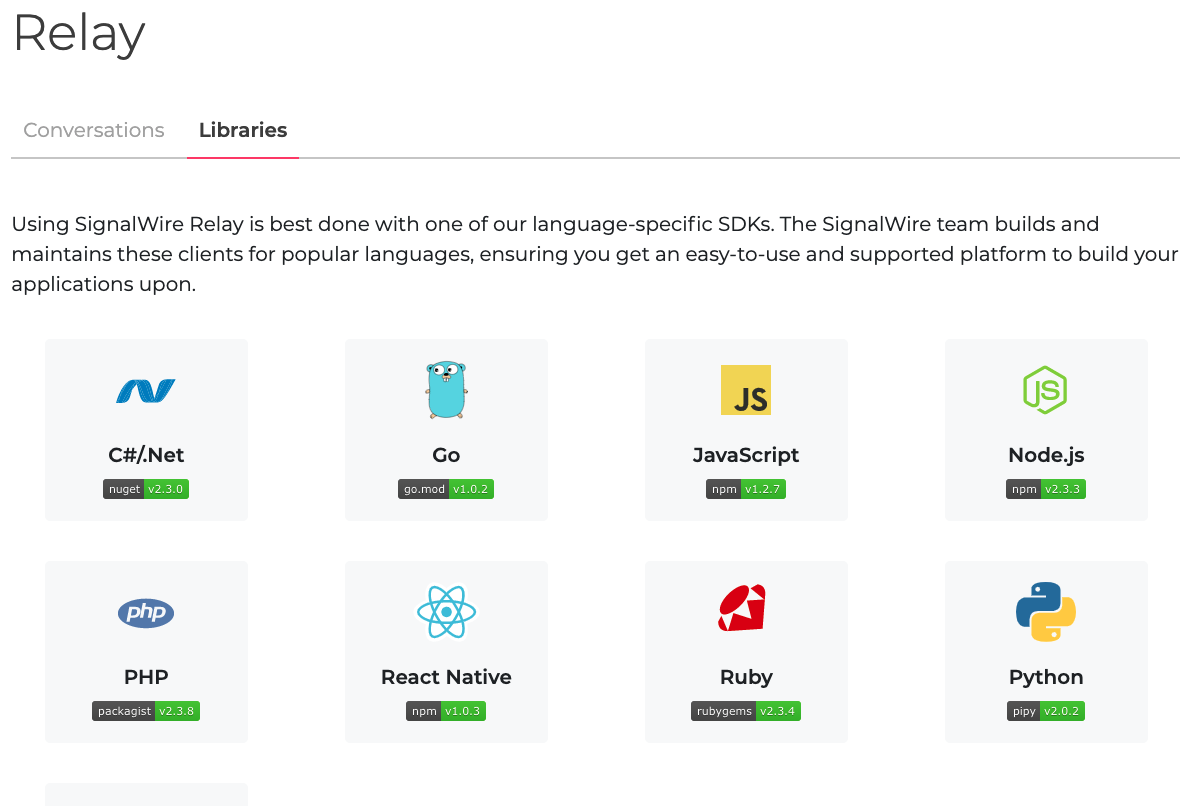
Relay
The Relay tab contains all the logs for SignalWire RELAY APIs. You can search for logs by any RELAY segment ID or call ID. In the Libraries tab, view all of the possible Relay clients in different languages.
SIP
The SIP tab contains your SIP endpoints, SIP Settings, and Domain Apps.

cXML
The LaML tab contains all of the logs and alerts for the cXML APIs. You can also access your recordings here.
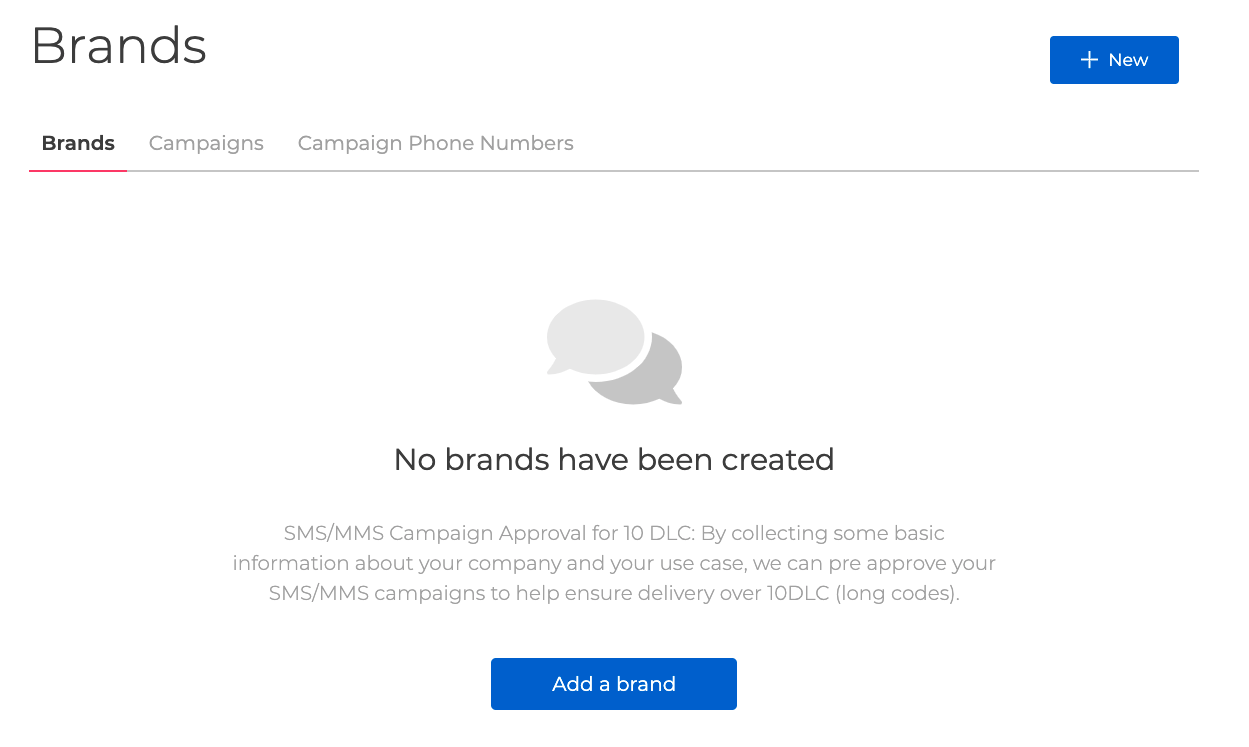
Messaging Campaigns
The Messaging Campaigns tab allows you to create a brand, create a campaign, and add phone numbers to your campaign. The Campaign Registry is required by the MNOs for all messaging that takes place over long code local numbers, regardless of use case. To learn more about The Campaign Registry, check out the full guide or reach out to sales@signalwire.com to talk about your use case.
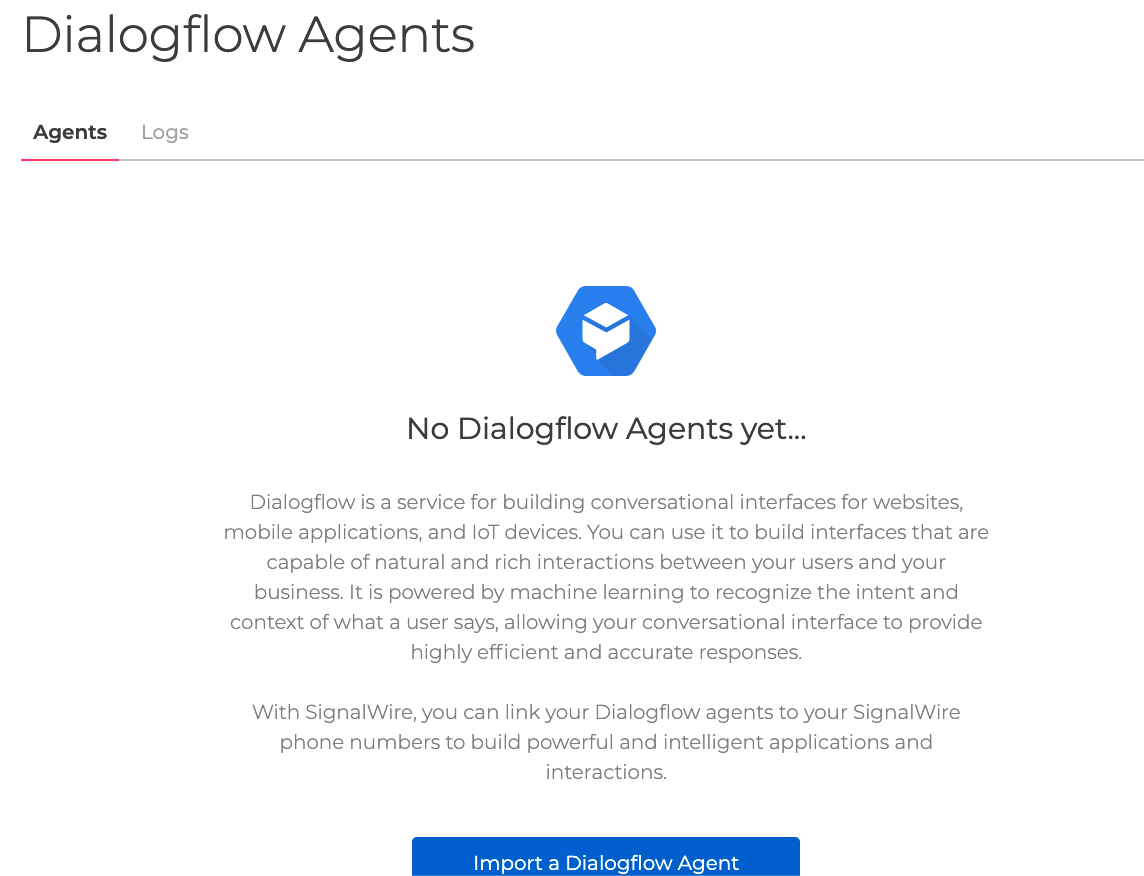
Dialogflow�
The Dialogflow tab lets you view your Dialogflow logs and connect a Dialogflow agent.
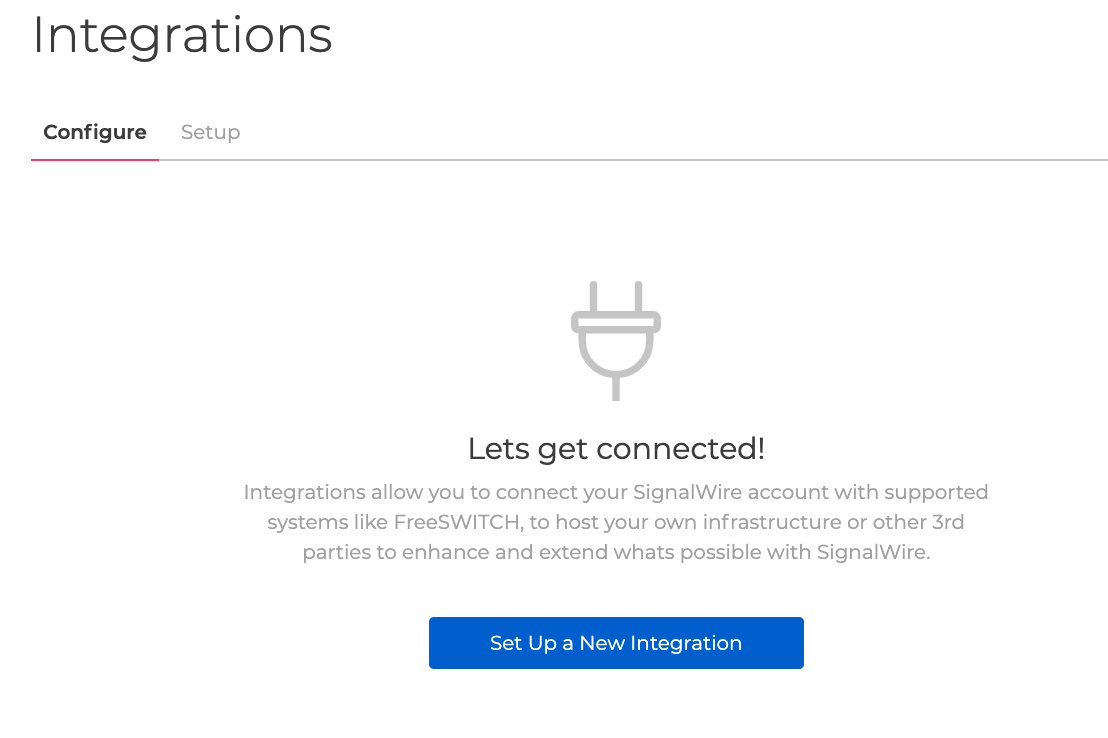
Integrations
The Integrations tab lets you configure your SignalWire account with supported systems like FreeSWITCH or other 3rd parties to enhance and extend what is possible with SignalWire.
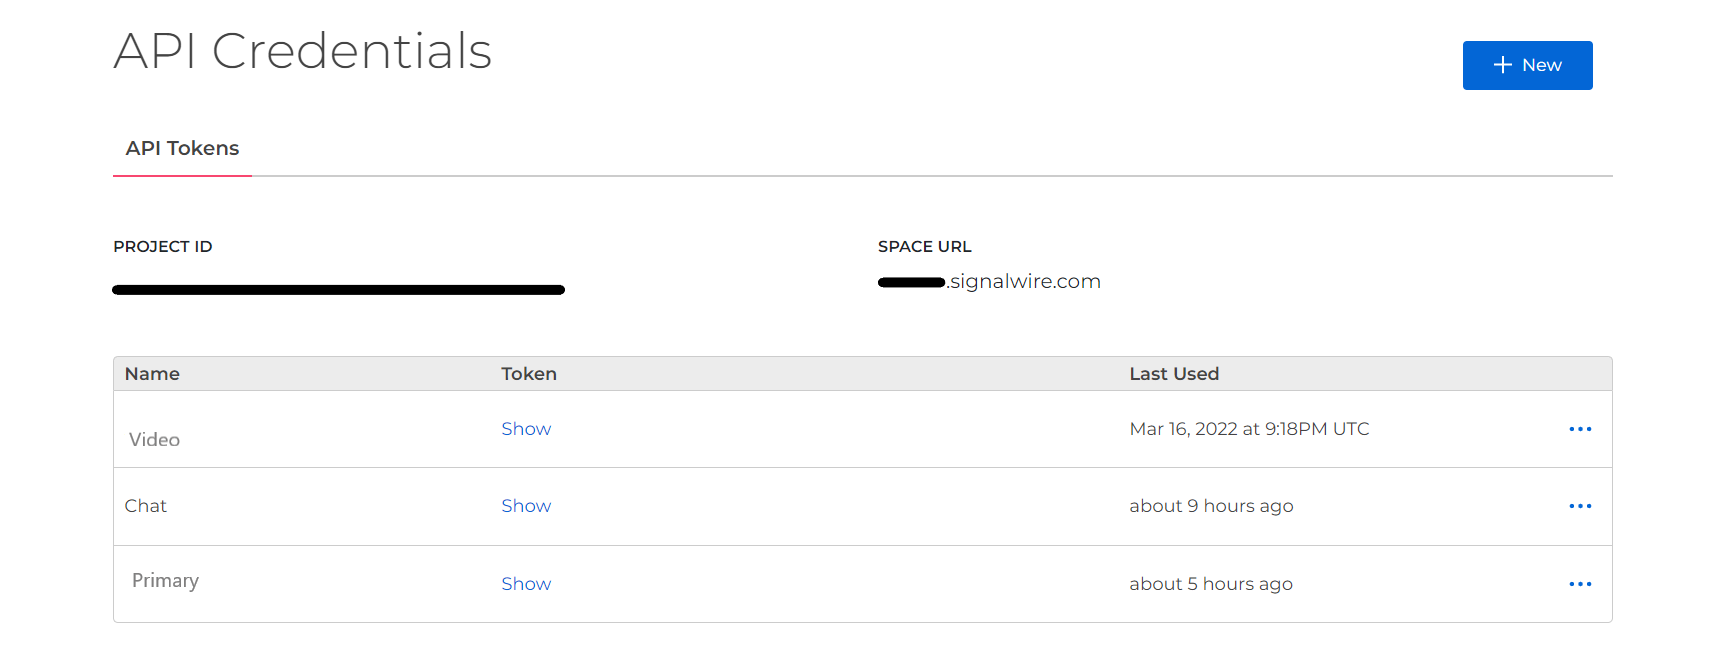
API
The API tab lets you create API tokens which are crucial for using any of our APIs. You can also copy your project ID and Space URL with the click of a button on this same page.
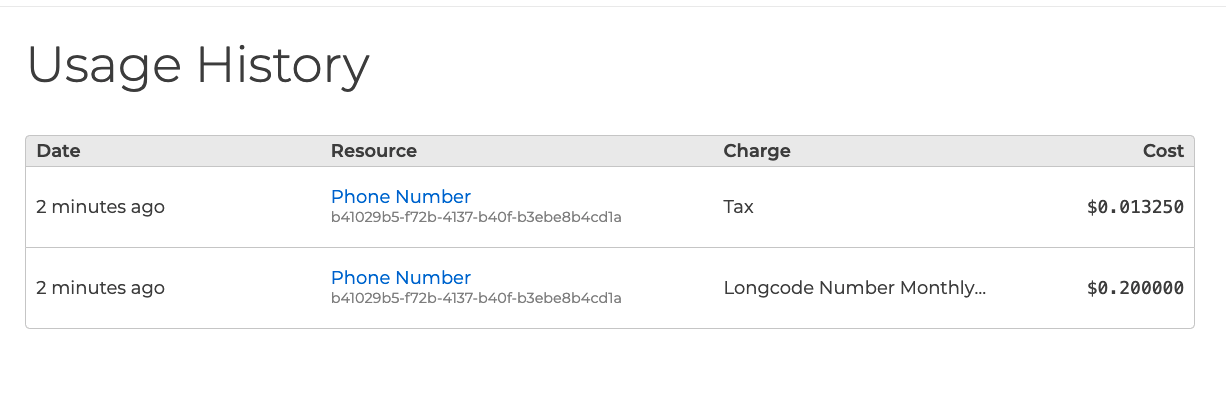
Usage
The Usage tab contains all of your usage records and history.
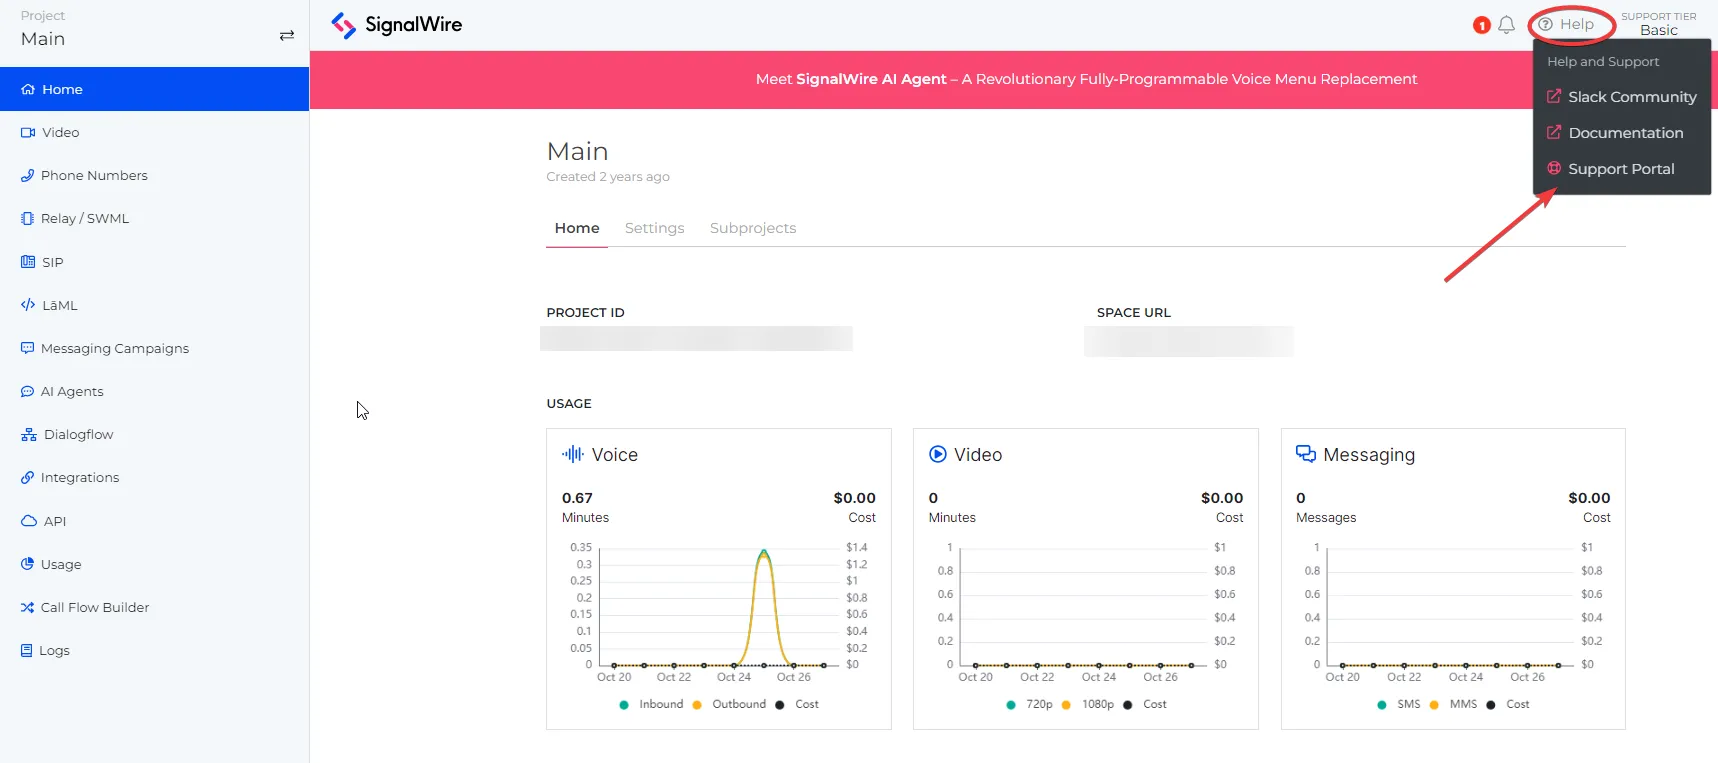
Support
A support request can be created through the Space by clicking on the "Help" icon located on the top banner of the Dashboard, and then by clicking on Support Portal within the drop-down menu.
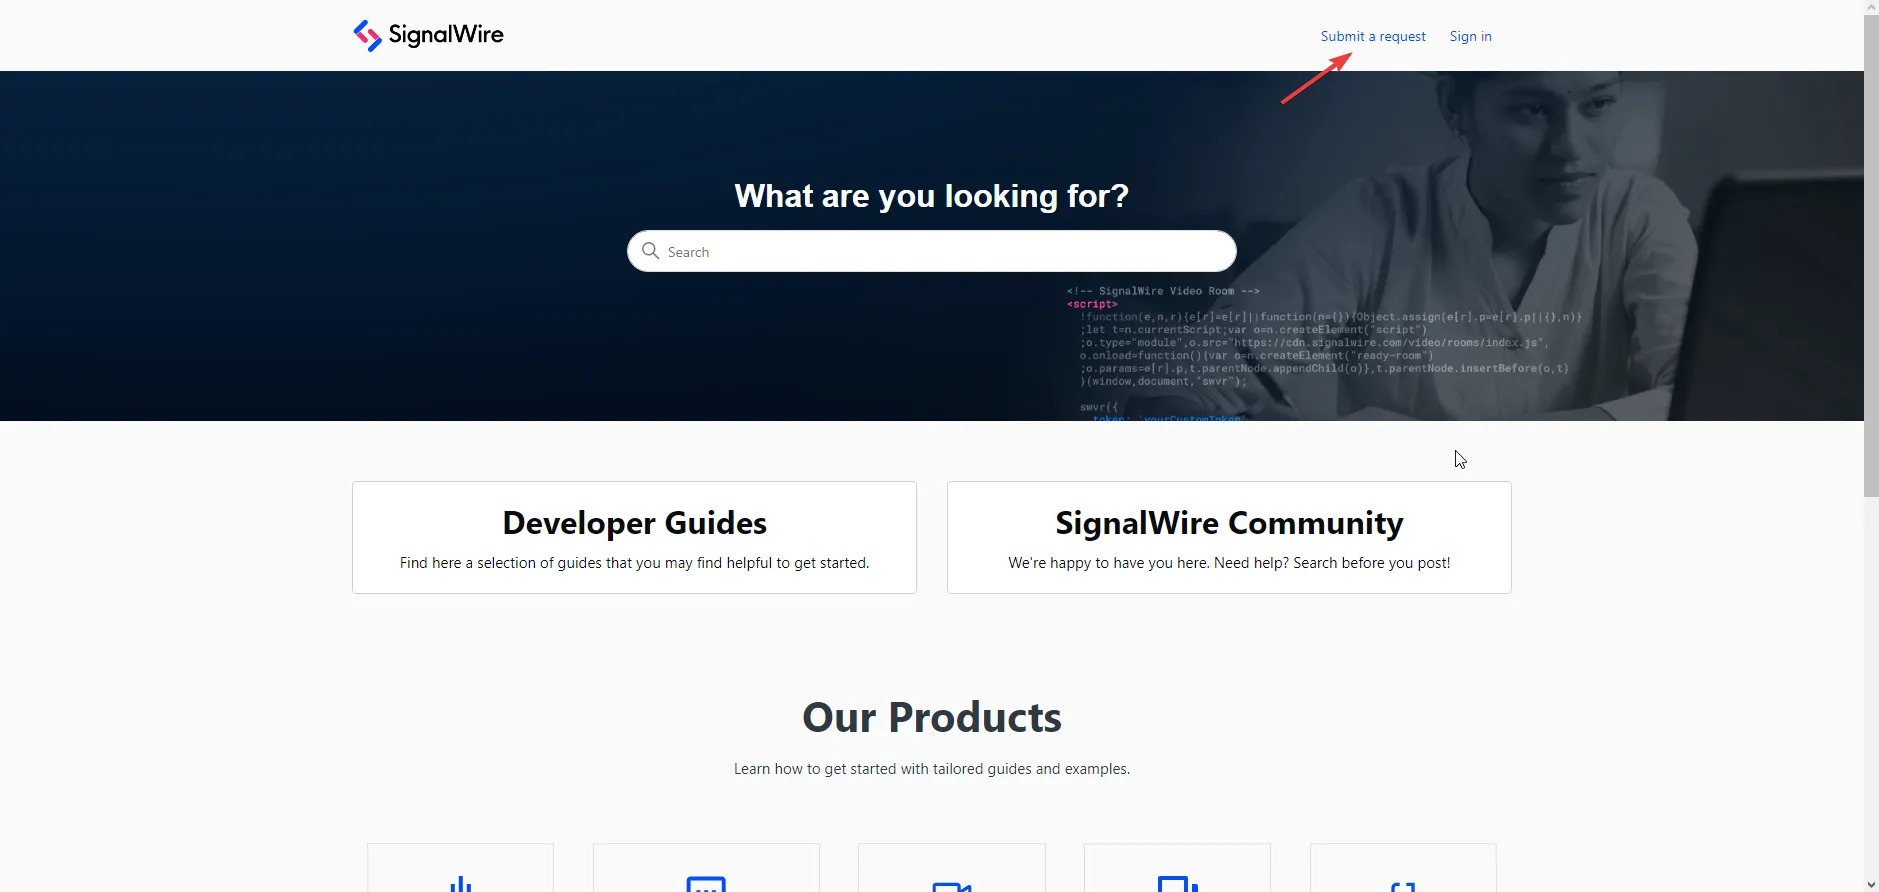
On the Support Portal page, click on Submit a request on the top banner of the page.
The Support Portal gives you access to view your current support requests and also search through our online resources.