Video Conferences
The SignalWire Video APIs give you full flexibility to build your own personalized video conferencing experience. But if you need a simpler level of personalization, and you want to get started fast, you can use Video Conferences.
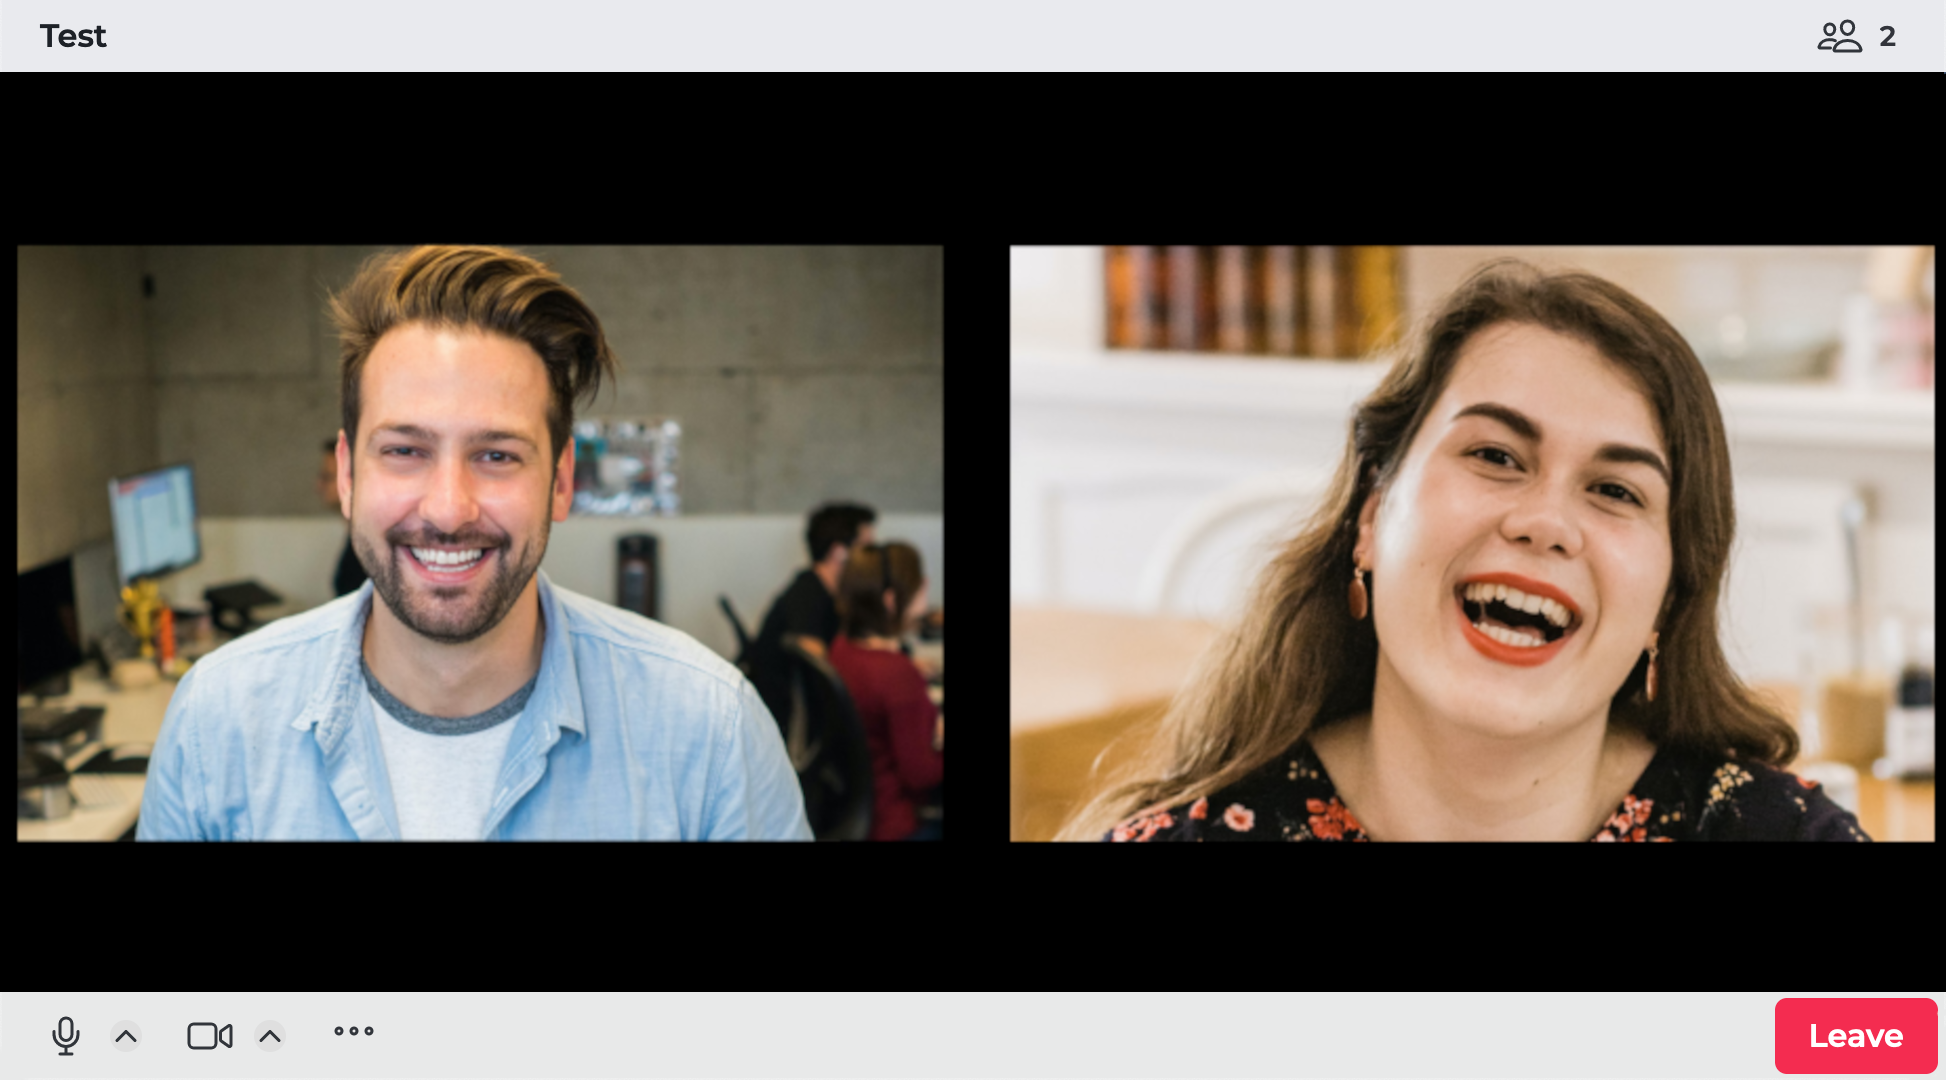
With Video Conferences you get a ready-to-use UI which includes device selectors, recording, screen sharing, participants list, and more. And if you need to, you can always extend them with custom code.
A Video Conference is a pre-built videoconferencing room that you can create from your SignalWire Space UI. No code is required. You can configure the style and features of the room, and you can share links for joining it. You can even embed it in your CMS like WordPress, Drupal, or any other kind of static HTML page, simply by copy-pasting a snippet of HTML code.
And if you realize later that you need more control, with Video Conferences you can always use custom JavaScript code to access the low-level API, the same that you get while using our SDKs.
Using Video Conferences
To create a new conference room, log into your SignalWire Space, go to the Video section, then select the Video Conferences tab. From here, you can click on the New button to create a Video Conference.
After selecting a name, you are redirected to the configuration page for that Conference room.
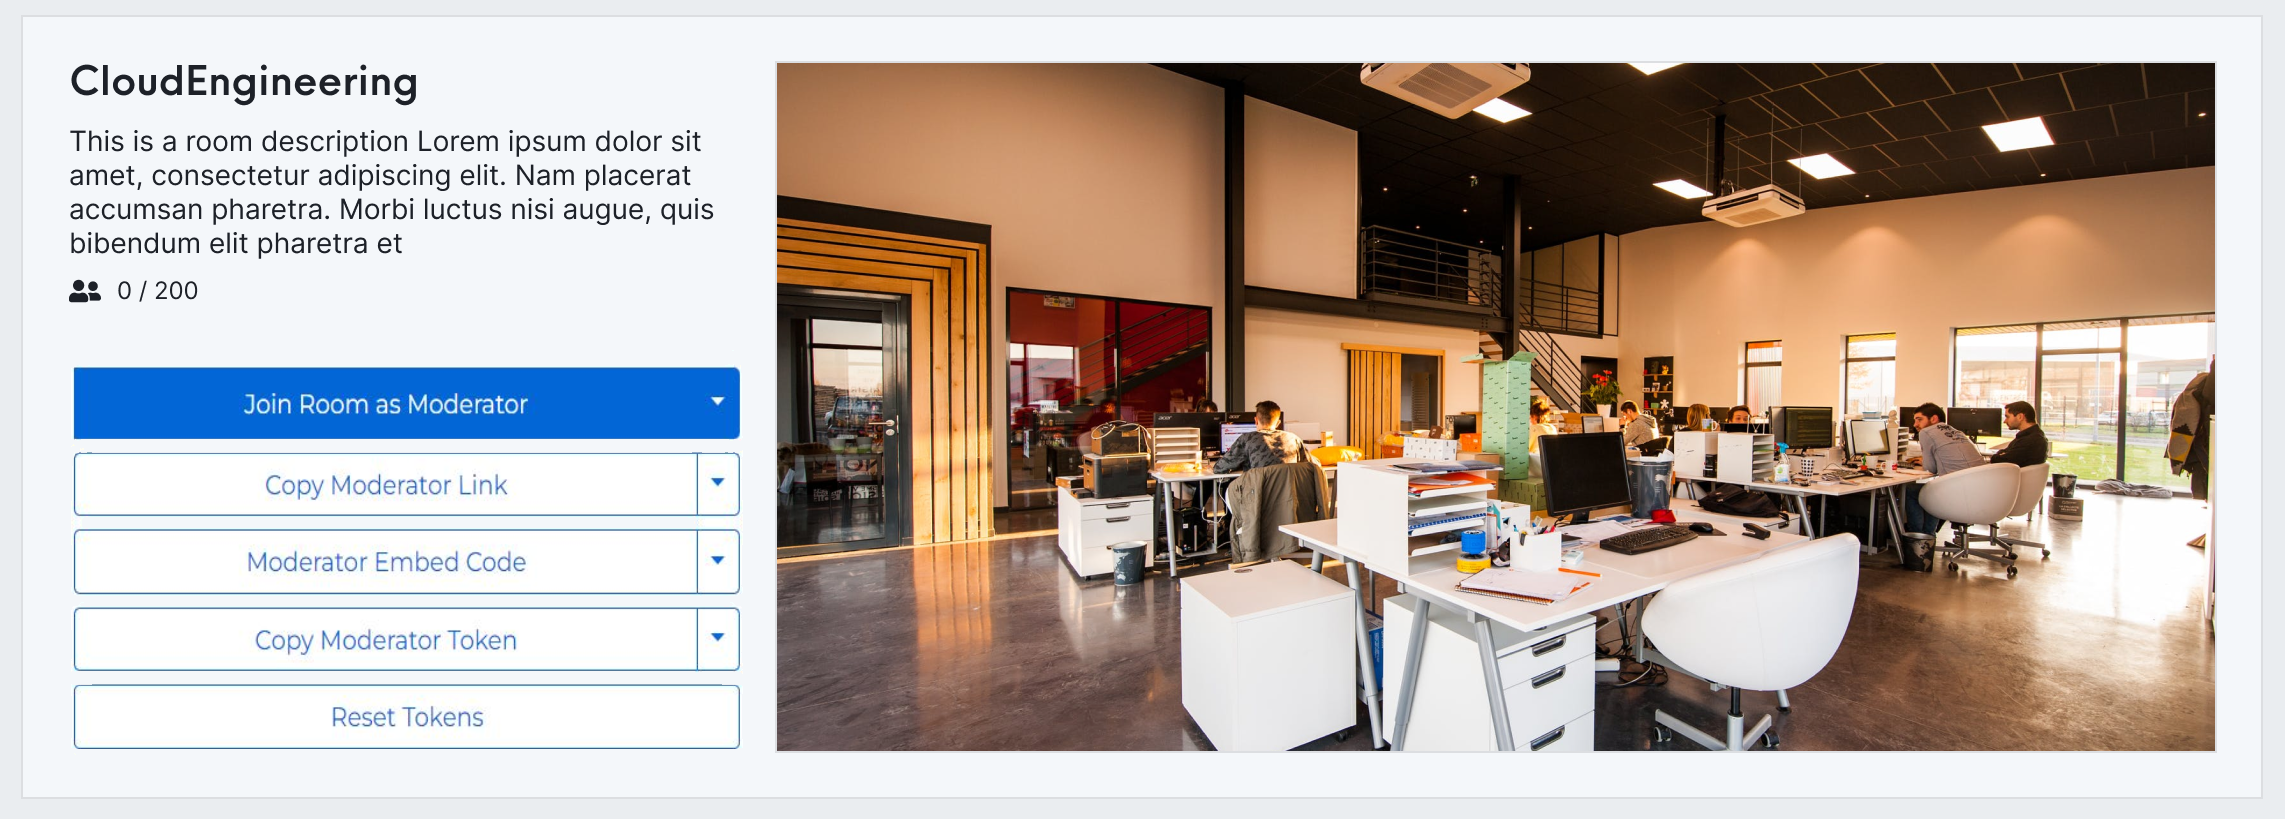
On the right, you see a preview of the room's content. Note that this will be enabled only if you have enabled room previews.
On the left, you find buttons for using your room.
Join Room As Moderator
Pressing this button allows you to join the video room with moderator permissions. Pressing the downwards arrow lets you join with guest permissions instead.
Copy Moderator Link
Pressing this button copies a link for joining the room with moderator permissions. Pressing the downwards arrow lets you copy the link for joining with guest permissions instead.
Moderator Embed Code
Pressing this button copies a code snippet for embedding the video room into any web page. By default, the code snippet will make users join with moderator permissions. Pressing the downwards arrow lets you copy the code for joining with guest permissions instead. You could decide to embed these into different pages of your website, one internal and one accessible by the public.
Copy Moderator Token
Pressing this button copies the room token which can be used programmatically to grant access to the room with moderator permissions. Pressing the downwards arrow lets you copy the token for joining with guest permissions instead. You may need these tokens if you alter the embedded code.
Reset Tokens
Pressing this button will reset the security tokens associated with a room. Press this button if you want to disable existing access to the room. Note that resetting the tokens will require you to update all the code snippets and links that you previously shared since they will stop working.
Configuring Video Conferences
In the second section, you will find two tabs to help you customize your room.
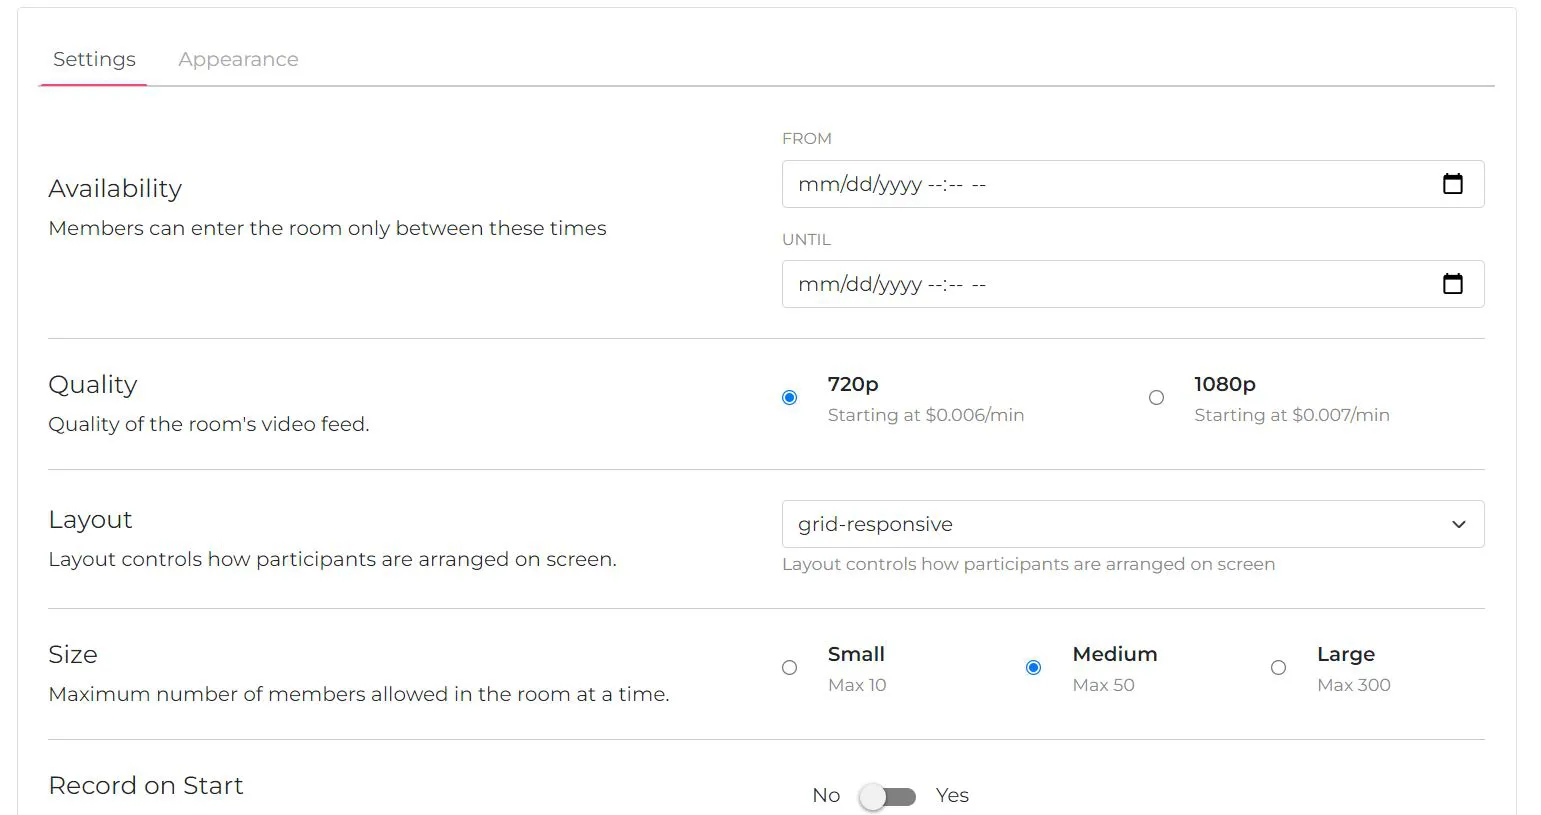
Settings Tab
In this tab, you will find options to customize how your room is built.
Availability sets a specific time the room will be accessible. If you want to limit accessibility to a specific event time, input the starting and ending date and time using your local format or click on the calendar icon to set them.
Quality allows you to set a lower or higher video quality depending on your bandwidth and system capabilities.
Layout controls the arrangement of participant video tiles. This will be the same layout for all users. The default is a responsive grid.
Size limits the number of participants allowed to join the room. A small size will cap the number of participants at 10, medium size at 50, and large size at 300. After the limit is reached, no other participants can join the room.
Record on Start starts a recording as soon as the room is opened. Recordings are accessible later in the Recordings tab in the Video section of your SignalWire Space.
Enable Room Preview allows a short recording of the room content to be recorded and displayed to participants before joining the room.
Appearance Tab
In this tab, you can customize the colors used in your room. There is a color picker for Background, Foreground, Primary, Success Indications, and Error Indications. You can use the preview to test out your choices.
Technical Reference
This is the list of parameters that you can configure in the code snippet of a Video Conference. You can add these as parameters of the SignalWire.AppKit.VideoConference function, for example:
SignalWire.AppKit.VideoConference({
  token: "vpt_6b96b7da83c56...",
  userName: "your-custom-name",
});
token:
The Video Conference token to access the room. Starts with vpt_.
userName:
A custom user name for the user joining the room. Default: undefined.
theme:
To force a specific color scheme. Allowed values are 'light' | 'dark' | 'auto'.
audio:
Audio constraints to use for the devices. Set to false if you don't want to use audio devices. Default: true
video:
Video constraints to use for the devices. Set to false if you don't want to use video devices. Default: true
memberList:
Set to false if you do not want to display the participant list. Default: true
chat:
Set to false if you do not want to display the chat. Default: true
layouts:
Set to false if you do not want to display the layout selection. Default: true
devicePicker:
Set to false if you do not want the user to be able to change devices (e.g. camera device). If false, this will hide the prejoin screen for device selection too. Default: true
setupRoomSession:
A callback which will be invoked when a RoomSession object is ready. Please refer to the documentation for the JavaScript SDK to get information on the available RoomSession methods. Example:
SignalWire.AppKit.VideoConference({
  token: "vpt_6b96b7da83c56...",
  setupRoomSession: (roomSession) => {
    console.log("roomSession ready");
  },
});