First steps with Video
In this guide, you will learn how to set up a minimal video room using the JavaScript SDK.
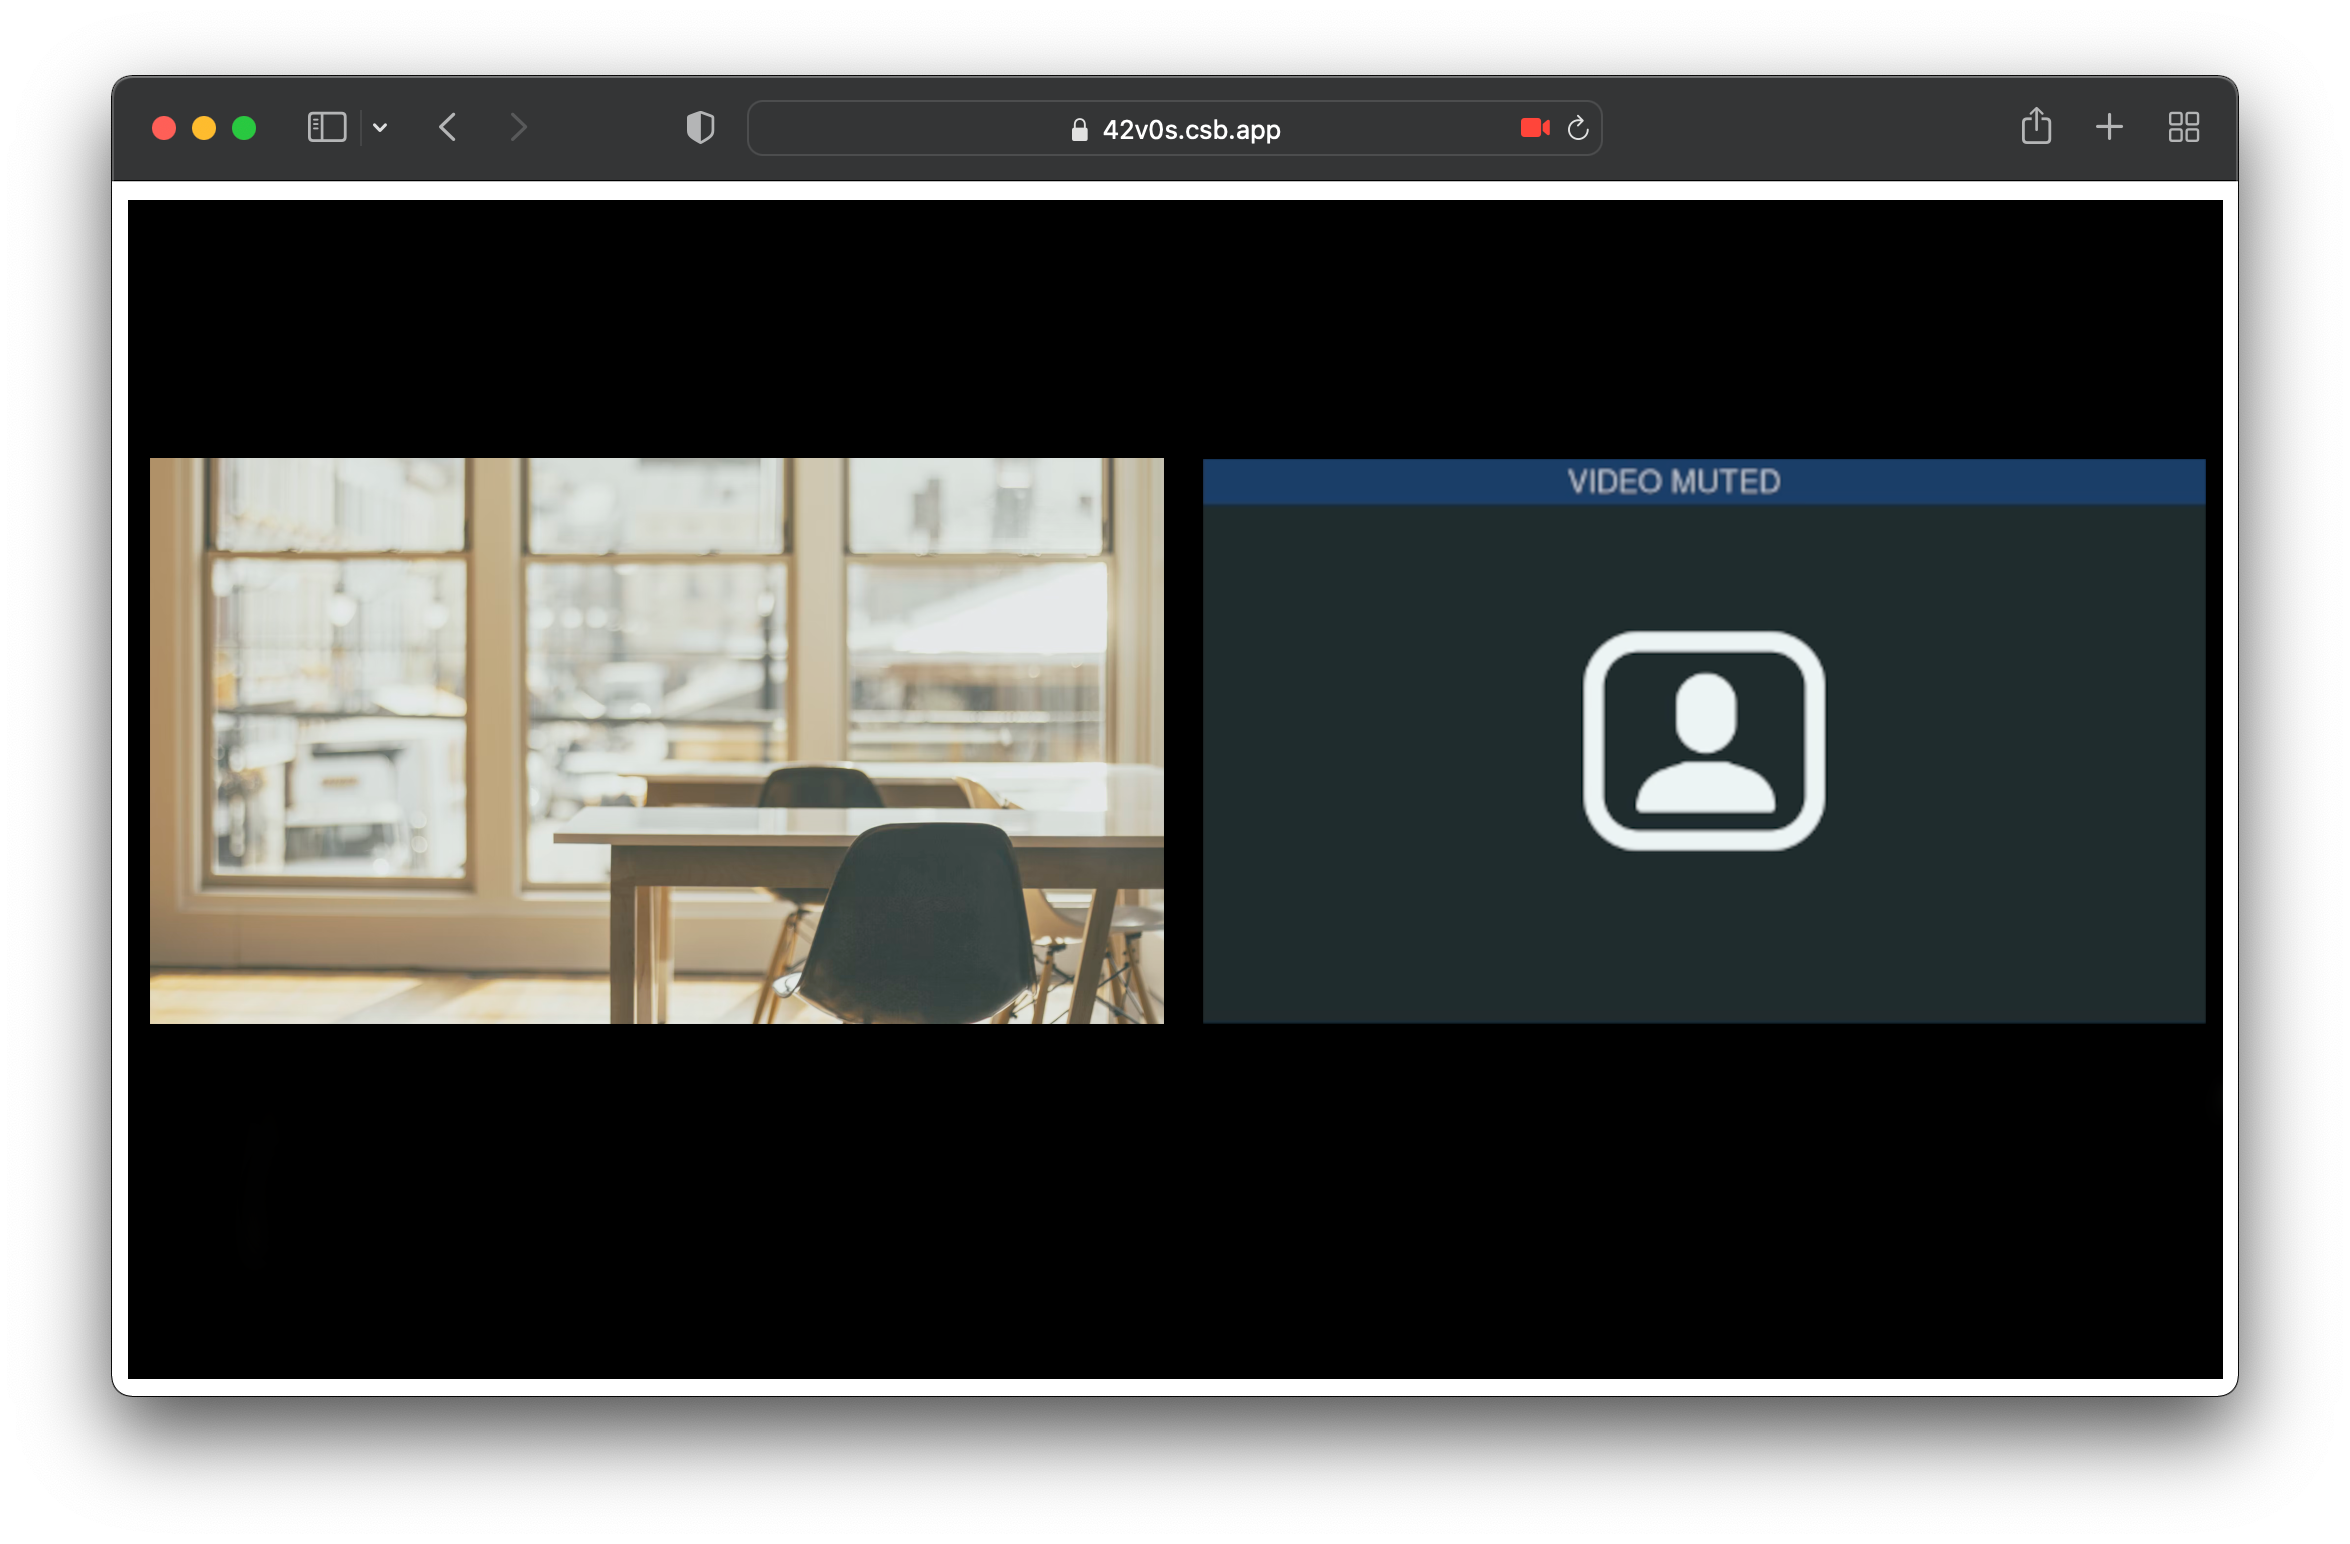
The end result.
If you need to embed a prebuilt video conferencing widget into your web page, follow our guide for Video Conferences. Otherwise, keep reading to start coding a fully customizable video application.
Get started
Create an HTML file. Copy the following content to create a basic video room:
<!DOCTYPE html>
<html>
  <head>
    <meta charset="UTF-8" />

    <!-- Import SignalWire library -->
    <script src="https://cdn.signalwire.com/@signalwire/js"></script>
    <script src="https://cdnjs.cloudflare.com/ajax/libs/axios/0.25.0/axios.min.js"></script>
  </head>

  <body>
    <div
      id="video"
      style="max-width: 100vw; max-height: 100vh; aspect-ratio: 16/9;"
    ></div>

    <script>
      async function connect() {
        // Get an authentication token (This is for demo purposes only. Not for production use!)
        const reply = await axios.post(
          "https://guides.swrooms.com/public/video_token",
          {
            user_name: "user",
            room_name: "room",
          }
        );

        // Configuration
        const roomSession = new SignalWire.Video.RoomSession({
          rootElement: document.getElementById("video"),
          token: reply.data.token,
        });

        // Join the room
        await roomSession.join();
      }

      connect();
    </script>
  </body>
</html>
In the above file, we are using the Browser SDK to establish a video connection to a video room and to display its video stream into a div.
To see it in action, you need to serve the HTML through a web server. You can upload it anywhere you like or, if you prefer, you can test it locally. Here's how:
Step 1: Install Node.js
If you need to install Node.js see instructions on the official web page. Once installed, you can use the npx terminal command that you will need in Step 2.
Step 2: Serve the HTML
Open a terminal and cd into the directory where you saved your HTML file. Now run:
npx serve .
Your web page will be available in your browser at <http://127.0.0.1:3000>. Try opening it in multiple browser tabs at the same time!
Next steps
Congratulations! You have now created your own basic video-conferencing application.
In this example, we made a POST request to an endpoint located at https://guides.swrooms.com/public/video_token to obtain a token. While this works for demo purposes, it has some limitations:
- Rooms and users are shared across all applications using the same endpoint
- Some APIs are limited
- swrooms.com is not supported for production applications
Having your own server will also allow you to access the following additional APIs and SDKs:
- REST APIs: create and manage tokens, rooms, recordings, and more.
- Realtime SDK: receive events from active video rooms and control them server-side (mute users, start recordings, change layouts, and so on).
Get Started With a Simple Video Demo ❯
To access these full capabilities, you should provide your own video_token endpoint using your own server. Follow this guide to keep learning.