Handling Incoming Messages from Code
In Receiving your first SMS we learned how to use Compatibility XML bins to handle incoming messages. In particular, we showed how to reply with a static message to any incoming SMS.
Handling messages from code gives us more flexibility. Instead of serving a static XML bin, we can use a custom web server to decide the content of the XML depending on the incoming message.
In this guide, we will show how to create a simple subscription service: users will be able to text "START" or "STOP", and we will reply respectively with "Subscription started!" or "Subscription Stopped".
Setting up the environment
We are going to use a few libraries to make our job easier. In particular, we'll need the SignalWire Compatibility SDK and, depending on the language you're using, we'll also need a web server. Let's install them:
- Python
- PHP
- Node.js
pip install flask signalwire
composer require signalwire-community/signalwire
npm install express @signalwire/compatibility-api
Producing XML
We'd like to set up an endpoint (our own "dynamic" XML bin) which emits an XML document, like this one:
<?xml version="1.0" encoding="UTF-8"?>
<Response>
    <Message>Subscription started!</Message>
</Response>
The XML will be sent back to the client as a response to their request.
In principle, we could manually create such XML by means of string concatenation or interpolation. However, if you are using one of our supported languages, you can use our libraries to more easily produce the same XML:
- Python
- PHP
- Node.js
from twilio.twiml.messaging_response import MessagingResponse

response = MessagingResponse()
response.message('Subscription started!')

# Prints the XML string.
print(response.to_xml())
require_once 'vendor/autoload.php';
use \SignalWire\LaML\MessageResponse;

$response = new MessageResponse;
$response->message('Subscription started!');

# Prints the XML string.
echo $response->asXML();
import { RestClient } from "@signalwire/compatibility-api";

const response = new RestClient.LaML.MessagingResponse();
response.message("Subscription started!");

// Prints the XML string.
console.log(response.toString());
Serving the XML
Now that we know how to generate a proper Compatibility XML document, let's see how to set up a web server to serve those documents.
Setting up a web server
How you set up the web server is mostly specific to the language and framework of your choosing. A basic skeleton might be the following:
- Python
- PHP
- Node.js
from flask import Flask, request, Response
from twilio.twiml.messaging_response import MessagingResponse

app = Flask(__name__)

@app.route("/", methods=['GET', 'POST'])
def message_handler():
    """
    This endpoint will be queried by SignalWire whenever an incoming SMS is received.
    We respond with an XML document which specifies the next instructions.
    """
    print(request.values)
    # The logic goes here
    return
require_once 'vendor/autoload.php';
use \SignalWire\LaML\MessageResponse;

# This endpoint will be queried by SignalWire whenever an incoming SMS is received.
# We respond with an XML document which specifies the next instructions.

print_r($_REQUEST);
# The logic goes here
import express from "express";
import { RestClient } from "@signalwire/compatibility-api";

const app = express();
app.use(express.urlencoded({ extended: true }));

/**
 * @param {express.Request} req
 * @param {express.Response} res
 */
function messageHandler(req, res) {
  // This endpoint will be queried by SignalWire whenever an incoming SMS is received.
  // We respond with an XML document which specifies the next instructions.

  /** @type string */
  const body = req.body?.["Body"] ?? req.query?.["Body"];
  console.log(req.body);
  // The logic goes here.
}

app.get("/", messageHandler);
app.post("/", messageHandler);

app.listen(8080);
In the next section we will configure a phone number so that, when it receives a message, SignalWire makes an HTTP request to our message handler endpoint. The HTTP request will contain as parameters values such as the source number or the body of the incoming message.
For our simple subscription service demo, our message handler needs to look at the body of the message to determine whether it contains the word "START" or "STOP". Depending on the word, we will emit an XML document which will produce different messages.
- Python
- PHP
- Node.js
from flask import Flask, request, Response
from twilio.twiml.messaging_response import MessagingResponse

app = Flask(__name__)

@app.route("/", methods=['GET', 'POST'])
def message_handler():
    """
    This endpoint will be queried by SignalWire whenever an incoming SMS is received.
    We respond with an XML document which specifies the next instructions.
    """
    print(request.values)

    body = request.values.get('Body')
    if not body:
        return "Invalid parameters."

    response = MessagingResponse()
    if 'START' in body.upper():
        response.message('Subscription started!')
    elif 'STOP' in body.upper():
        response.message('Subscription stopped.')
    else:
        response.message('Message unrecognized. Please text START or STOP.')

    return Response(response.to_xml(), mimetype='text/xml')
require_once 'vendor/autoload.php';
use \SignalWire\LaML\MessageResponse;

# This endpoint will be queried by SignalWire whenever an incoming SMS is received.
# We respond with an XML document which specifies the next instructions.

$body = $_REQUEST['Body'] ?? '';
if (empty($body)) {
    echo "Invalid parameters.";
    exit();
}

$response = new MessageResponse;
if (str_contains(strtoupper($body), 'START')) {
    $response->message('Subscription started!');
} else if (str_contains(strtoupper($body), 'STOP')) {
    $response->message('Subscription stopped.');
} else {
    $response->message('Message unrecognized. Please text START or STOP.');
}

header('Content-type: text/xml');
echo $response->asXML();
import express from "express";
import { RestClient } from "@signalwire/compatibility-api";

const app = express();
app.use(express.urlencoded({ extended: true }));

/**
 * @param {express.Request} req
 * @param {express.Response} res
 */
function messageHandler(req, res) {
  // This endpoint will be queried by SignalWire whenever an incoming SMS is received.
  // We respond with an XML document which specifies the next instructions.

  /** @type string */
  const body = req.body?.["Body"] ?? req.query?.["Body"];
  if (!body) {
    res.send("Invalid parameters.");
    return;
  }

  const response = new RestClient.LaML.MessagingResponse();
  if (body.toUpperCase().includes("START")) {
    response.message("Subscription started!");
  } else if (body.toUpperCase().includes("STOP")) {
    response.message("Subscription stopped.");
  } else {
    response.message("Message unrecognized. Please text START or STOP.");
  }

  res.set("Content-Type", "text/xml");
  res.send(response.toString());
}

app.get("/", messageHandler);
app.post("/", messageHandler);

app.listen(8080);
This simple message handler works like a dynamic XML bin, whose content depends on the received message.
Try running the application, which will listen on port 8080:
- Python
- PHP
- Node.js
python3 -m flask --app main.py run --host='0.0.0.0' --port 8080
docker run --rm -it -p 8080:80 -v "$PWD":/var/www/html php:8.1-apache
node index.js
Since you are likely behind a NAT, to test this application on your local machine you need a public IP address that SignalWire can reach. We suggest using ngrok: refer to our guide on ngrok for more information.
In short, while the application is up and listening on port 8080, run ngrok from a new terminal like this:
ngrok http 8080
You'll get a public random URL (such as https://983f-93-41-16-193.ngrok.io/)
that you can use to access your local application.
Configuring the number
Now that the code is ready and the HTTP endpoint is reachable from the web, we need to configure our SignalWire number to access it.
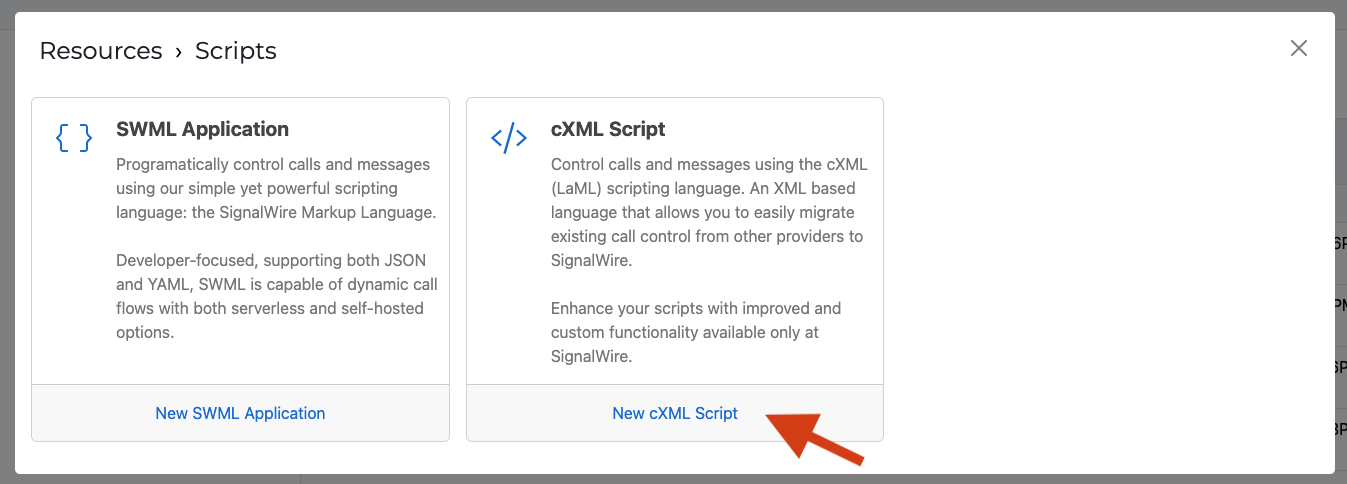
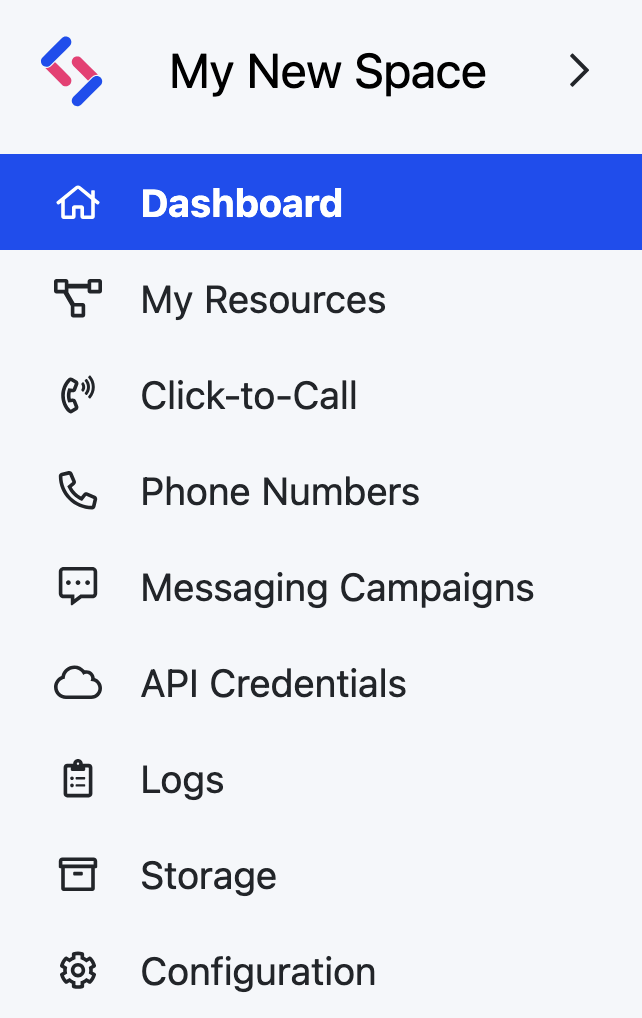
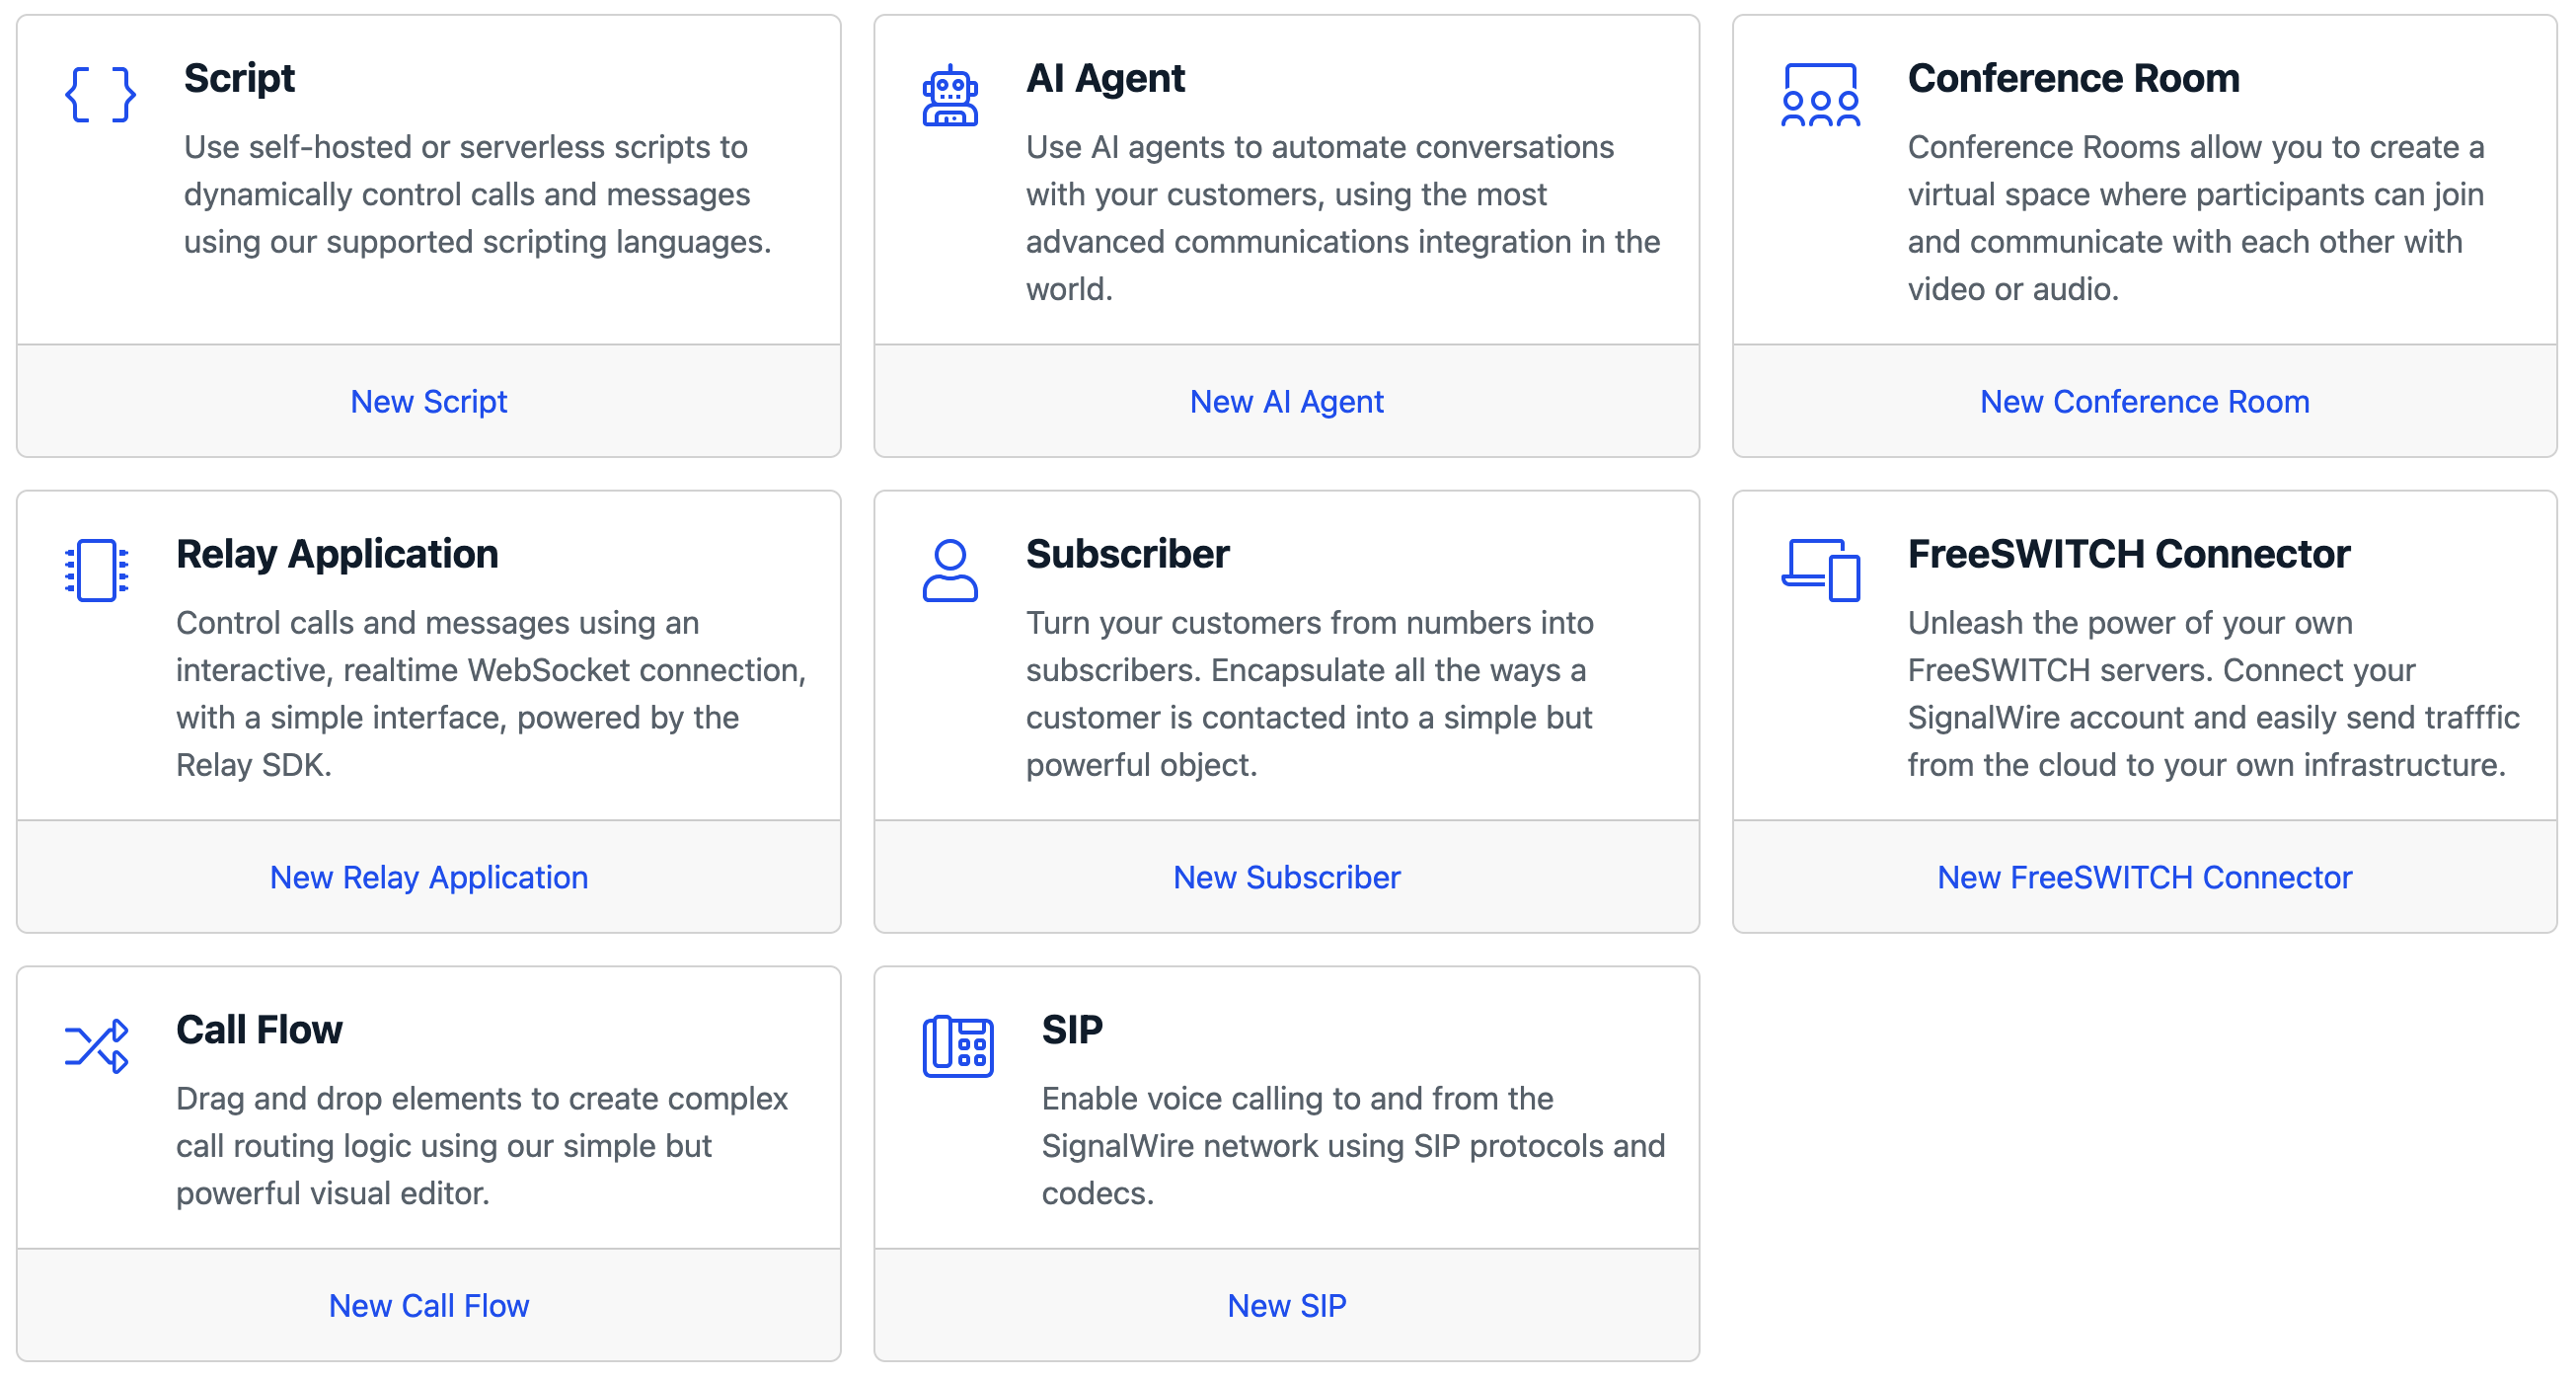
First, we need to create a new cXML script resource that points to your ngrok URL. To do so, go to the "Resources" section from your sidebar, and create a new Script Resource. Select the Script type as cXML.
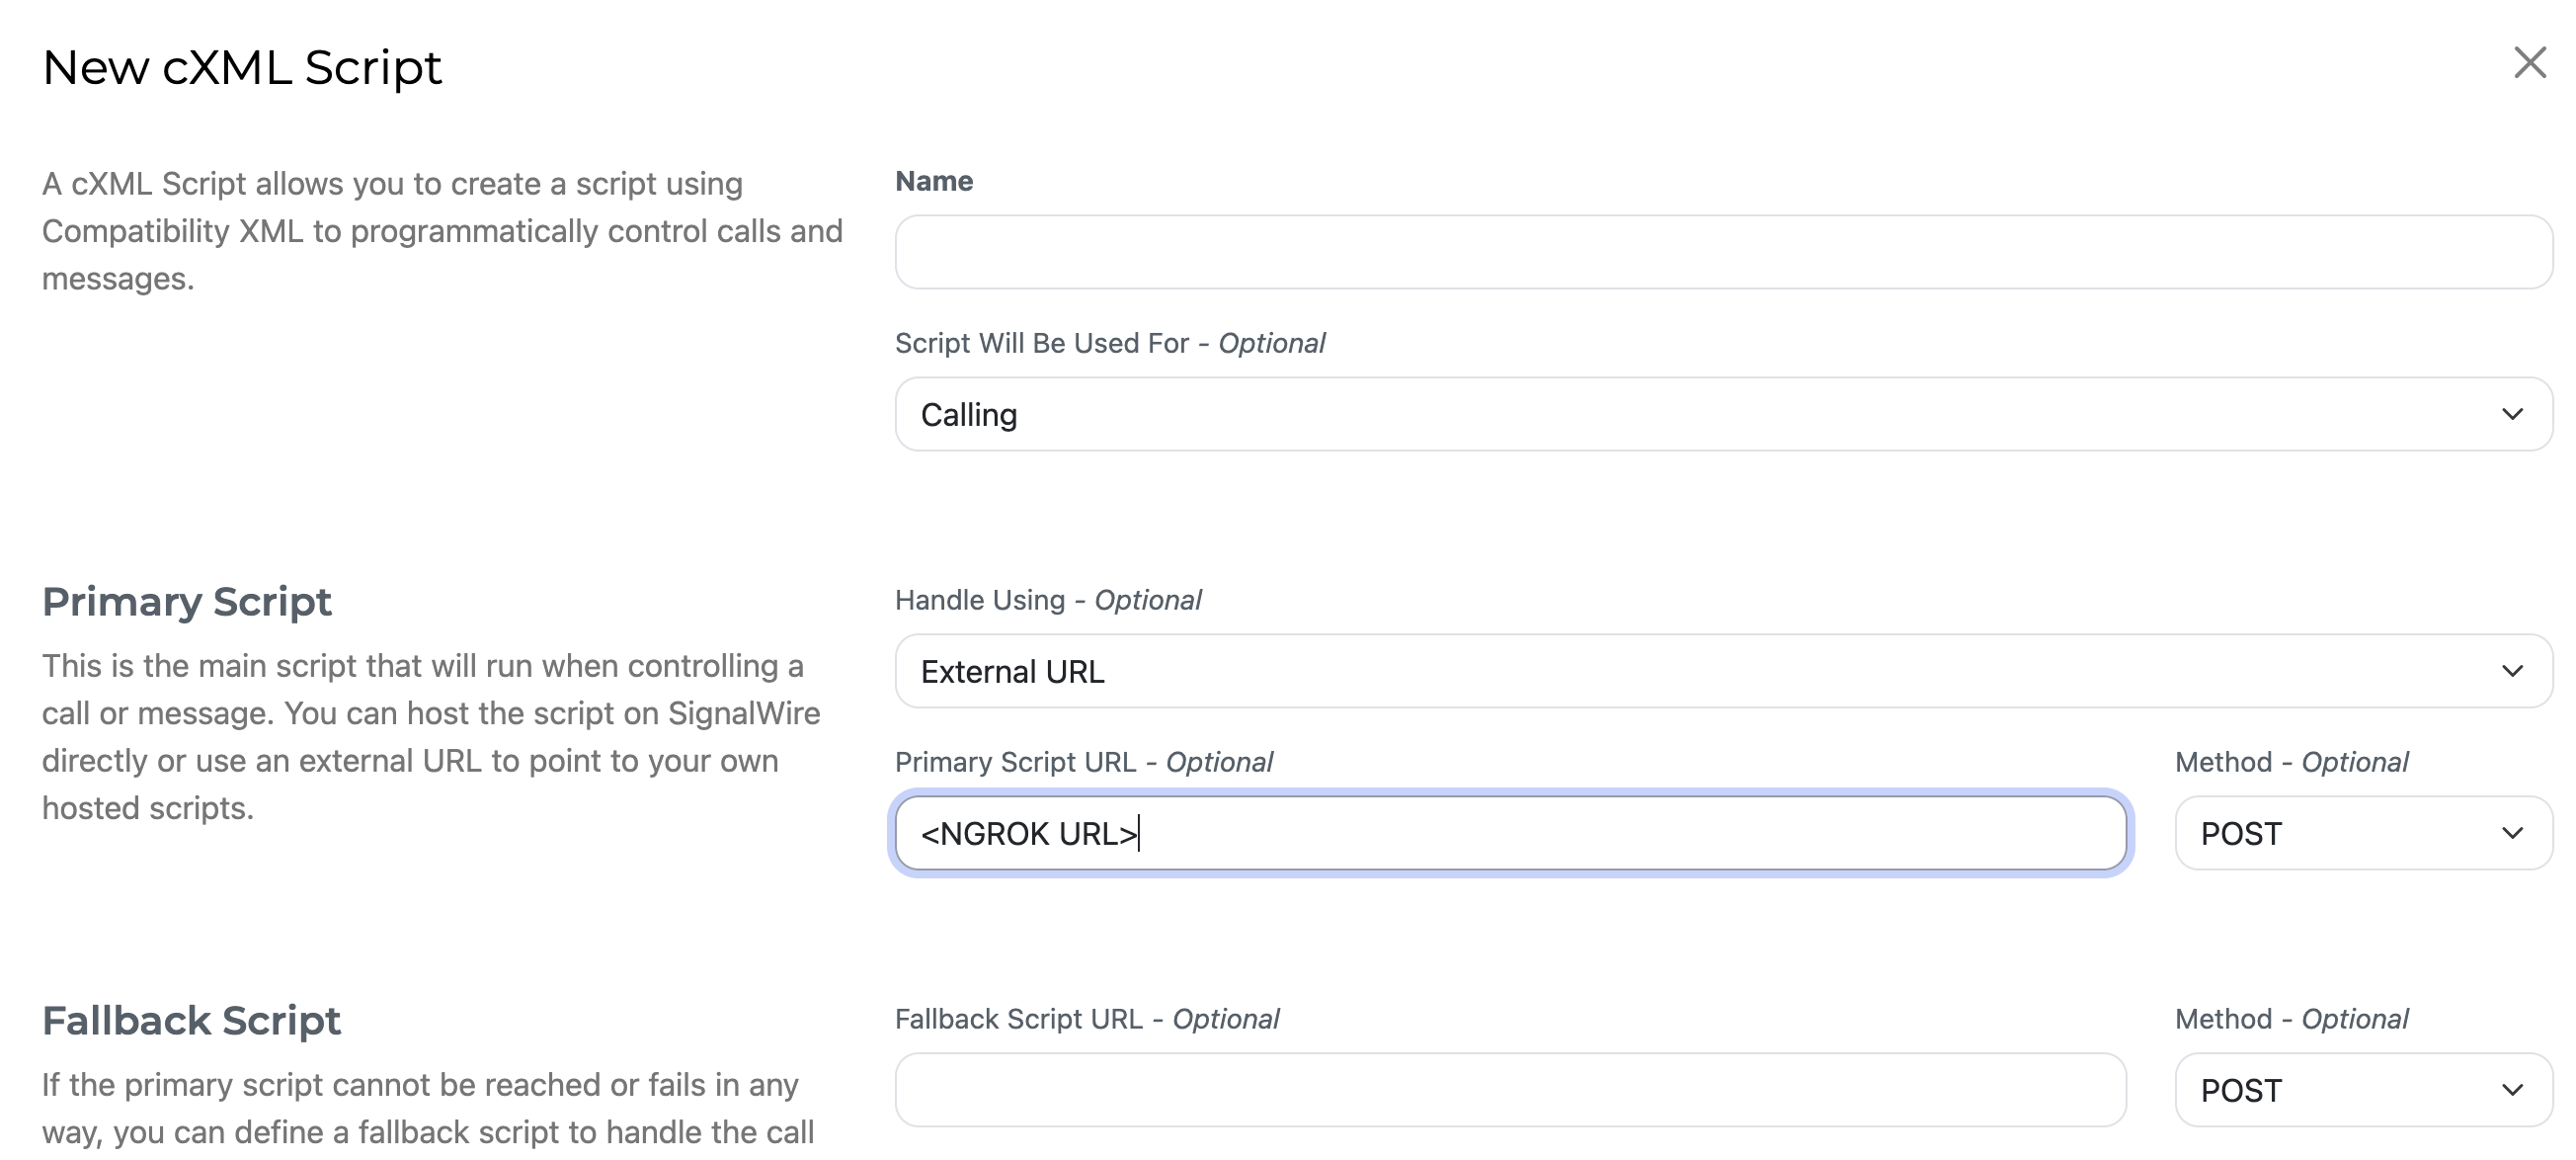
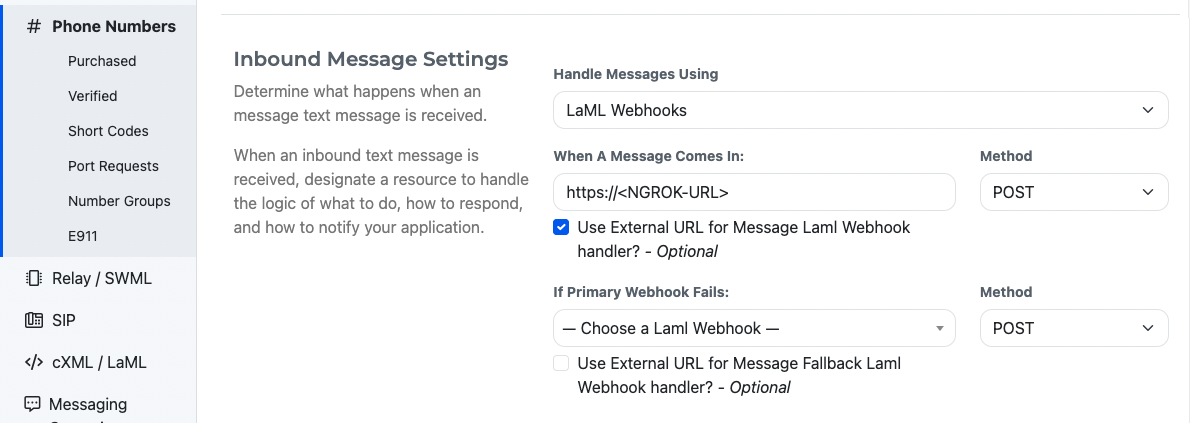
When configuring the cXML script, select the "External URL" option, and paste the ngrok URL.
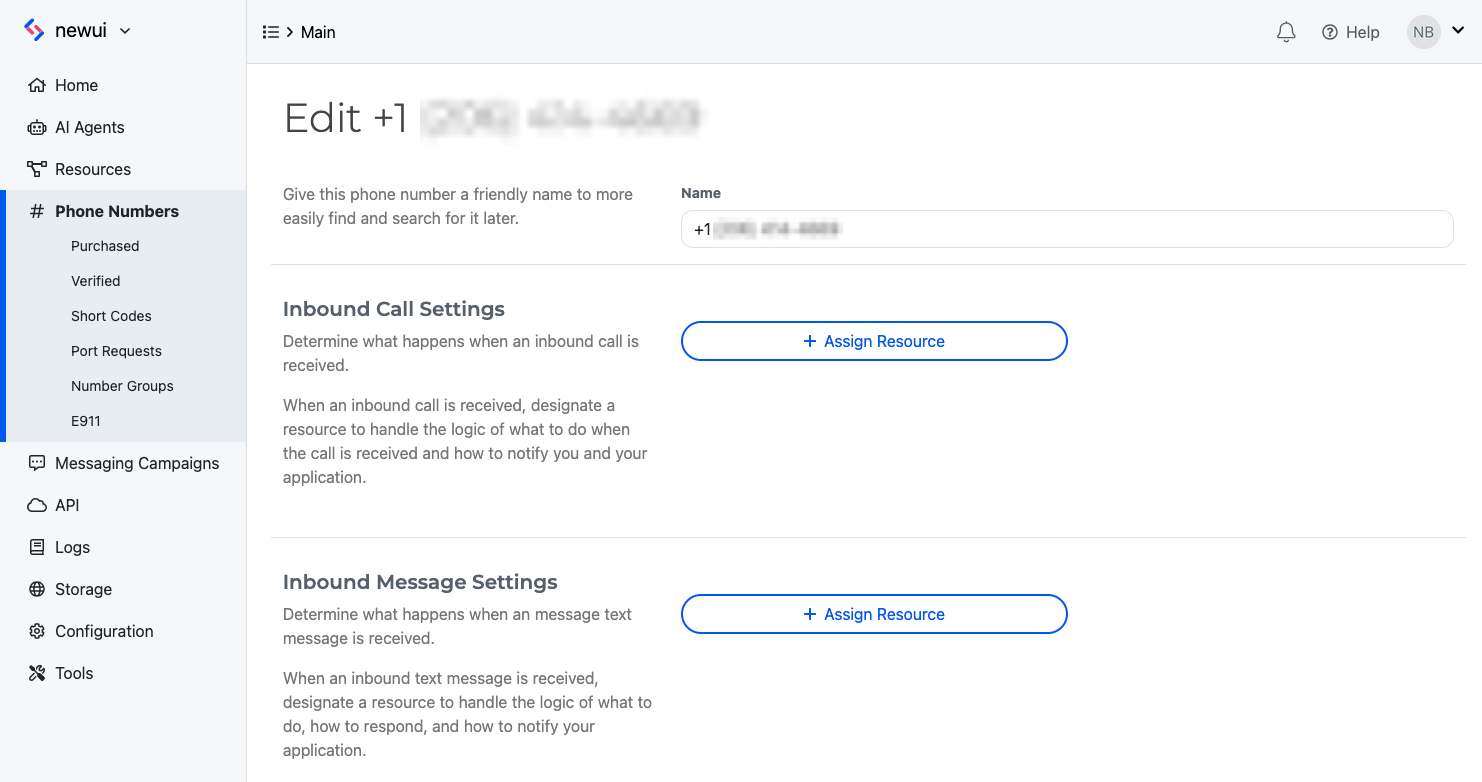
If you don't have a phone number yet, make sure to buy one. You will need at least one number to receive messages.
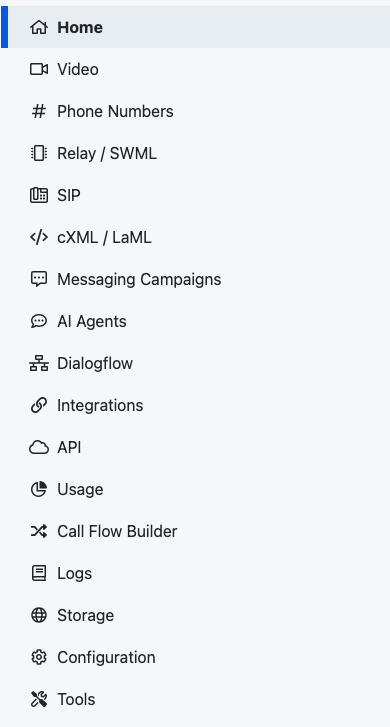
You can do that from the "Phone Numbers" section in the Sidebar. Go to the Settings page of the number you
want to configure. In the Handling Inbound Messages section, assign your cXML script.
Try sending a message to the configured phone number: after a few seconds you'll receive an automated reply, whose content will be different depending on what you wrote.
If you are sending messages to the US from a 10DLC number, you must register your traffic with the Campaign Registry. Otherwise, the carriers will not deliver your messages. Please see Campaign Registry - Everything You Need To Know for more information.
Conclusion
We have shown how to handle incoming messages from code, by emitting XML documents whose content depends on the incoming message. We did all this in the context of the Compatibility API.
For more advanced, real-time applications, you'll want to check out our Realtime SDK. Find more details in the guide about Sending and Receiving SMS with the Realtime SDK.