Forwarding Texts to Email
This guide will show you how you can handle incoming text messages and forward them to an email address.
We will do that by building a server that receives network requests from SignalWire whenever an SMS is received, and then sends an email.
What do I need to run this code?
You can find the full code for this application on GitHub here. To run it, you will need the MailGun API to send an email.
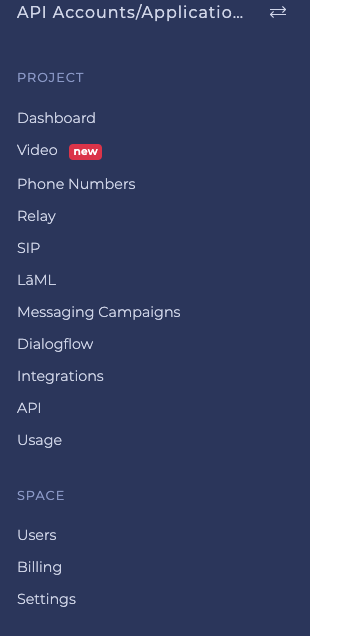
You will also need a SignalWire phone number which is configured for webhooks. Within the Phone Numbers tab of your SignalWire portal you will be able to acquire a phone number: you should configure its "Messaging Settings" to handle messages using a "LaML Webhook". Then, you need to specify the public URL where your application is listening to. You can use ngrok to get a public address, see our guide on How to Locally Test Webhooks with Ngrok. Regardless of what your public address will be, this application listens for POST requests on the /sms-webhook route, so your URL will be something like https://<yourdomain>/sms-webhook.

How to Run the Application
Build and Run on Docker
You can either:
Use our pre-built image from Docker Hub:
docker pull signalwire/snippets-text-to-email:python
or, build your own Docker image:
- Build your image
docker build -t snippets-text-to-email .
- Run your image
docker run --publish 5000:5000 --env-file .env snippets-text-to-email
- The application will run on port 5000
Build and Run Natively
To run the application, execute export FLASK_APP=app.py then run flask run.
You may need to use an SSH tunnel for testing this code if running on your local machine. – we recommend ngrok. You can learn more about how to use ngrok here.
Step by Step Code Walkthrough
Within the Github repository you will find several files, but we're interested in:
- Python/app.py
- Python/example.env
The first one (app.py) contains the full implementation of the application. The second one contains some environment variables for configuration.
Setup Your Environment File
- Copy from example.env and fill in your values.
- Save a new file called .env
Your file should look something like this.
# MailGun domain associated with your MailGun account
MAILGUN_DOMAIN=
# MailGun token associated with your MailGun Account
MAILGUN_API_TOKEN=
# Send Email From Address
EMAIL_FROM=info@yourdomain.com
# Send email to address for administrator notifications
EMAIL_TO=youremail@yourdomain.com
# Email subject for admin notifications
EMAIL_SUBJECT=Forward Text To Email
The application
This code is actually very simple - you need only one route and one function! The first step is to define a function send_email(body) that will utilize the MailGun API to send an email using the variables from our .env file.
# Send email with MailGun
def send_email(body):
    return requests.post(
        "https://api.mailgun.net/v3/" + os.environ['MAILGUN_DOMAIN'] + "/messages",
        auth=("api", os.environ['MAILGUN_API_TOKEN']),
        data={"from": os.environ['EMAIL_FROM'],
              "to": [os.environ['EMAIL_TO']],
              "subject": os.environ['EMAIL_SUBJECT'],
              "text": body })
Our only route /sms-webhook will listen for POST requests from incoming messages and will use the JSON form data as the body of the email.
# Listen on route '/sms-webhook' for GET/POST requests
@app.route('/sms-webhook', methods=['POST'])
def sms_webhook():
    # Forward incoming form data to email
    send_email(pprint.pformat(request.form, indent=4))
    return "200"
Wrap Up
When dealing with SMSes in large scale, you'll often want to convert them into a more manageable format. This guide has shown one possible way to achieve that goal by converting them to emails, using a remarkably short script of code.
Additional resources:
Sign Up Here
If you would like to test this example out, create a SignalWire account and Space.
Please feel free to reach out to us on our Community Slack or create a Support ticket if you need guidance!