Using Events in React and React Native
This article follows either from Getting Started with Video API in React or Getting Started with Video API in React Native. If you haven't got a project set up already, you should start there.
The following article describes how you would use RoomSession events with React or React Native. However, most of this
logic is already abstracted into React hooks and is available in the @signalwire-community/react package, so it
will be a good idea to check out the Using Hooks to Track Call State article
first.
Interacting with the RoomSession Object
The <Video/> component emits an onRoomReady event with reference to the RoomSession object. Use this to control nearly every aspect of the video call session in progress.
First, let’s add a button to make it possible to leave the room.
- React
- React Native
import { useCallback, useState } from "react";
import { Video } from "@signalwire-community/react";
const TOKEN = "<Insert Token Here>";

export default function DemoVideo() {
  const [roomSession, setRoomSession] = useState(null);
  const onRoomReady = useCallback((rs) => setRoomSession(rs), []);

  return (
    <div style={{ maxWidth: 700 }}>
      <Video token={TOKEN} onRoomReady={onRoomReady} />
      <button
        onClick={(e) => {
          roomSession?.leave();
        }}
      >
        Leave!
      </button>
    </div>
  );
}
import { useState } from "react";
import { SafeAreaView, Button } from "react-native";
import { Video } from "@signalwire-community/react-native";
const TOKEN = "<Insert a Room Token here>";

export default function App() {
  const [roomSession, setRoomSession] = useState(null);
  const onRoomReady = useCallback((rs) => setRoomSession(rs), []);
  return (
    <SafeAreaView>
      <Video token={TOKEN} onRoomReady={onRoomReady} />
      <Button
        onPress={(e) => {
          roomSession?.leave();
        }}
        title="Leave!"
      />
    </SafeAreaView>
  );
}
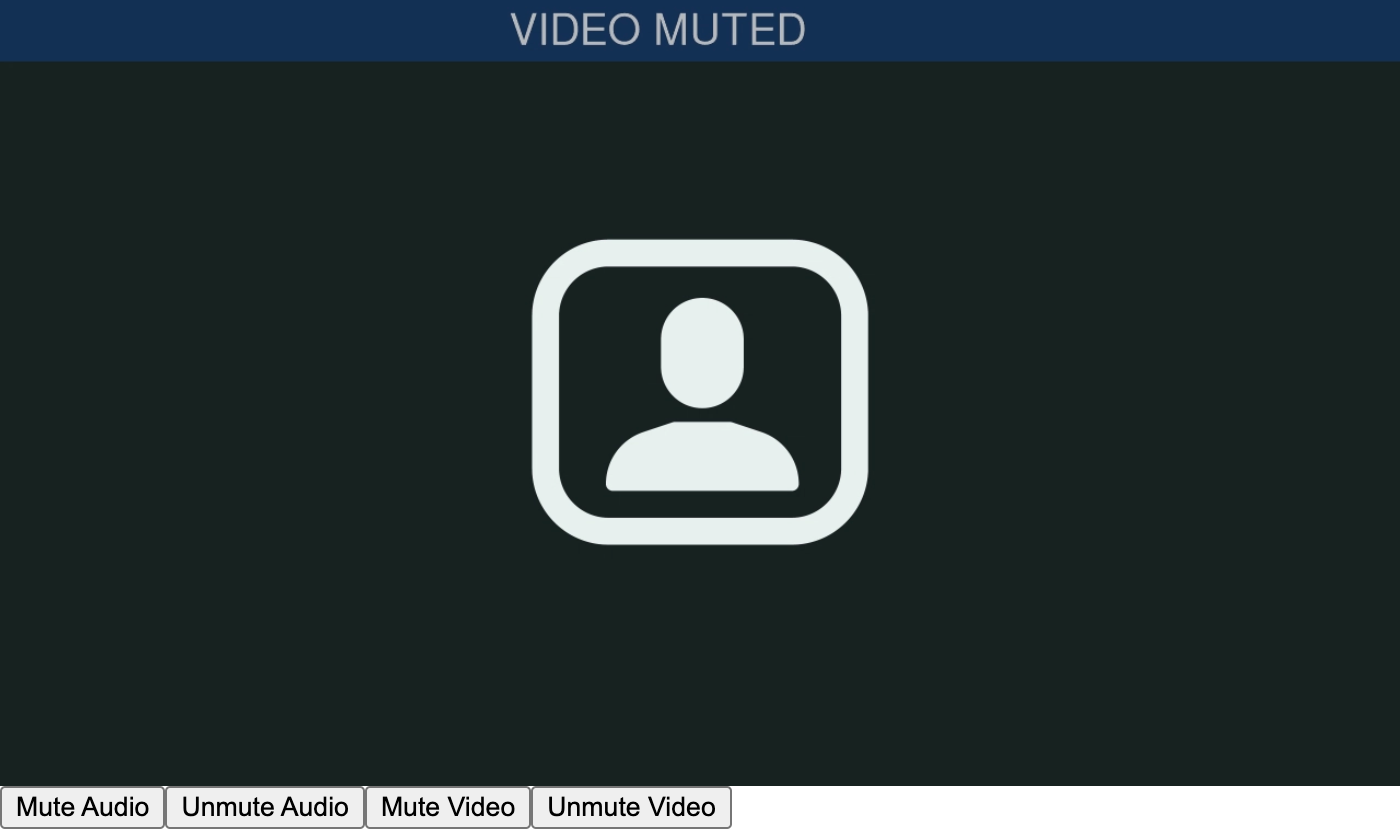
In a similar way, we can add more buttons for more controls.
- React
- React Native
<button onClick={(e) => { roomSession?.audioMute() }}>Mute Audio</button>
<button onClick={(e) => { roomSession?.audioUnmute() }}>Unmute Audio</button>
<button onClick={(e) => { roomSession?.videoMute() }}>Mute Video</button>
<button onClick={(e) => { roomSession?.videoUnmute() }}>Unmute Video</button>
<Button onPress={(e) => { roomSession?.audioMute() }} title="Mute Audio" />
<Button onPress={(e) => { roomSession?.audioUnmute() }} title="Unmute Audio" />
<Button onPress={(e) => { roomSession?.videoMute() }} title="Mute Video" />
<Button onPress={(e) => { roomSession?.videoUnmute() }} title="Unmute Video" />
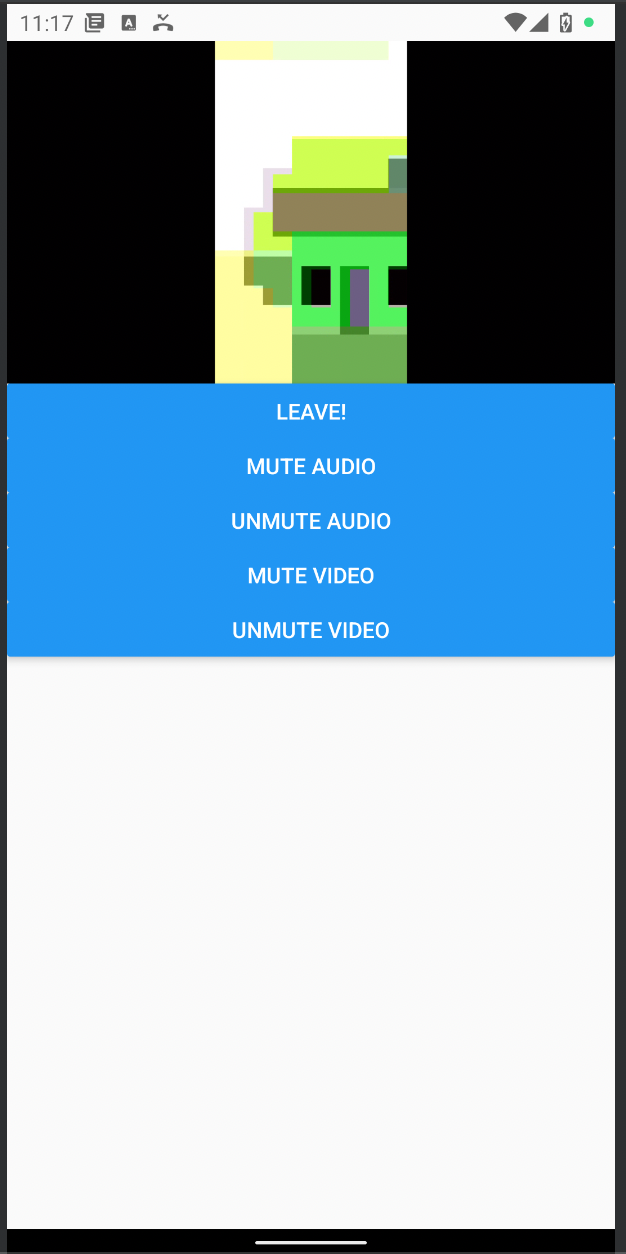
This leaves us with a basic set of controls for the video call. However, there’s no awareness of the current state in this UI. For example, the audio might already be muted, in which case we want to disable or hide the “Mute Audio” button.
RoomSession gives us that information with events, which you can subscribe to to stay updated about the happenings in the room, the comings and goings of members, etc.
To learn more about what you can do using the RoomSession, the reference section is a great place to start.
RoomSession Events
The RoomSession object has a host of events. These are callback functions that you register before joining the room, which will be called when those events happen. Register events for anything from if someone starts recording the call, to when someone starts talking.
This also means that there are events we can subscribe to for when a member’s state changes. So we can keep track of whether the user is muted or not, and display the corresponding button to be clicked.
The React component proxies each RoomSession event with a handler prop. To register for a member.updated event, you would pass the handler function as the prop onMemberUpdated in the same way we did onRoomReady in the example above (onRoomReady is not a RoomSession event, however). For example:
<Video
  token={TOKEN}
  onRoomReady={(roomSession) => setRoomSession(roomSession)}
  onMemberUpdated={(details) => {
    console.log(details.member);
  }}
/>
There’s one more unknown, though. member.updated specifies the member using the member ID, and not the member’s name (uniqueness is not enforced for member names, so multiple members can have the same name). So one last bit of detective work is in order.
When a connection to the video call is made, a room.joined event is fired. Among other things, it has a member_id attribute which has the unique ID of the user. We will hook into this event and save the current user’s member ID. Later, when member.updated fires, we can tell if that is the member themself or some other member, and update the UI accordingly.
Putting It All Together
The code below describes the entire process which connects to the video call, hooks onto the room.joined event for the current member’s ID, and hooks onto the member.updated event to keep the UI updated, so we're showing buttons appropriate for the user's state unlike the example above.
- React
- React Native
import { useCallback, useState } from "react";
import { Video } from "@signalwire-community/react";
const TOKEN = "<Insert Token Here>";

export default function DemoVideo() {
  const [roomSession, setRoomSession] = useState(null);
  const onRoomReady = useCallback((rs) => setRoomSession(rs), []);
  const [memberId, setMemberId] = useState(null);
  const [settings, setSettings] = useState({
    audioMuted: false,
    videoMuted: false,
  });

  return (
    <div style={{ maxWidth: 700 }}>
      <Video
        token={TOKEN}
        onRoomReady={onRoomReady}
        onRoomJoined={(details) => {
          setMemberId(details.member_id);
        }}
        onMemberUpdated={(details) => {
          if (details.member.id === memberId) {
            console.log("Your settings were updated", details.member);
            const newSettings = {
              audioMuted: details.member.audio_muted ?? settings.audioMuted,
              videoMuted: details.member.video_muted ?? settings.videoMuted,
            };
            setSettings(newSettings);
          }
        }}
      />
      <button
        onClick={(e) => {
          roomSession?.leave();
        }}
      >
        Leave!
      </button>
      <button
        onClick={(e) => {
          settings.audioMuted ? roomSession?.audioUnmute() : roomSession?.audioMute();
        }}
        style={{ background: settings.audioMuted ? "red" : "green" }}
      >
        {settings.audioMuted ? "Unmute Audio" : "Mute Audio"}
      </button>
      <button
        onClick={(e) => {
          settings.videoMuted ? roomSession?.videoUnmute() : roomSession?.videoMute();
        }}
        style={{ background: settings.videoMuted ? "red" : "green" }}
      >
        {settings.videoMuted ? "Unmute Video" : "Mute Video"}
      </button>
    </div>
  );
}
import { useState } from "react";
import { SafeAreaView, Button } from "react-native";
import { Video } from "@signalwire-community/react-native";
const TOKEN = "<Insert Token Here>";

export default function DemoVideo() {
  const [roomSession, setRoomSession] = useState(null);
  const onRoomReady = useCallback((rs) => setRoomSession(rs), []);
  const [memberId, setMemberId] = useState(null);
  const [settings, setSettings] = useState({
    audioMuted: false,
    videoMuted: false,
  });

  return (
    <SafeAreaView>
      <Video
        token={TOKEN}
        onRoomReady={onRoomReady}
        onRoomJoined={(details) => {
          setMemberId(details.member_id);
        }}
        onMemberUpdated={(details) => {
          if (details.member.id === memberId) {
            console.log("Your settings were updated", details.member);
            const newSettings = {
              audioMuted: details.member.audio_muted ?? settings.audioMuted,
              videoMuted: details.member.video_muted ?? settings.videoMuted,
            };
            setSettings(newSettings);
          }
        }}
      />
      <Button
        onPress={(e) => {
          roomSession?.leave();
        }}
        title="Leave!"
        color="red"
      />
      <Button
        onPress={(e) => {
          settings.audioMuted ? roomSession?.audioUnmute() : roomSession?.audioMute();
        }}
        title={settings.audioMuted ? "Unmute Audio" : "Mute Audio"}
        color={settings.audioMuted ? "red" : "green"}
      />
      <Button
        onPress={(e) => {
          settings.videoMuted ? roomSession?.videoUnmute() : roomSession?.videoMute();
        }}
        title={settings.videoMuted ? "Unmute Video" : "Mute Video"}
        color={settings.videoMuted ? "red" : "green"}
      />
    </SafeAreaView>
  );
}
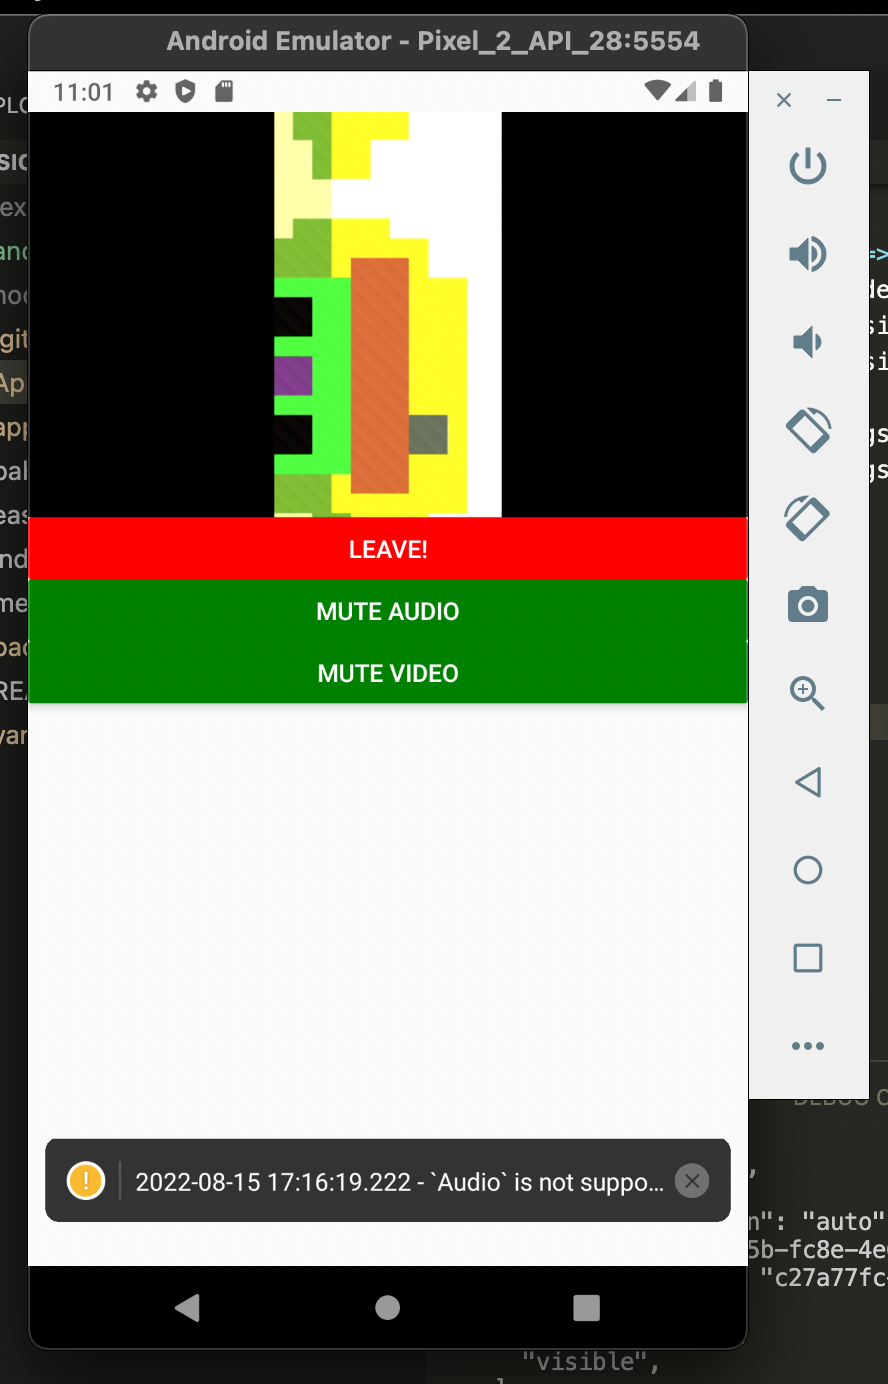
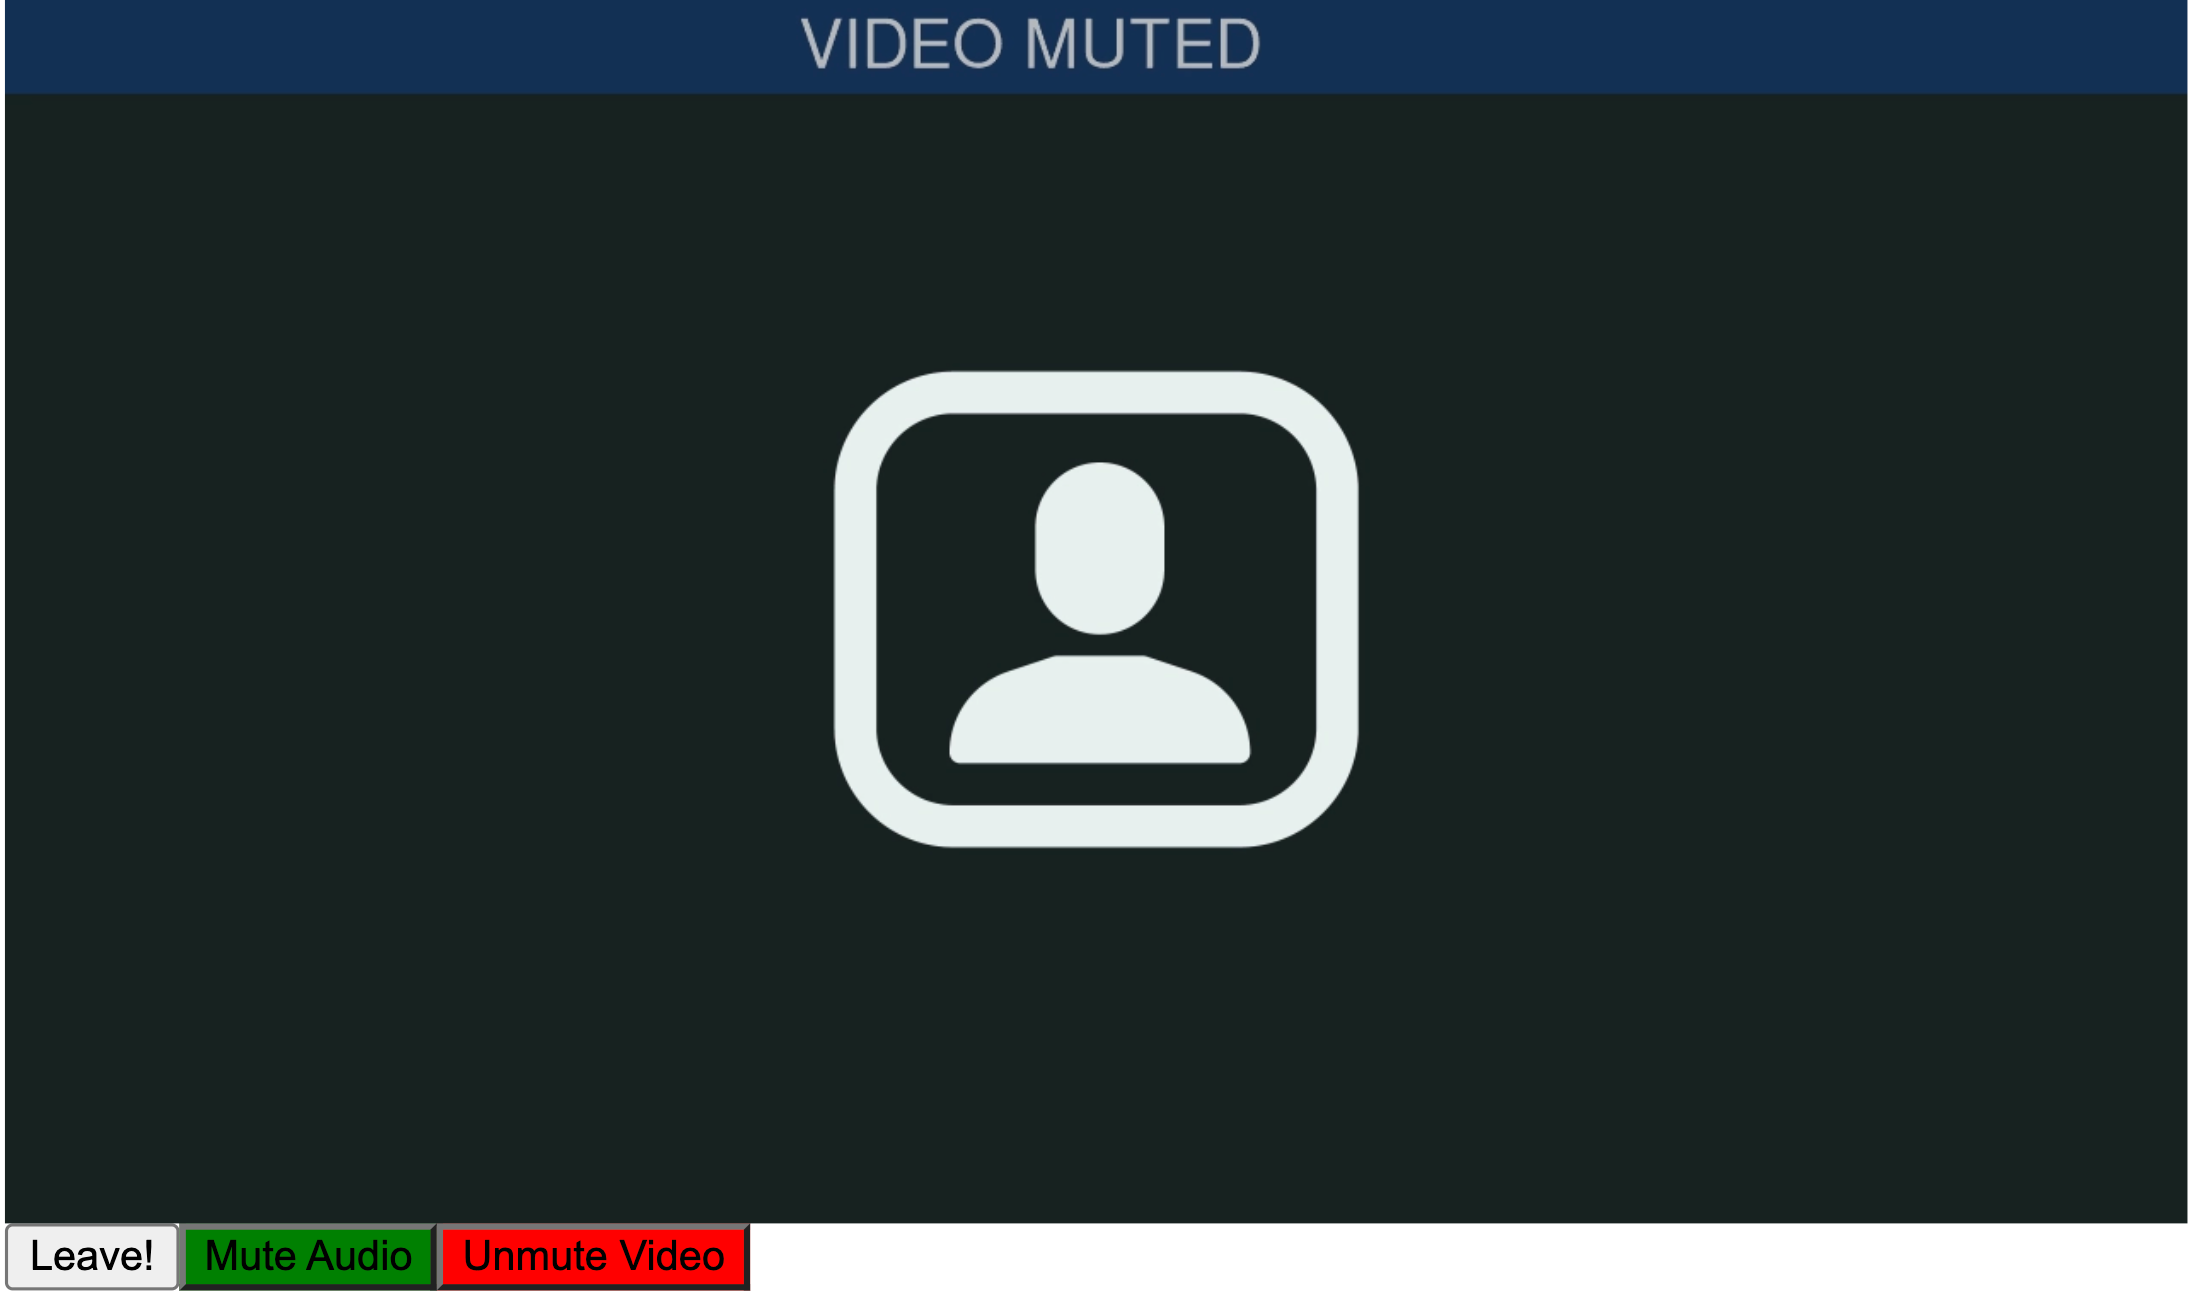
As you might have guessed from the code, the buttons now change color, text and behavior depending on whether the user is muted or not. This is a very flexible formula. You can use this same idea to display the list of current participants, and highlight them when they are talking, for example.
This formula has already been encapsulated as easy to use React hooks, as it can get tedious to do it all the time. So you might be interested in the guide Using Hooks to Track Call State. We will create an advanced application in that article, with hopefully simpler, clearer code thanks to this abstraction.
For now, though, this is as far as we will go. We invite you to explore and consider contributing to the SignalWire Community Repository, of which these components are a product.
- React
- React Native