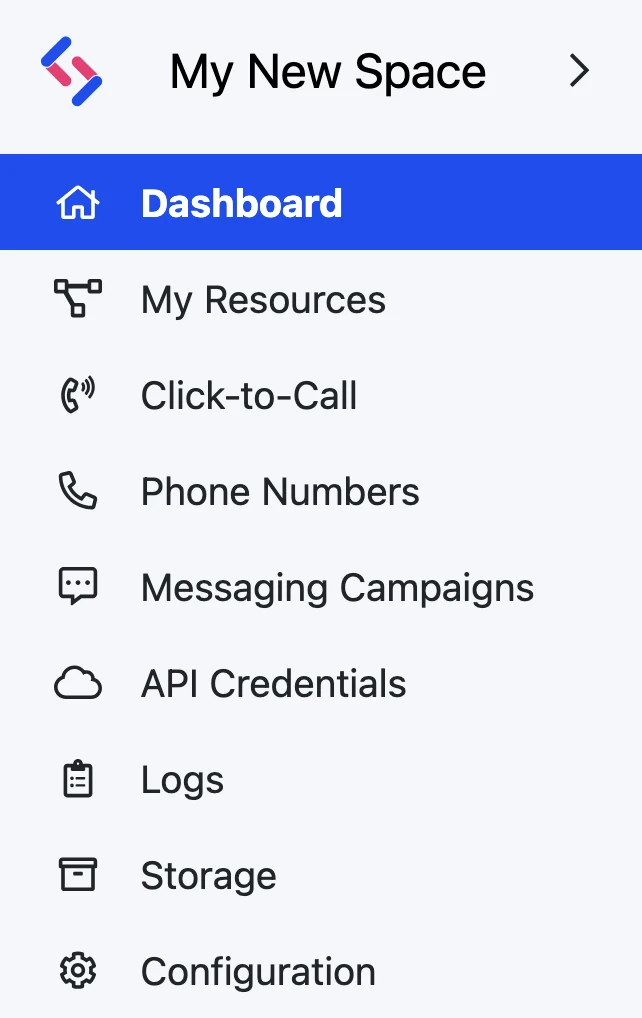
Setting Up Voicemail
A popular and important use case is recording a voicemail from your callers when you are unable to speak with them. This guide will show how to do exactly that using SWML or cXML.
Setting up voicemail with SignalWire
- SWML
- cXML
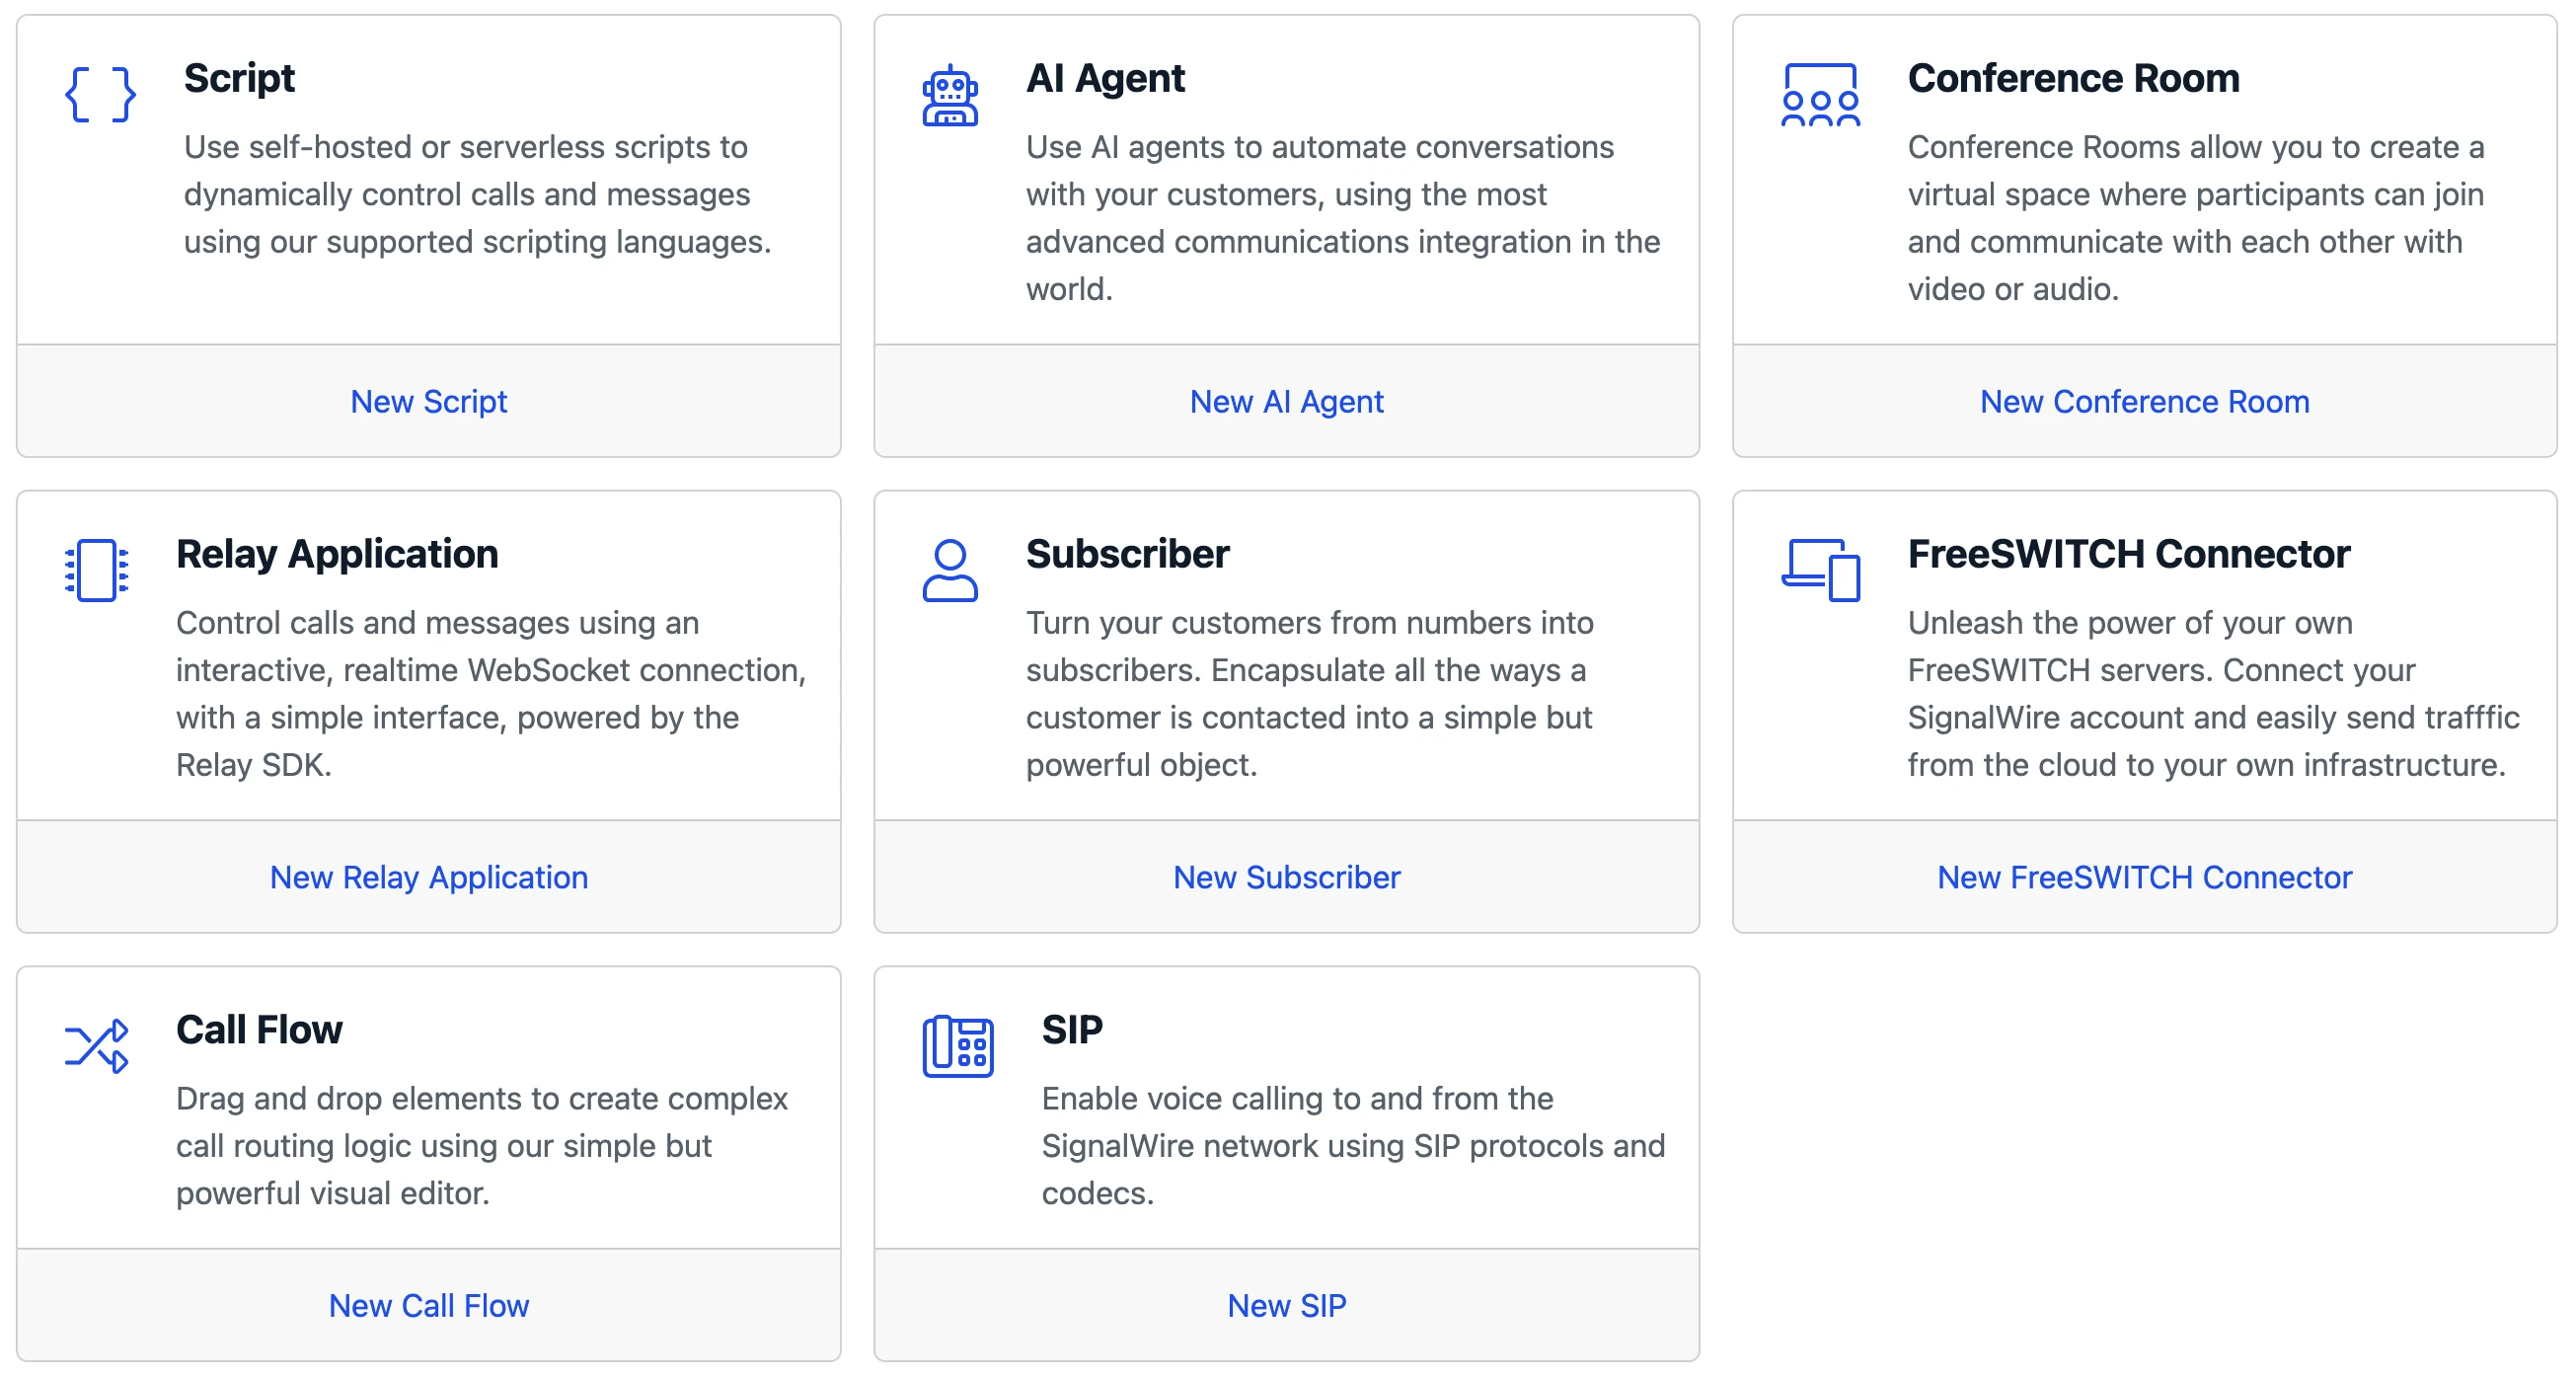
We are going to implement voicemail in a SWML script hosted on SignalWire. To create a new SWML script, navigate to the Resources section from your sidebar. From there, create a new script, and select the SWML option.
Create a new SWML script, and paste the following SWML in it:
- YAML
- JSON
version: 1.0.0
sections:
  main:
    - play:
        url: 'say: Please leave a message with your name and number after the beep. Press pound when finished.'
    - record:
        beep: true
        terminators: '#'
        max_length: 15
    - play:
        url: 'say: Thank you for your message. A member of our team will contact you shortly. Goodbye!'
{
  "version": "1.0.0",
  "sections": {
    "main": [
      {
        "play": {
          "url": "say: Please leave a message with your name and number after the beep. Press pound when finished."
        }
      },
      {
        "record": {
          "beep": true,
          "terminators": "#",
          "max_length": 15
        }
      },
      {
        "play": {
          "url": "say: Thank you for your message. A member of our team will contact you shortly. Goodbye!"
        }
      }
    ]
  }
}
We use the play method to play the voicemail prompt, then the record method to record the caller's message.
The record method pauses SWML execution until the recording ends, so the final message plays immediately after.
The record method accepts parameters to configure the beep, terminators, max length, silence timeout, and more.
For additional information, see the record technical documentation.
We are going to implement voicemail in a cXML script hosted on SignalWire. To create a new cXML script, navigate to the Resources section from your sidebar. From there, create a new script, and select the cXML option.
Create a new cXML script, and paste the following XML in it:
<?xml version="1.0" encoding="UTF-8"?>
<Response>
  <Say>
    Please leave a message with your name and number at the beep. Press the
    pound key when finished.
  </Say>
  <Record action="https://<URL-To-Hangup-Bin>" maxLength="15" finishOnKey="#" />
</Response>
We will update the URL-To-Hangup-Bin part later, once we create that script.
The cXML uses the <Say> verb to play the voicemail prompt to a caller and <Record> to record a message. In the <Record> verb, we will also specify a max length of seconds for the recording and a key that when pressed will execute a new document of instructions. If you do not specify an action URL within the <Record> verb, the recording prompt will loop over and over.
Take a moment to notice the action attribute for <Record>. We would like to play a
message right after the recording ends, but adding a <Say> verb below
<Record> will not wait for the recording to finish.
The action attribute allows us to specify the URL of a different script which should be executed right after the recording ends:
we will use this to play a closing message and hang up the call with <Hangup>.
For this reason we also need another script, which will be executed after the recording in the first one terminates. This second script will play a short prompt advising the caller that they will be contacted and then it will hang up the call. Even though this script is simple, it's very important to hang up to avoid looping calls after a recording!
<?xml version="1.0" encoding="UTF-8"?>
<Response>
  <Say>Thank you for your message. A member of our team will contact you shortly. Goodbye!</Say>
  <Hangup/>
</Response>
Save this new cXML script. You will be taken to the script's details page. There, take note of the Request URL of the script. It should
look something like https://<space-name>.signalwire.com/laml-bins/<script-id>.
Go back to the first script and update the "action" URL in <Record> to point to the second script!
If you're still on Legacy UI, refer to Making and Receiving Phone Calls for detailed instructions.
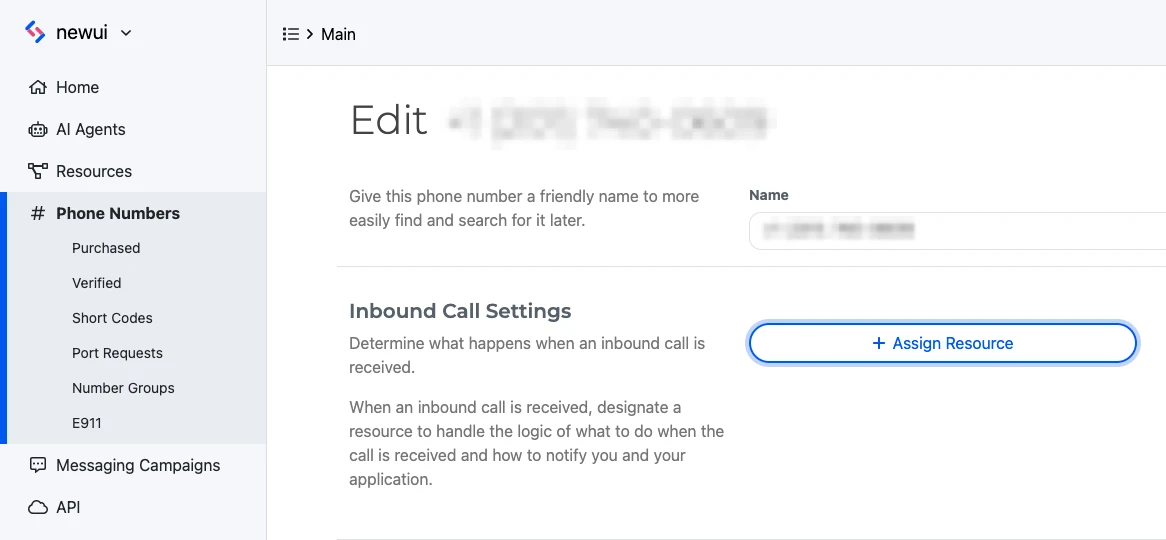
How to assign the script to a SignalWire phone number
Click the Phone Numbers tab on your sidebar within your SignalWire Space, and click the specific number you would like to set up voicemail on. If you don't have a number yet, now is the time to buy one!
Edit the settings of your selected number, and assign the SWML script or cXML script you created to the Inbound Call Settings.
How to access the recordings
You can view, listen to, and download all your recordings in the Storage section of your SignalWire Space. From the sidebar, navigate to Storage > Recordings.
You can also access recordings via our REST API.
Wrapping up
We have seen how to build a basic voicemail using SWML scripts or cXML scripts.
If you need more flexibility, you can implement the same application using Node.js: take a look at how to set up a voicemail using Node.js.