Route inbound calls to a LiveKit Agent
connectIn this guide, we will deploy a
SWML
script that routes inbound calls from SignalWire to the LiveKit platform.
The script uses the SWML connect method
to dial a LiveKit SIP address.
Prerequisites
Before getting started, you'll need the following:
Setup
Create a SWML Script
- New Dashboard
- Legacy Dashboard
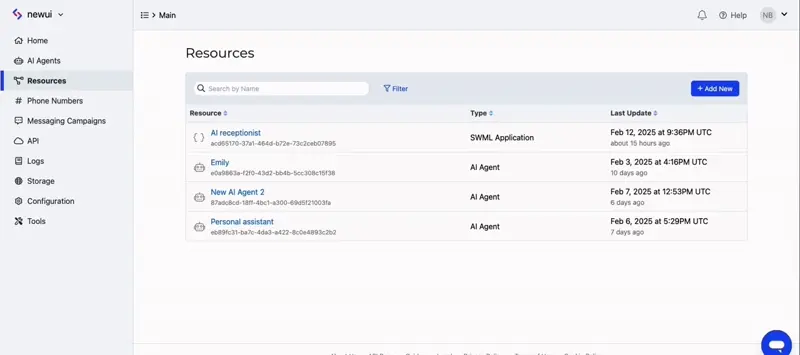
To create a SWML Script in the new UI, go to the Resources section from the sidebar, and create a new Resource. In the new resource picker, select Script and create a SWML Application.
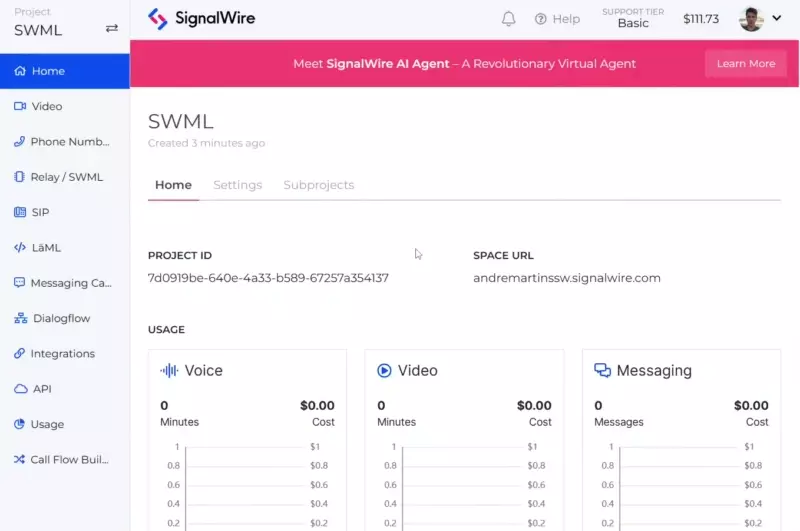
If you are using the Legacy UI, go to the "Relay/SWML" section in your sidebar, then click on the SWML Scripts tab. Click on Create a SWML Script, and then give it a name and pass it some instructions. You can use the following as a starting point:
- Log in to your SignalWire Dashboard and navigate to the Resources tab on the left-hand sidebar.
- Click Add, select Script, and then choose SWML Script.
- Paste the following SWML code snippet into the editor:
version: 1.0.0
sections:
   main:
      - connect:
           to: sip:%{call.to}@your-unique-SIP-domain-from-Livekit.com;transport=tcp
Be sure to replace your-unique-SIP-domain-from-Livekit.com with the SIP domain from your LiveKit settings
(for example, 241ozqza.sip.livekit.cloud).
Find this domain under LiveKit Settings labeled as SIP URI.
- Save the SWML script once the modifications are complete.
Assign a phone number
When your SignalWire phone number receives an inbound call, it needs to know how to handle it. In this step, we will assign the intended SignalWire phone number to the new SWML script Resource as an Address.
- Open the Phone Numbers tab of your SignalWire Dashboard.
- Select the Edit Settings option for the phone number you want to use for inbound calls.
- Click Assign Resource and choose the SWML script you just created.
This ensures that incoming calls to the designated SignalWire phone number follow the routing path defined in the SWML script.
Configure LiveKit
Next, we will configure a SIP trunk in LiveKit to handle calls routed from SignalWire. Follow the official LiveKit SIP trunk inbound guide for further information.
Add a LiveKit SIP Trunk
-
Create a new SIP trunk using the following configuration:
{
  "trunk": {
    "name": "My trunk",
    "numbers": ["+1XXXXXXXXXX"]
  }
}
Be sure to replace +1XXXXXXXXXX with the SignalWire phone number you assigned previously.
Ensure the number is formatted in E.164 format.
- Submit your configuration.
After completing this setup, you can use LiveKit's dispatch rules to determine how incoming calls should be handled. Consult LiveKit's Dispatch Rules Guide for guidance on managing call routing.
You're all set to start handling inbound calls with LiveKit and SignalWire. If you need further assistance, consult the LiveKit documentation or reach out to SignalWire support.
Next steps
Troubleshooting
- If calls are not reaching LiveKit:
- Verify that the SIP domain in your SWML script matches your LiveKit settings.
- Ensure your phone number is correctly formatted in the trunk configuration.
Record calls
To record inbound calls, add the record_call method to your existing inbound SWML script:
version: 1.0.0
sections:
  main:
  - record_call:
      format: mp3
  - connect:
      to: sip:%{call.to}@your-unique-SIP-domain-from-Livekit-goes-here.com
These recordings can be accessed in the Dashboard in Storage > Recordings, or using the Recordings List API endpoint.
View logs
Access call logs in the Logs tab of your SignalWire Dashboard.